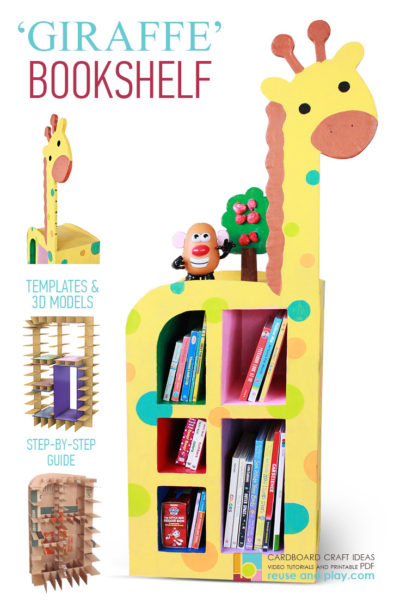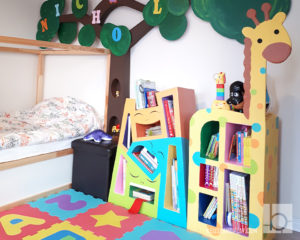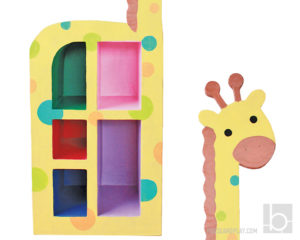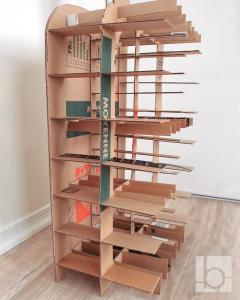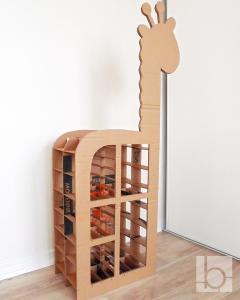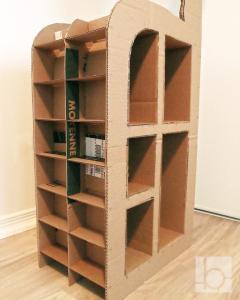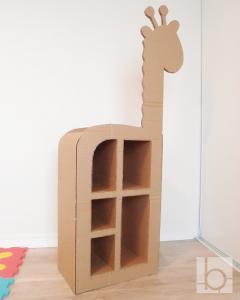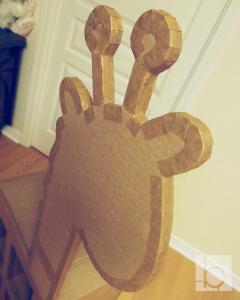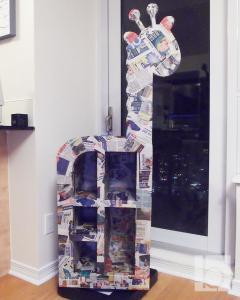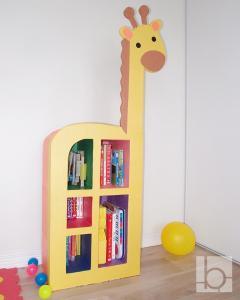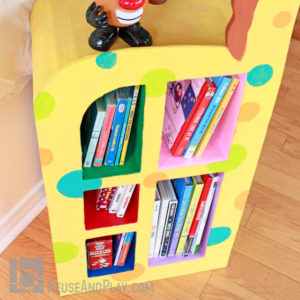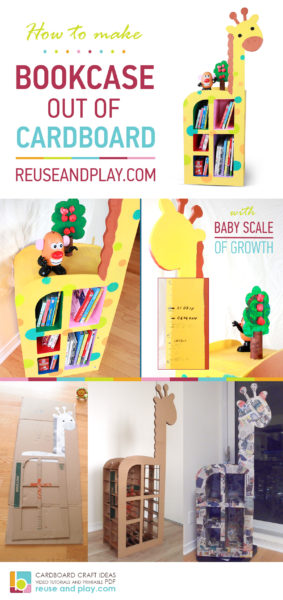
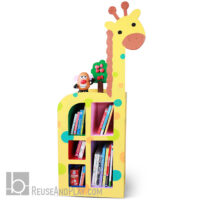
An animal shaped bookshelf for a kids’ room looks very cute. This cardboard bookcase DIY Giraffe is my first homemade bookshelf from cardboard. I was considering making an elephant or a turtle but finally, I went with a Giraffe shaped bookcase idea for a couple of reasons:
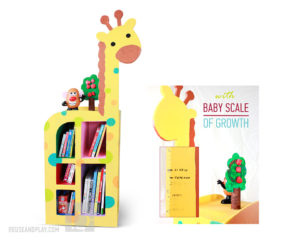
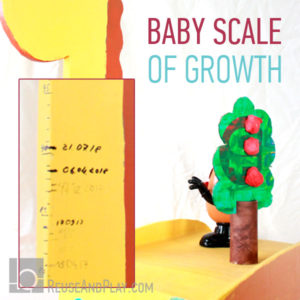
– Giraffes have long necks, so this small kids’ bookshelf could be a perfect height meter.
– Giraffes have spots on their skin and for a Giraffe bookcase we can paint spots in any colour or size and they will look great!
Giraffe bookshelf sizing
For most kids’ room bookcases the shelves are all the same size, and it is up to the child how to sort the books, which are usually very different sizes. If you want to add some fun and organize books better, let’s use a trick.
It took me two steps:
– sort and measure all of our kid’s books
– make a bookcase plan with particular shelf sizes according to our books
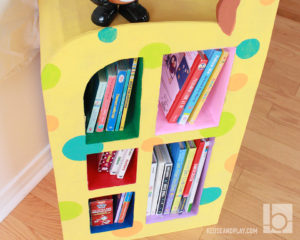
As a result, this animal bookcase got 5 shelves of different sizes. And my kid got a matching game, playing with sizes and shelf colours, for example:
– place the smallest books into the smallest shelf
– place tall books into violet shelf etc.
– find the green shelf, do you have any green books to put there?
Is a cardboard
bookcase durable?
As for quality, this bookshelf from cardboard came out very sturdy and solid. No matter what cardboard you use, hardened with layers of white glue and newspaper, the surface becomes pretty much as firm as plywood. You even can sand it to make the outside smoother and paint it after.
I was pretty happy with my first cardboard furniture, so I made some more later. I made another cardboard bookshelf project I called “Crazy rabbits” and an amazing clothing rack “Moose”.
Tools
- Pencil
- Ruler
- Glue gun
- Hot glue sticks
- Paper knife
- Toothed Tracing Wheel (optional)
*As an Amazon Associate I earn from qualifying purchases
Bookcase Giraffe
Step-by-step tutorial
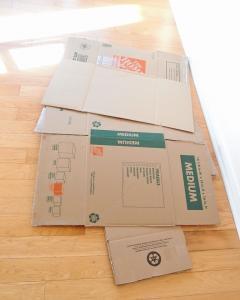
First, make your giraffe bookshelf plan or download mine. Basically, for this cardboard bookcase, you can use any cardboard box you have. If your boxes are too small for your DIY furniture plans, simply glue a couple of smaller pieces together and see DIY tips for more details.
Steps 1-4.
work with the templates
Step 1. Prepare cardboard boxes
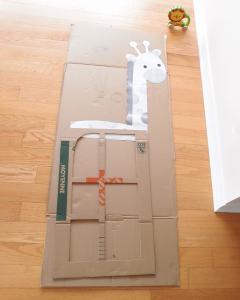
Step 2. Make animal shaped bookshelf plans
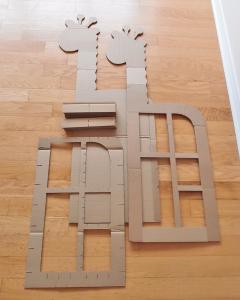
Step 3. Cut out Back, front and middle part + supportive ribs
Step 4. Mount ribs with middle part and glue to back
Steps 5-8.
making a body
Step 5. Glue extra neck with the head behind the front and put them together with the back
Step 6. Put shelves sides in
Step 7. Cover outside with cardboard panels
Step 8. Tape Edges of the bookcase
Steps 9-10.
finishing
Step 9. Apply white glue with newspaper pieces on top and let it dry completely. Better make 2 layers.
Step 10. Paint and decorate
