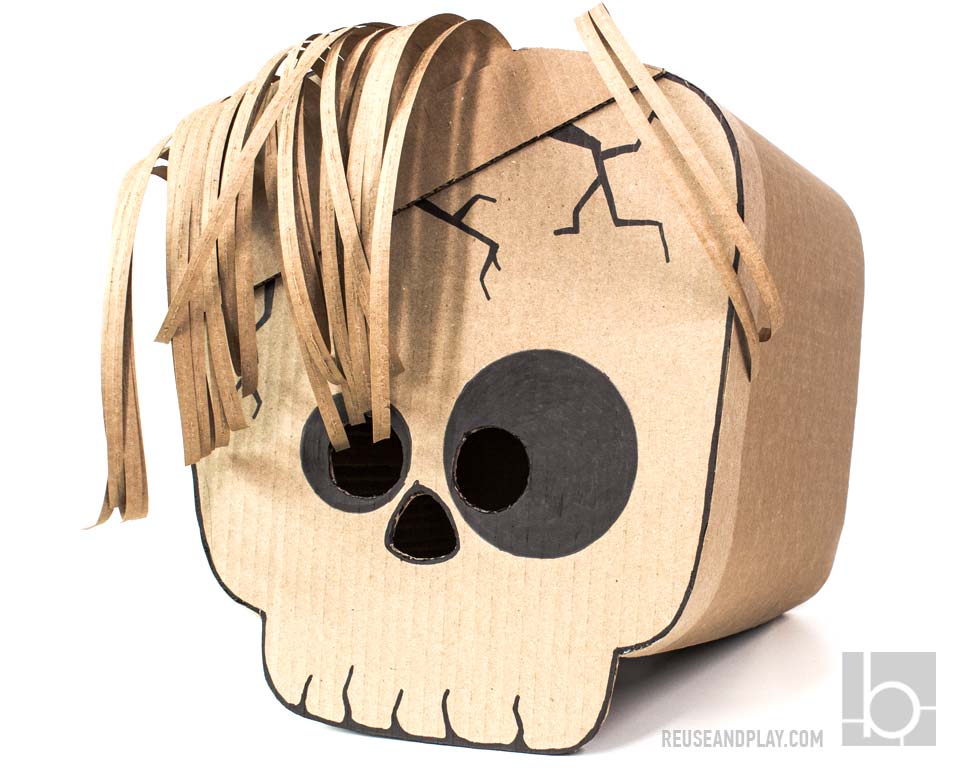
What better way to embrace the spirit of Halloween than by crafting your very own Spooky Cardboard Skull Mask? In this DIY tutorial, I’ll guide you through each bone-chilling step, ensuring that you emerge with a macabre masterpiece to complete your Halloween ensemble. Grab your cardboard, sharpen your scissors, and prepare to embark on a creative journey into the realm of the supernatural.
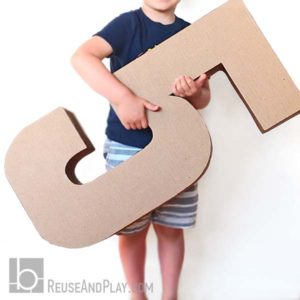
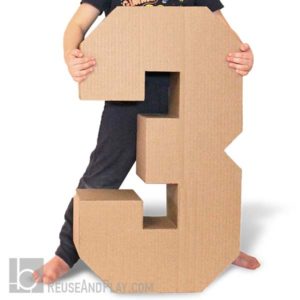
DIY Skull Mask can be easily made out of cardboard. Almost any piece of cardboard can be used to make pretty large 3D headpiece.
This technique of making a 3D number is easy to follow and allows you to create a mask practically of any front shape. If you need exact mask template feel free to download it from the link below.
If you don’t have a big enough piece of cardboard you can glue several pieces together. You can find some cardboard gluing in a craft tips section.
Part 1.
work with the template
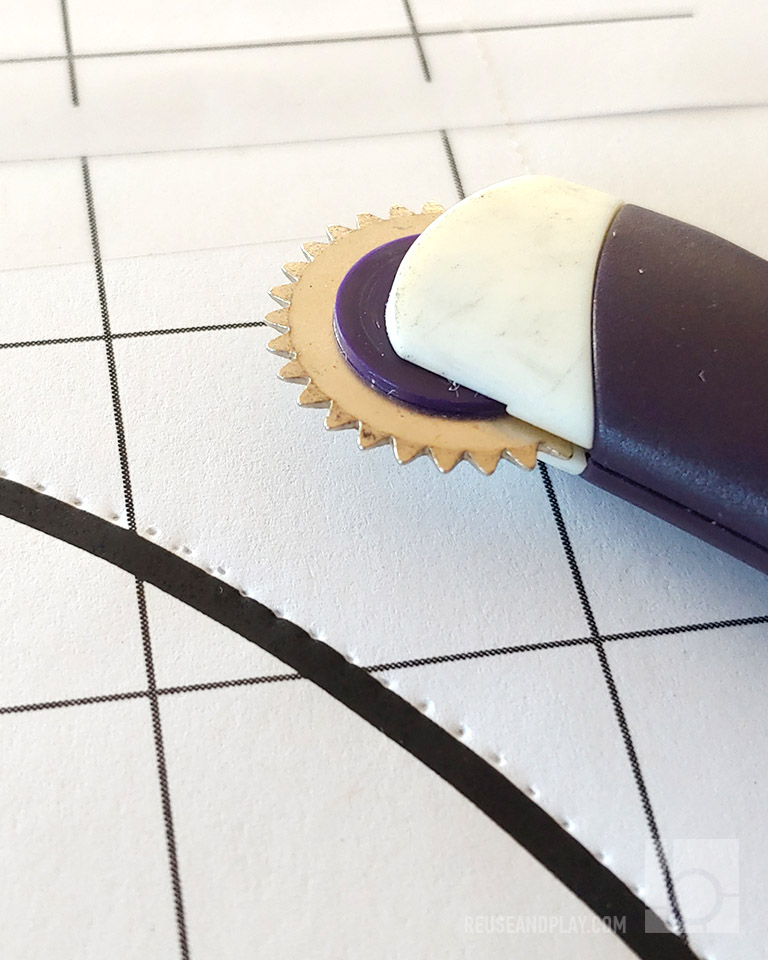
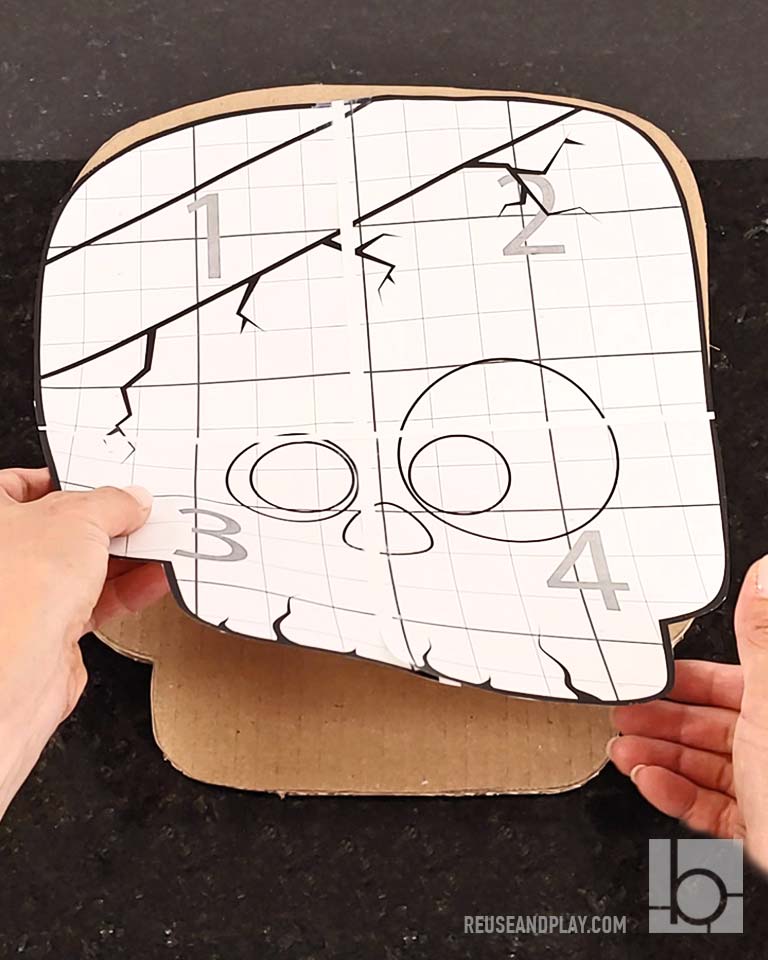
Cut out Front Template. You may draw your own skull face or download ready to print template clicking link below. Template is ready to print on standard letter-sized pages (4 pages). I used the Prym Toothed Tracing Wheel to trace my template. It’s for sewing, but it worked like a charm for the cardboard too.
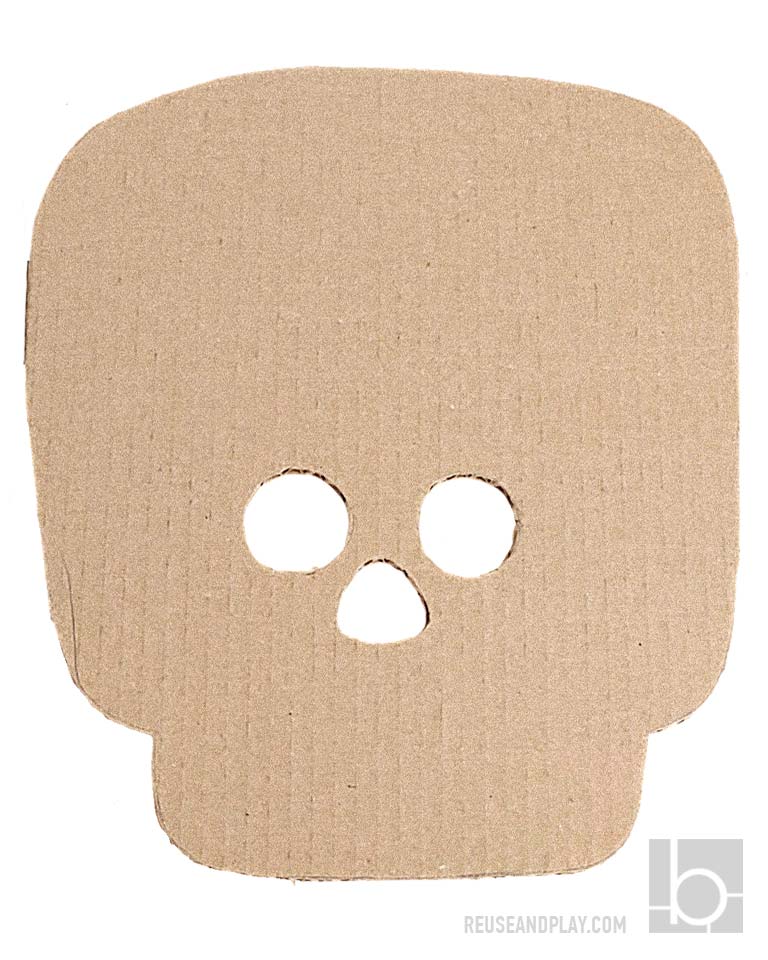
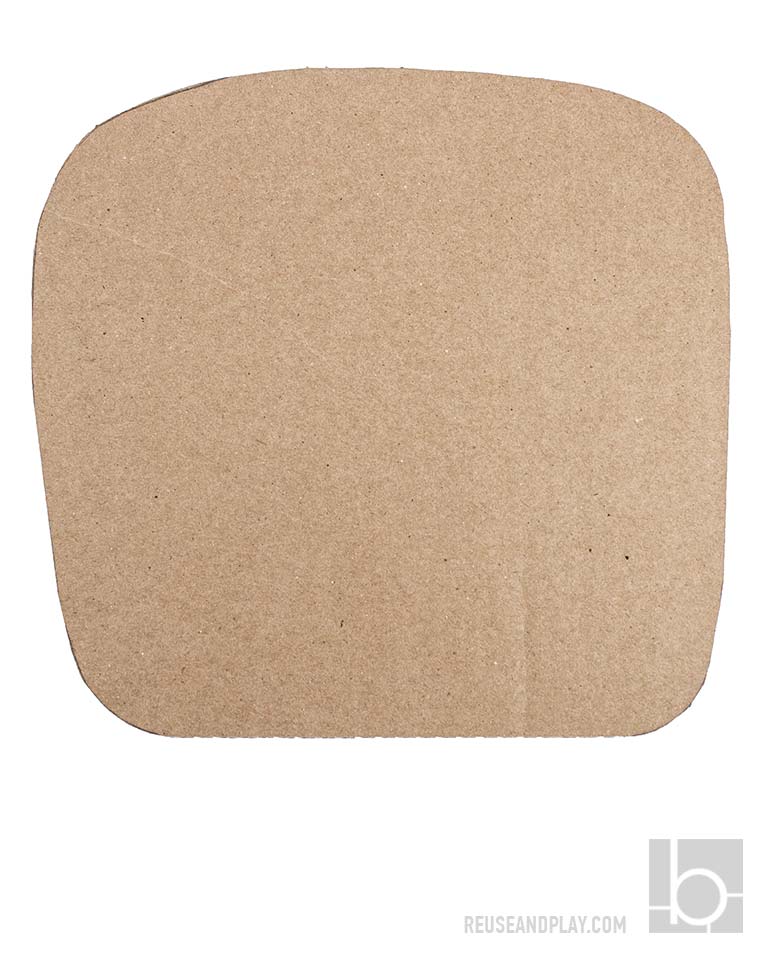
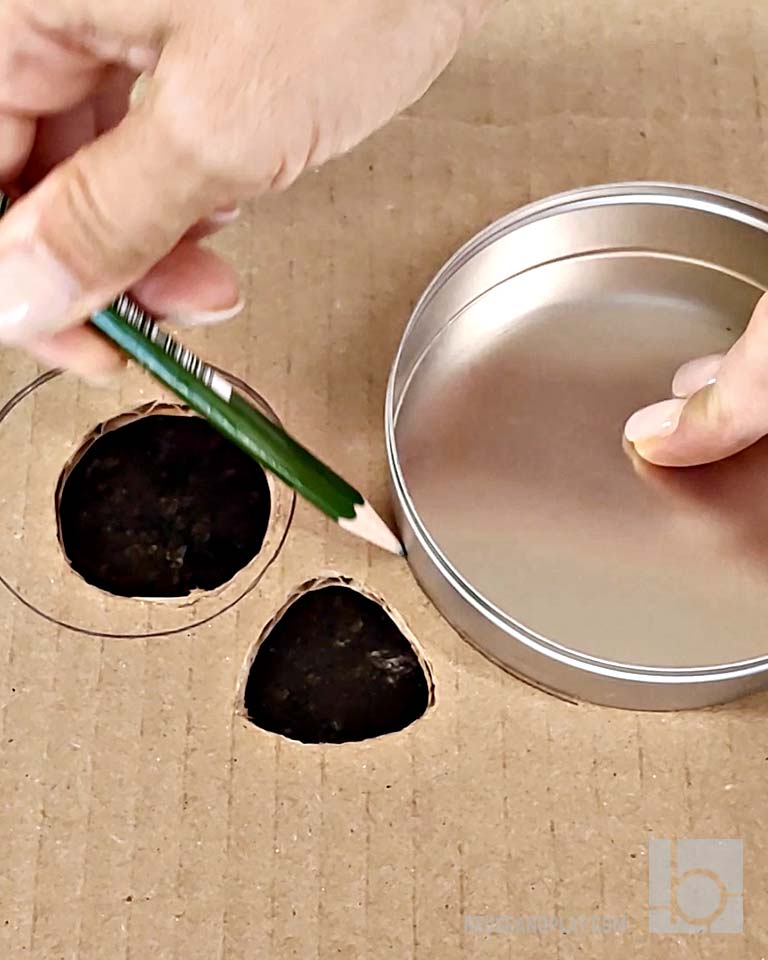
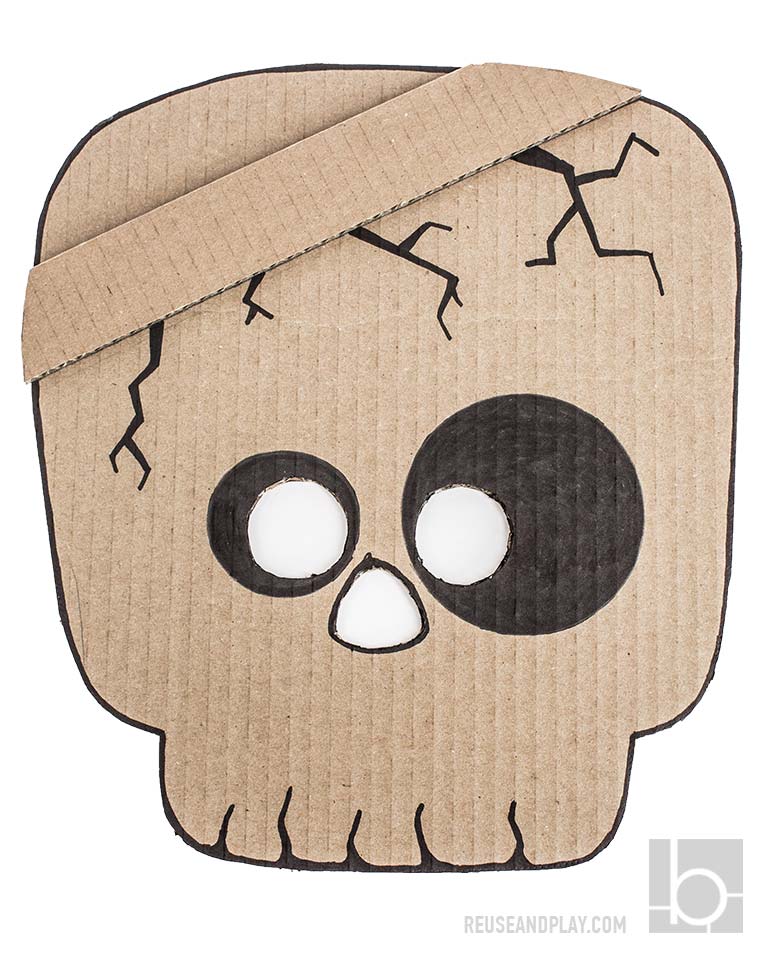
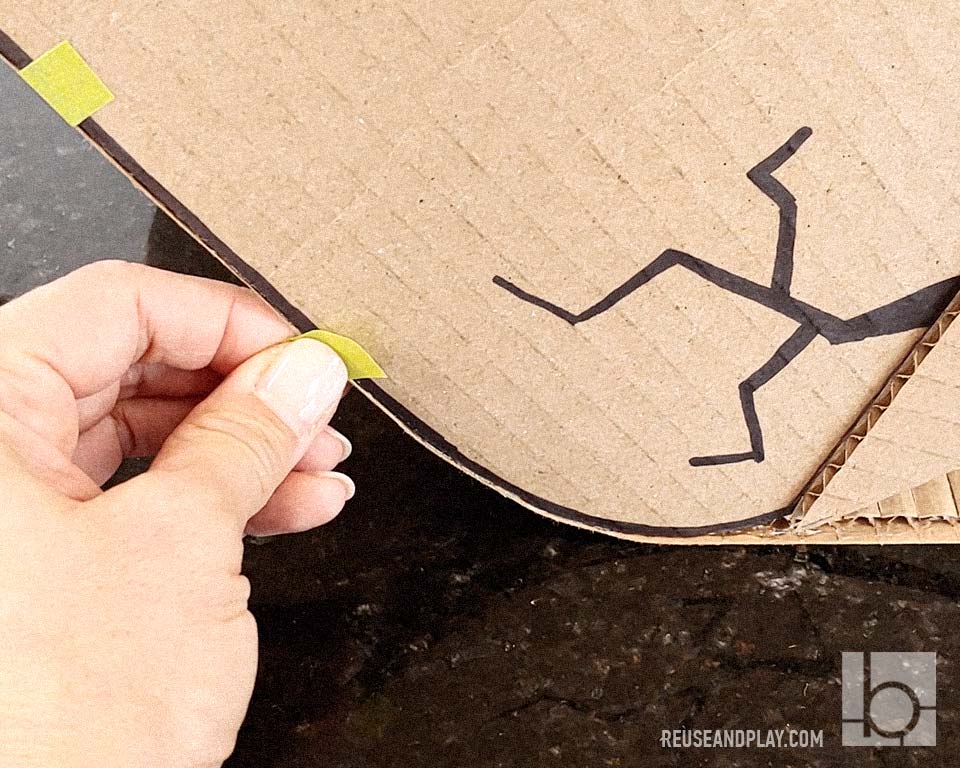
Use any round shape to trace circles around the Skull eye openings. Cut out two parts – front and back (no jaw part needed for the back). With a black marker shade eyes, trace nose and outline the Skull shape. You may draw creepy teeth shapes and skull cracks. As well you may want to add a headband to keep its future hair in tact lol.
Skull Front
Skull Back
Tracing Skull Eyes
Painted Skull Front
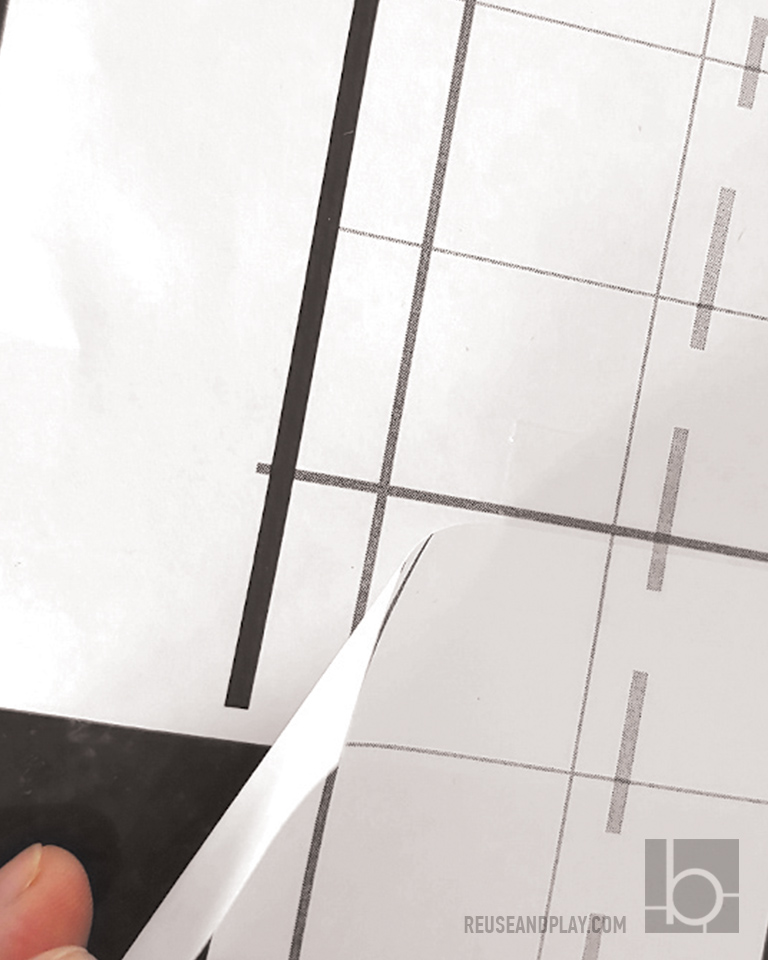
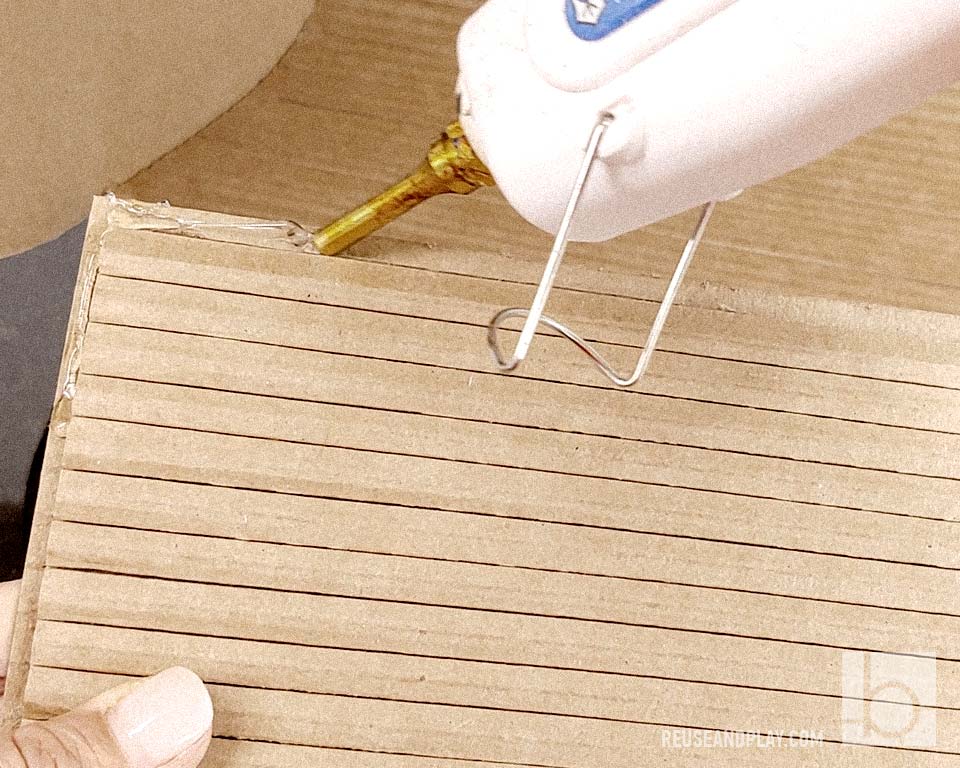
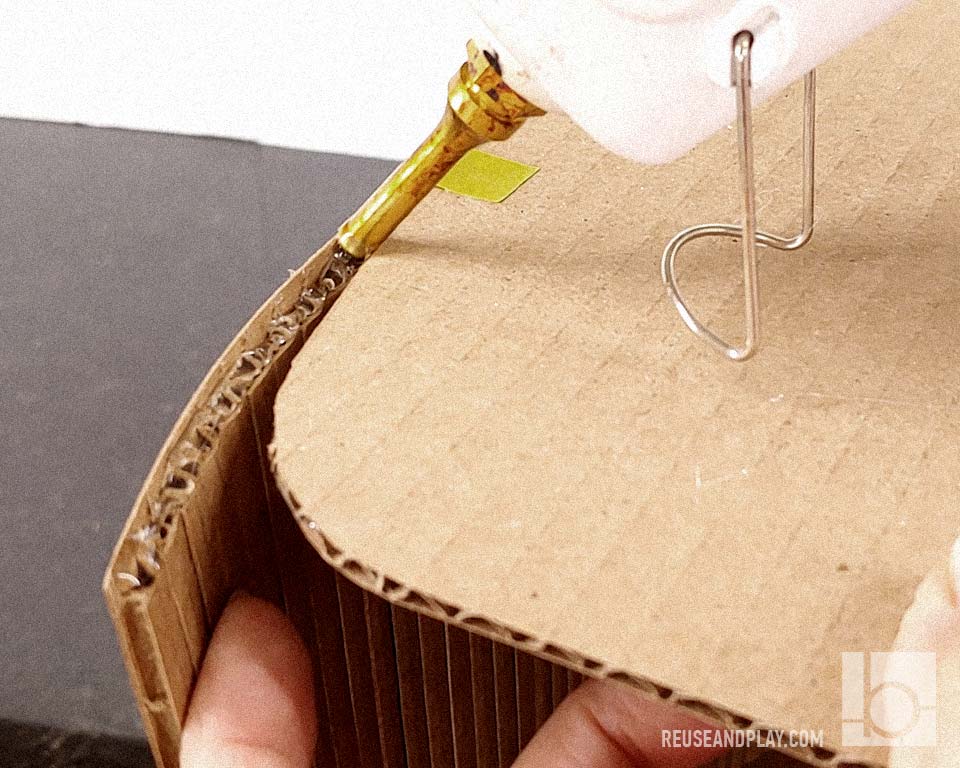
TIP: How to glue using paper bleed
1. much easier to apply hot glue;
2. keeps your work at a straight angle and at a place so no taping is needed;
3. the edge of your huge cardboard number will be neat and clean.
Part 3.
Glue Skull Sides
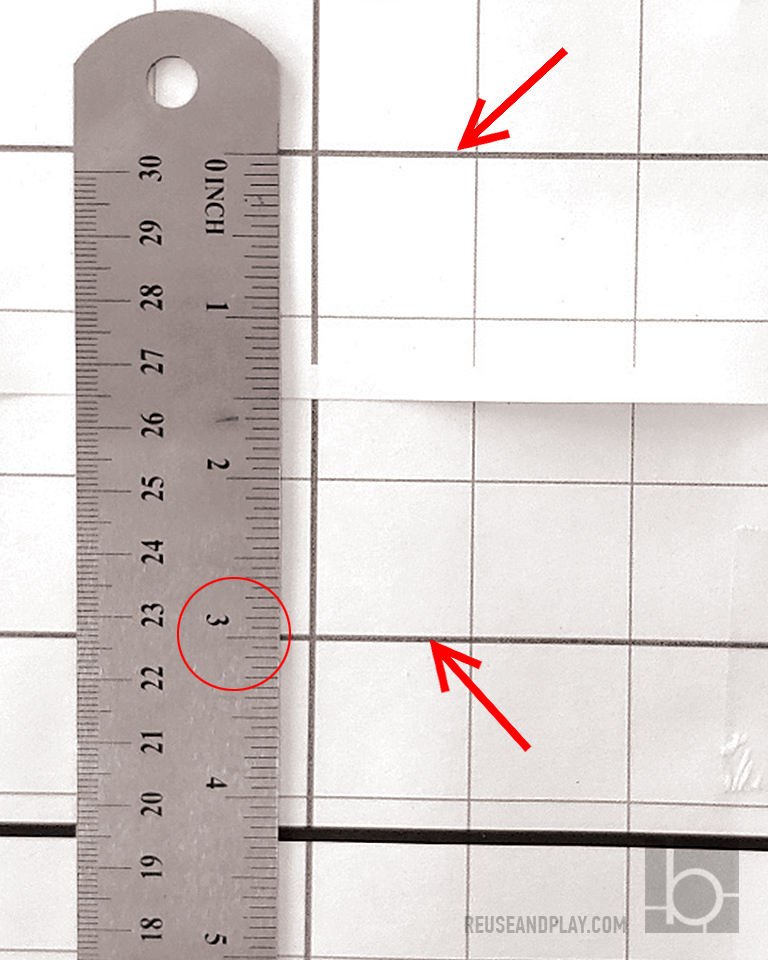
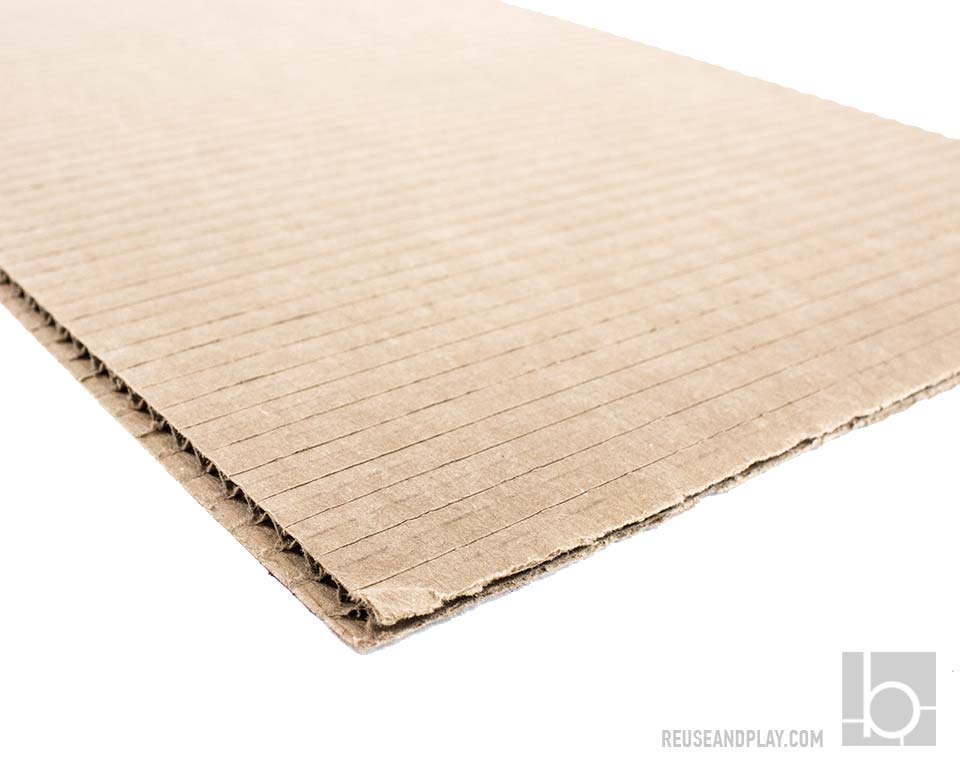
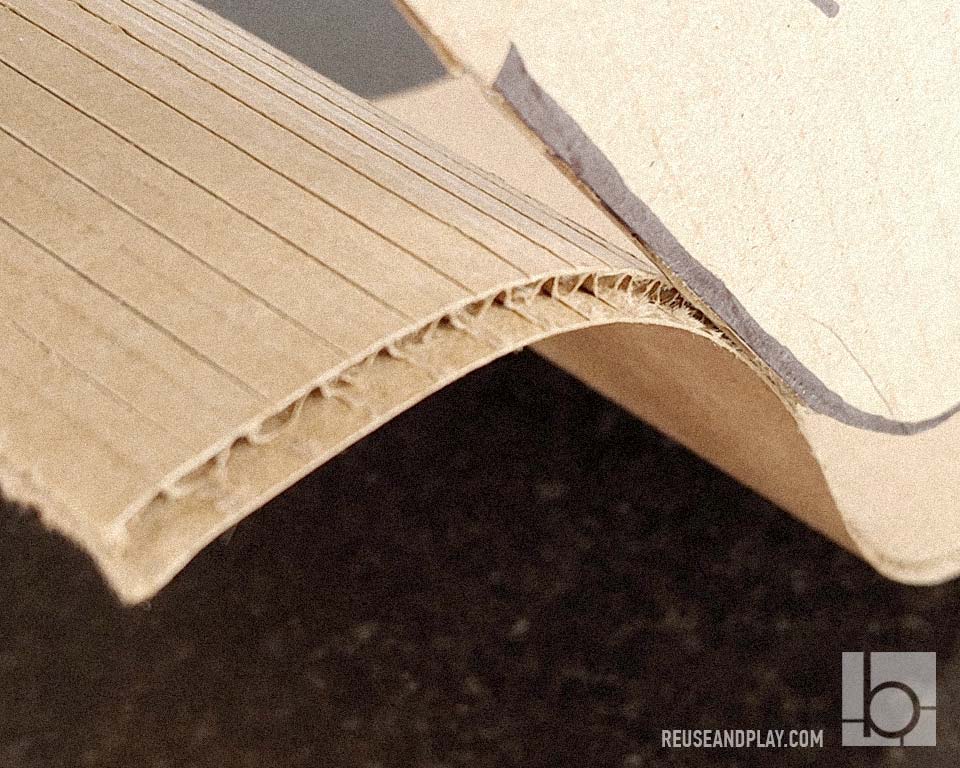
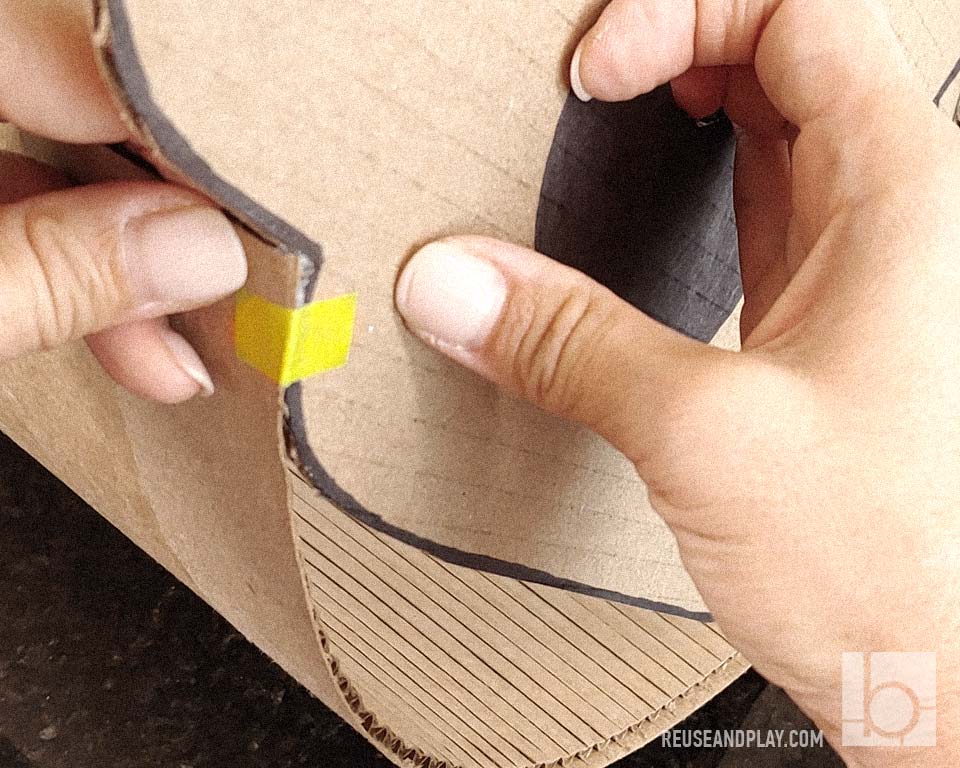
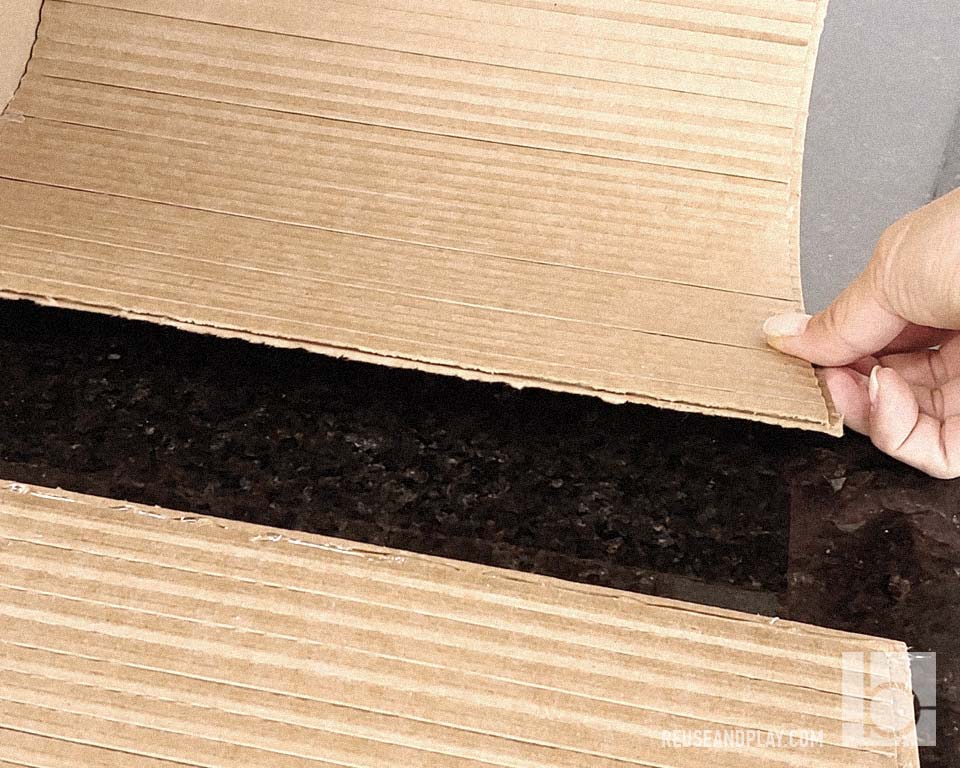
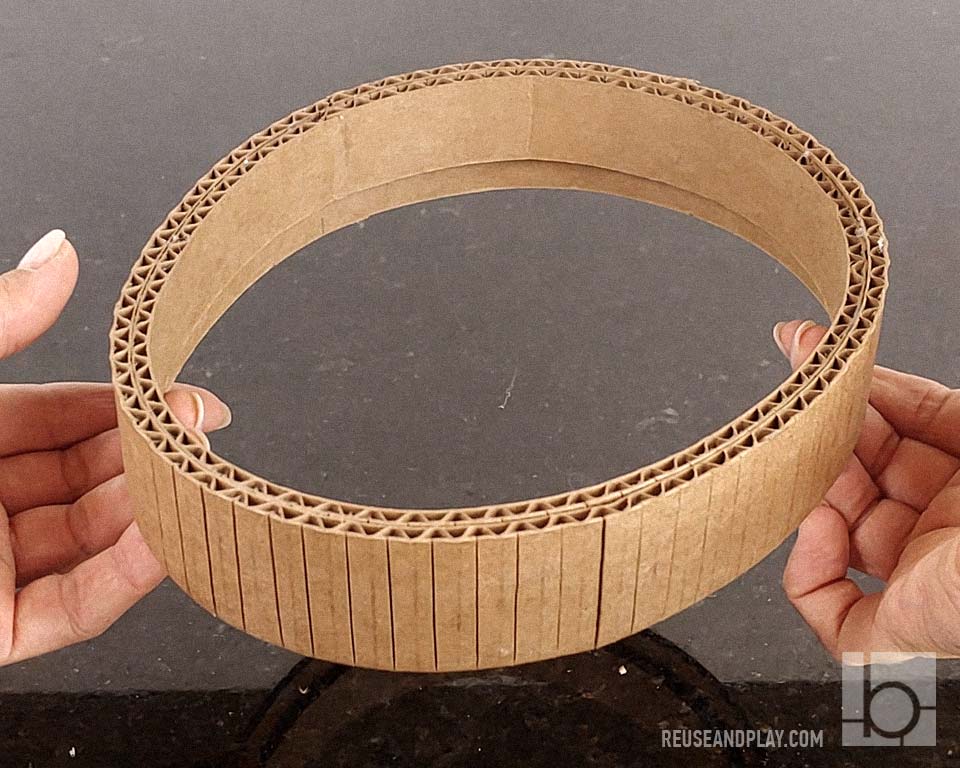
Prepare Skull side – literally it is a wide stripe of cardboard with slits along rib structure for easy bending. The width of the cardboard stripe is your skull mask depth. Cut off paper bleed on both sides (if you prefer to glue in this way). Paper bleed width is equal your cardboard thickness. Paper bleed will prevent hot glue from leaking and will make side alignment super easy. As well you may use several pieces of cardboard to make skull side, how to connect them will be told later.
Skull Side Panel
Paper bleed is the same as your cardboard thickness
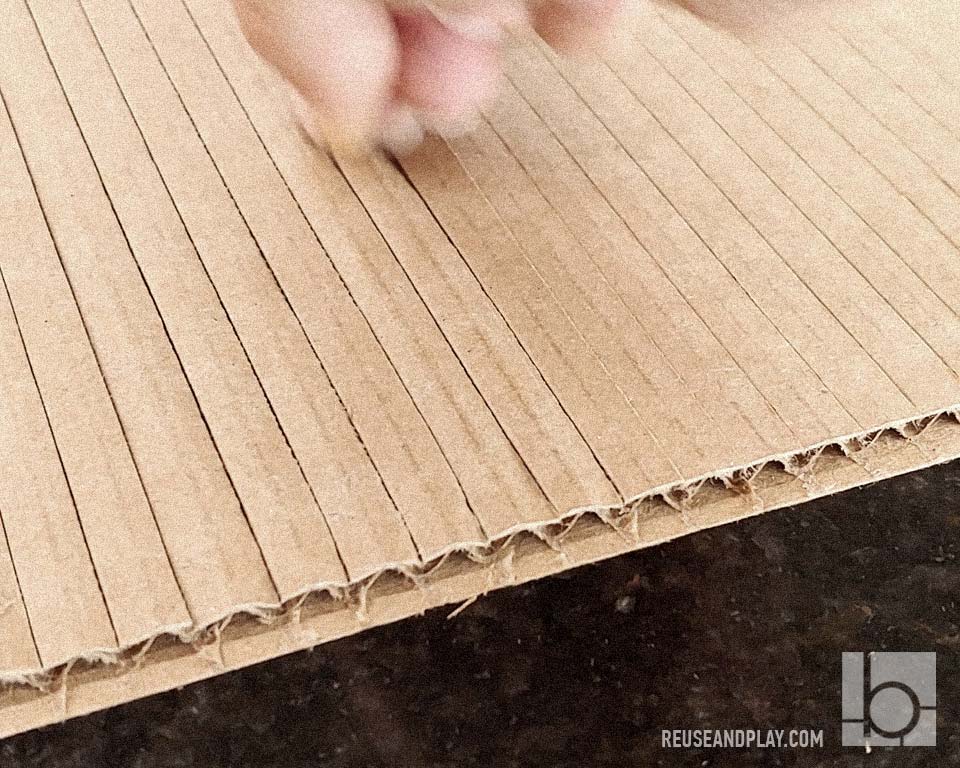
Crease your slits with fingernails
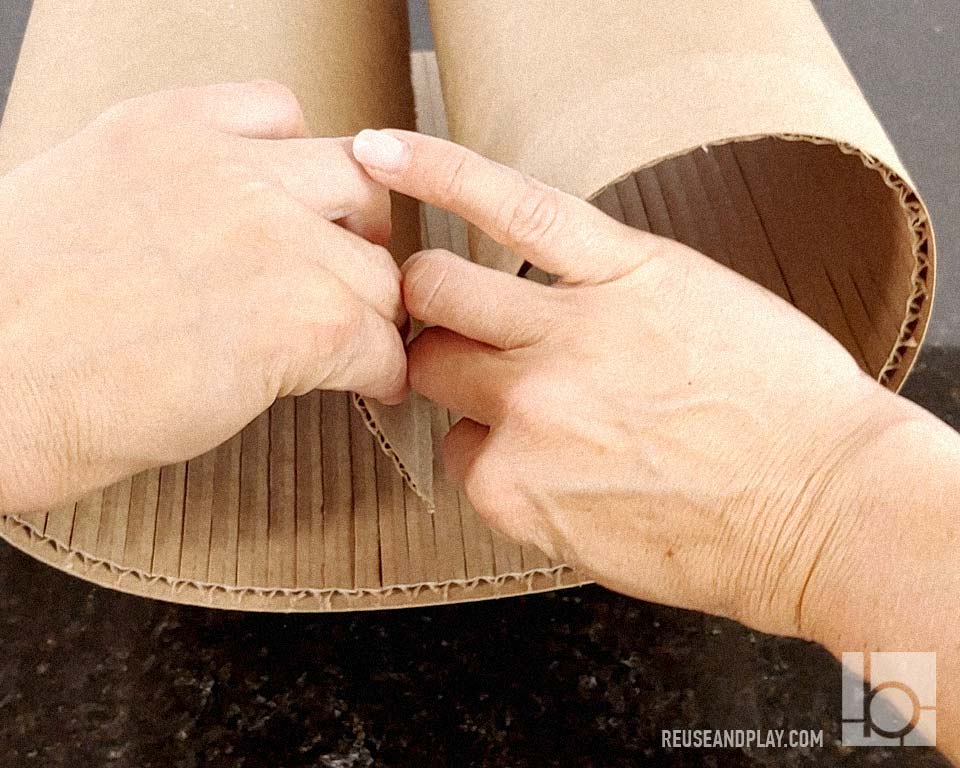
Skull side should bend inside easily
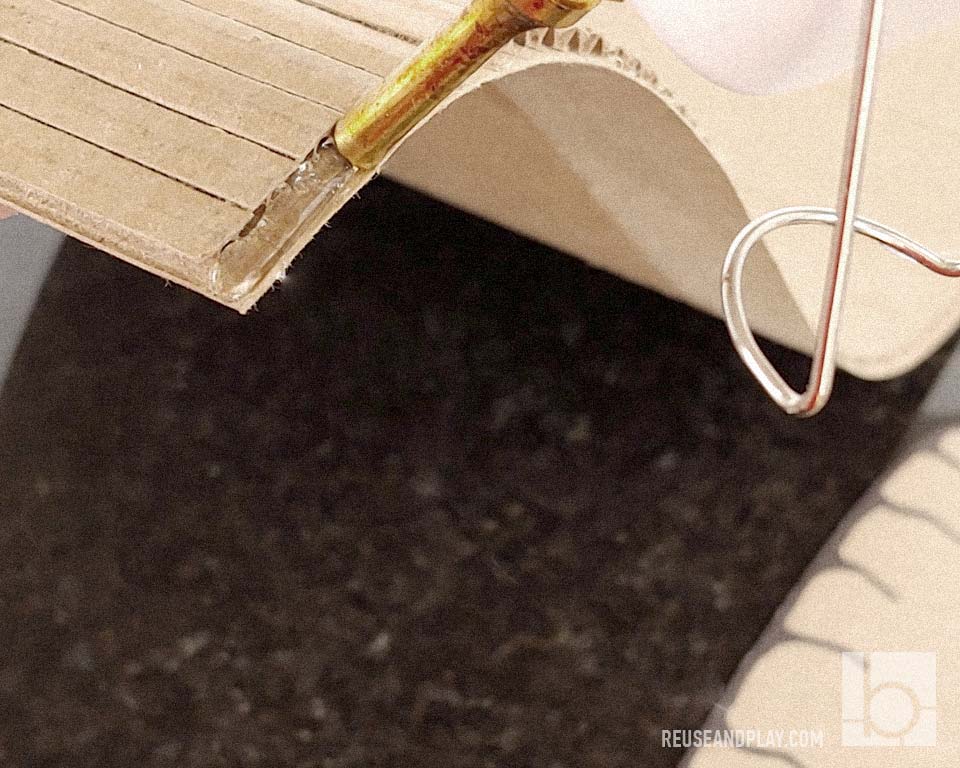
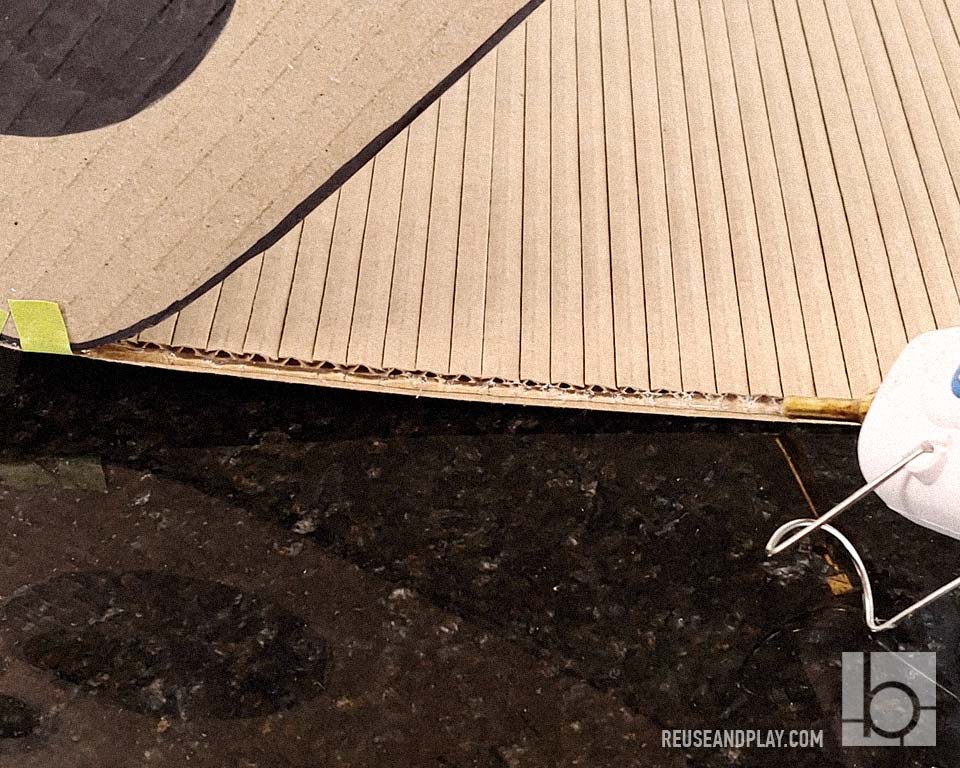
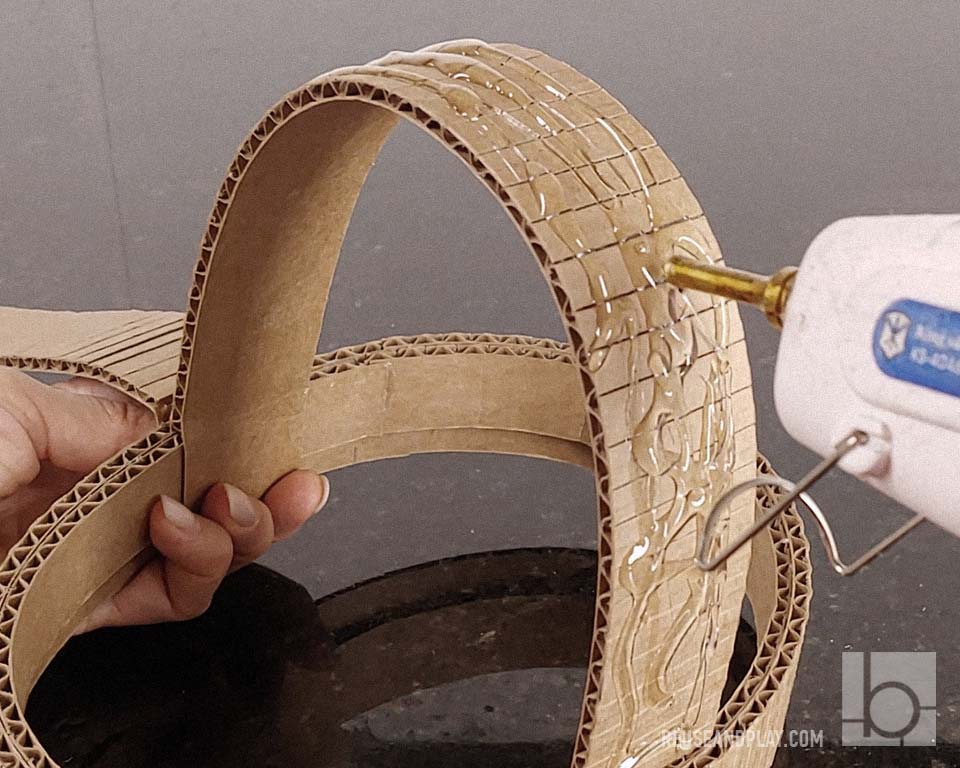
Start to glue with a small amount of glue up to the corner. It is hard part because skull side will try to unroll back, so press it down until glue will cool down completely and secure with a masking tape. The next side is long and much easier to deal with. Just put a long stripe of hot glue into the paper bleed and low down the skull side in it, secure with masking tape.
Start with a small part
Let the glue cool down completely or tape with masking tape to secure side
Put the whole line of hot glue and low down the skull face on it
Tape the edge and let it cool down
If your side panel is not long enough that is ok. Just connect several shorter pieces as much as needed. Each part should have an extra bleed on a connecting side for better hot glue grip.
Skull Side Extension
One more paper bleed on a connecting side
Put glue into the bleed
Connect sides
Part 4.
Glue Skull Back
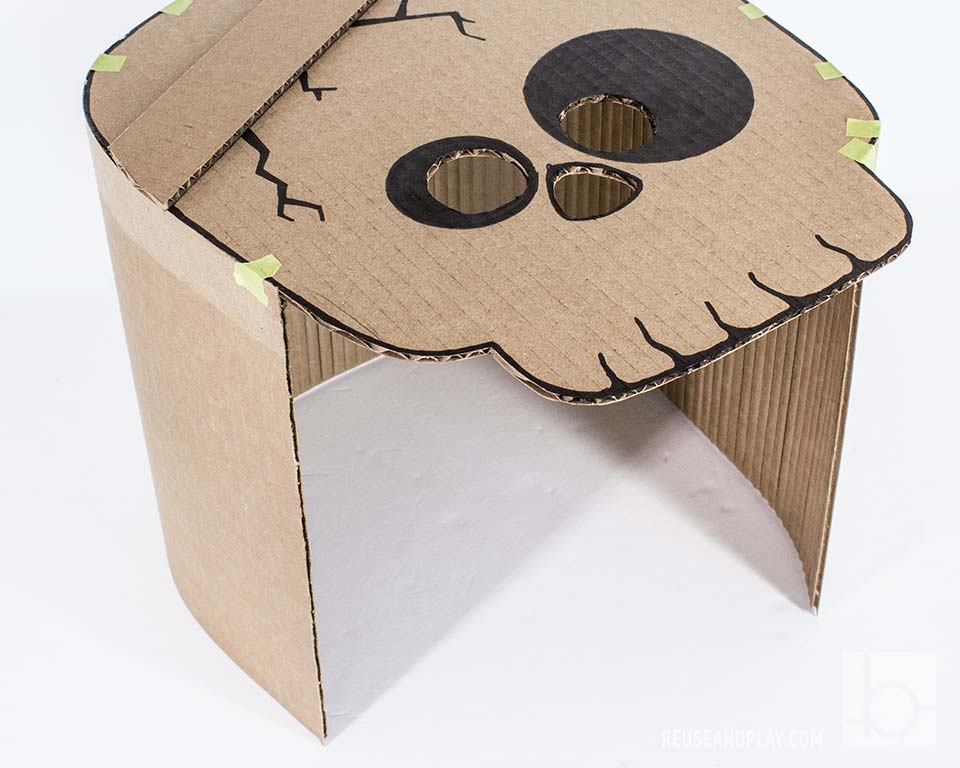
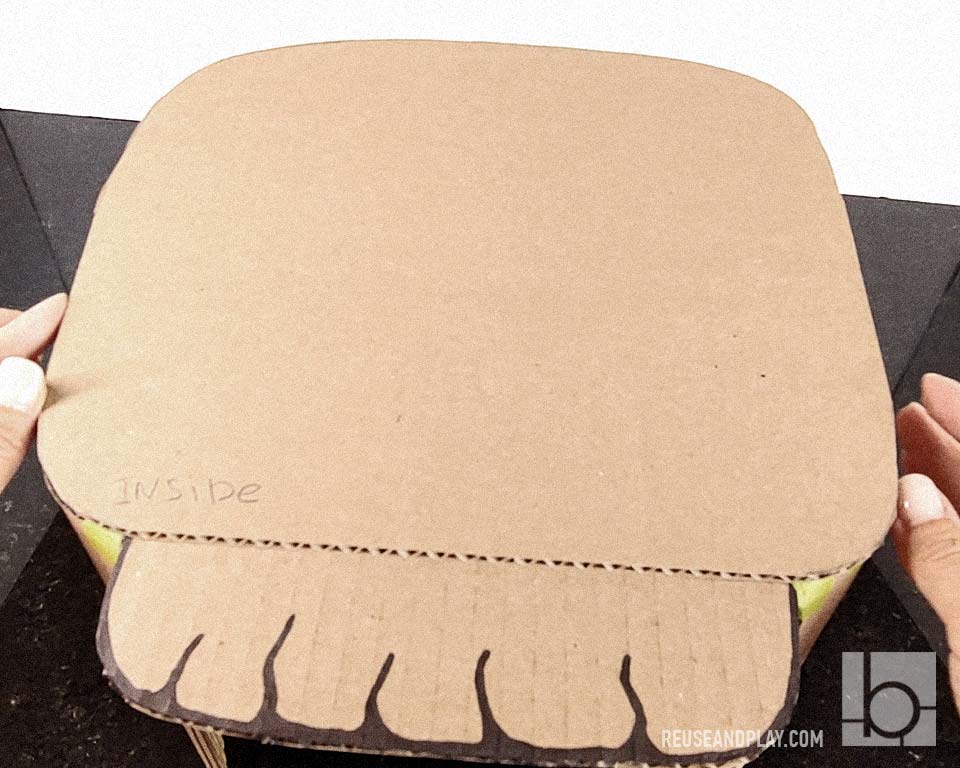
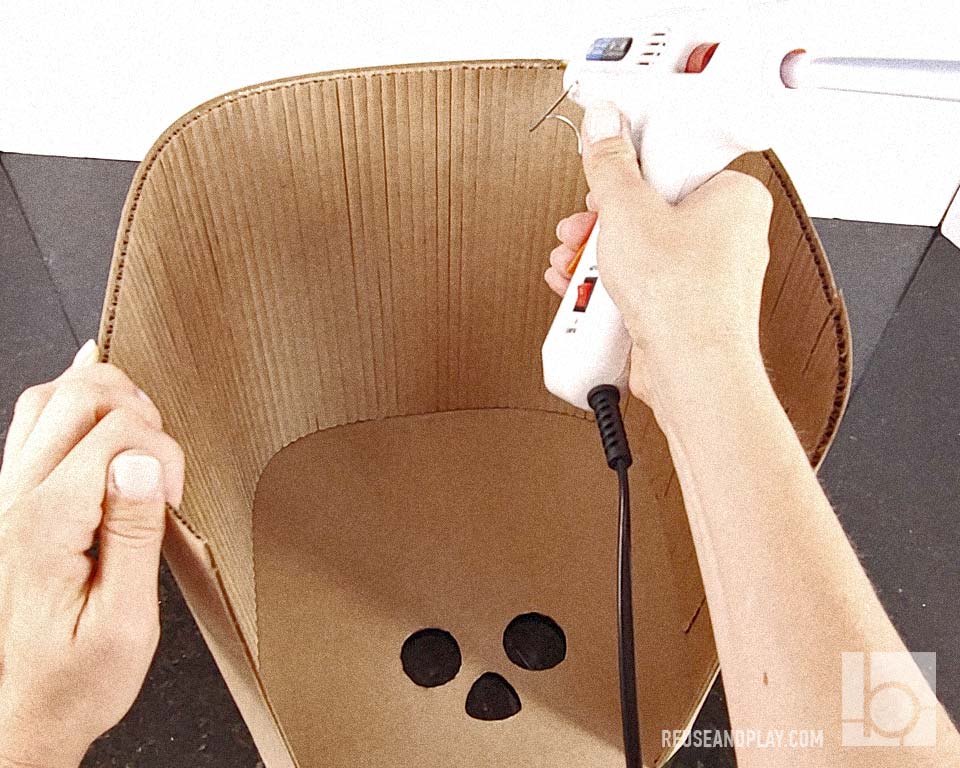
To glue back part of your Skull check its position (sides are asymmetric) and mark what face will go inside the skull. It is easy to glue because skull already has it’s shape. You may start to glue from centre using long glue stripes and tape edges till glue will be completely cool. Be careful with the ends, you may need to hold them for several minutes for better grip. Cut off extra paper bleed on sides.
Match Skull Back to Front and mark side facing inside the mask
It is better to glue from the centre with long glue lines
Carefully glue curved tips and secure them with tape
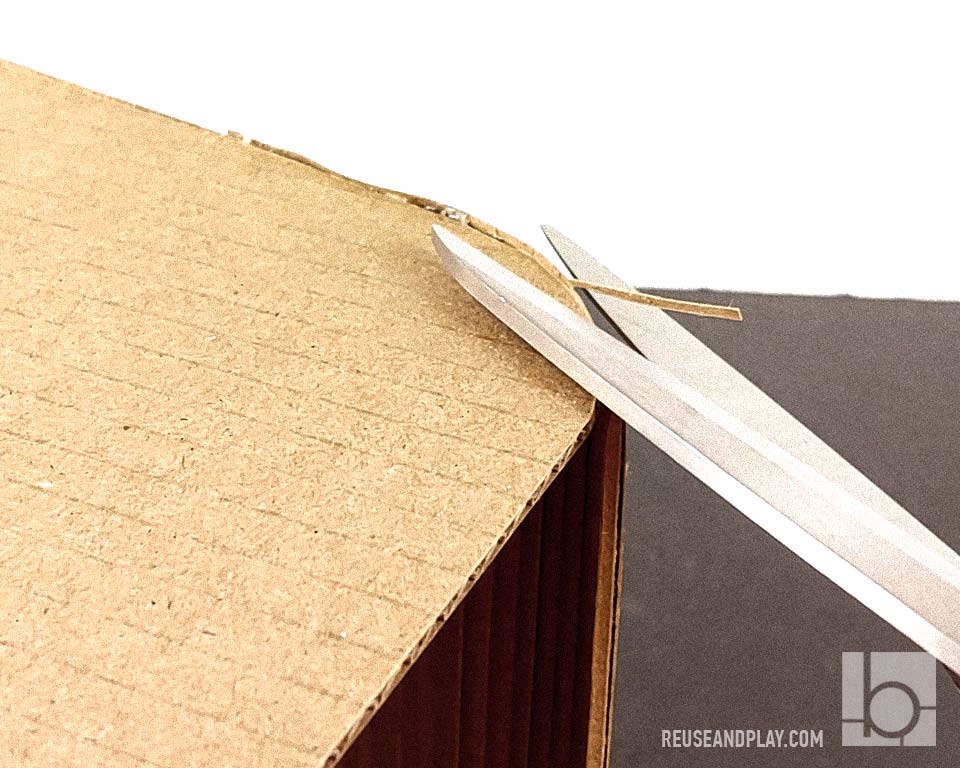
Clean up edges
Part 5.
Glue Skull Hair
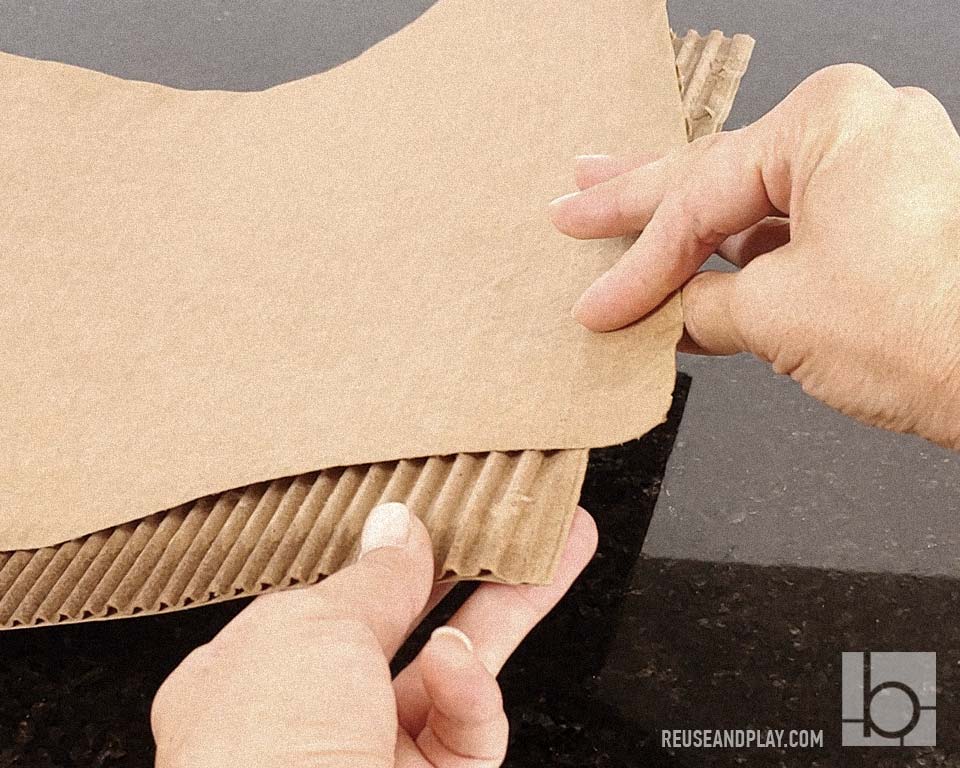
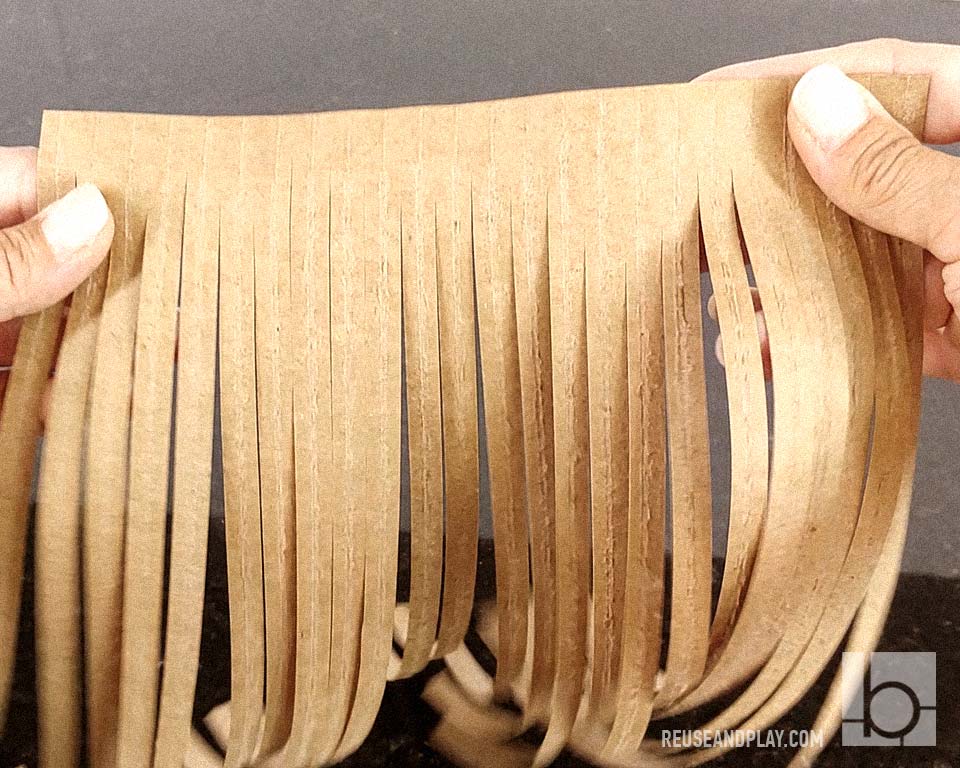
Paper hair is pretty easy to make using cardboard. Just wet or soak cardboard with water, wait a little, peel off top paper and let it dry. If it is too wet it better to place it between two cardboard sheets and put medium pressure on top that will give you a nice flat piece of rough paper. Cut the hairs as long and as thing as you like and glue to your skull.
Peel off paper from cardboard
Cut paper to create hairs
Glue hair
Part 6.
Headband
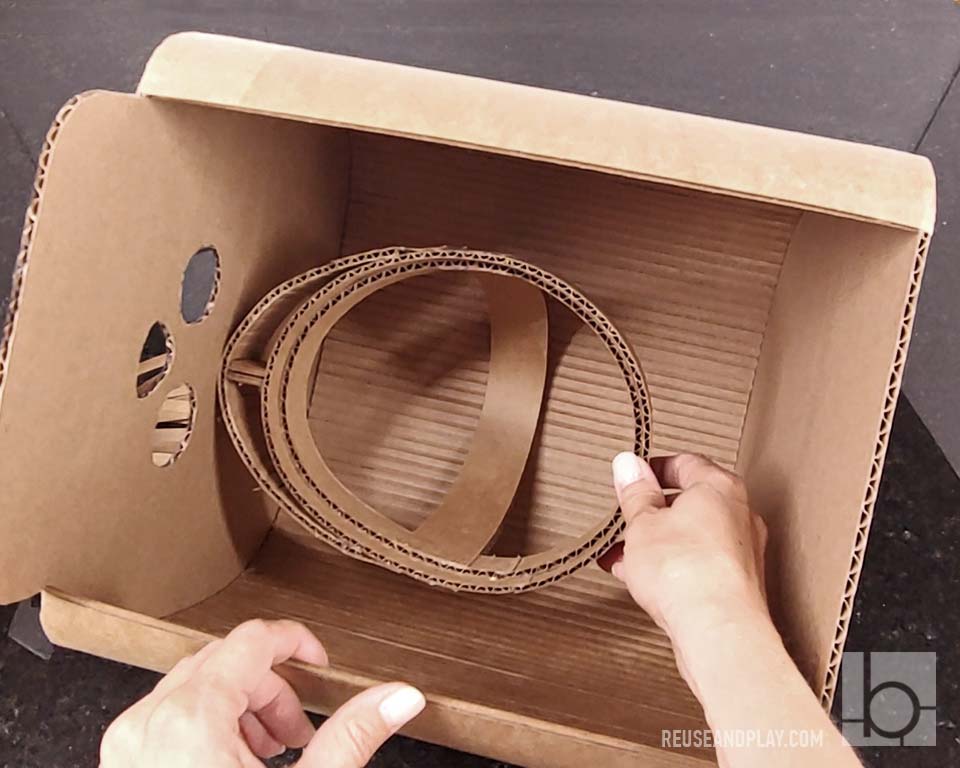
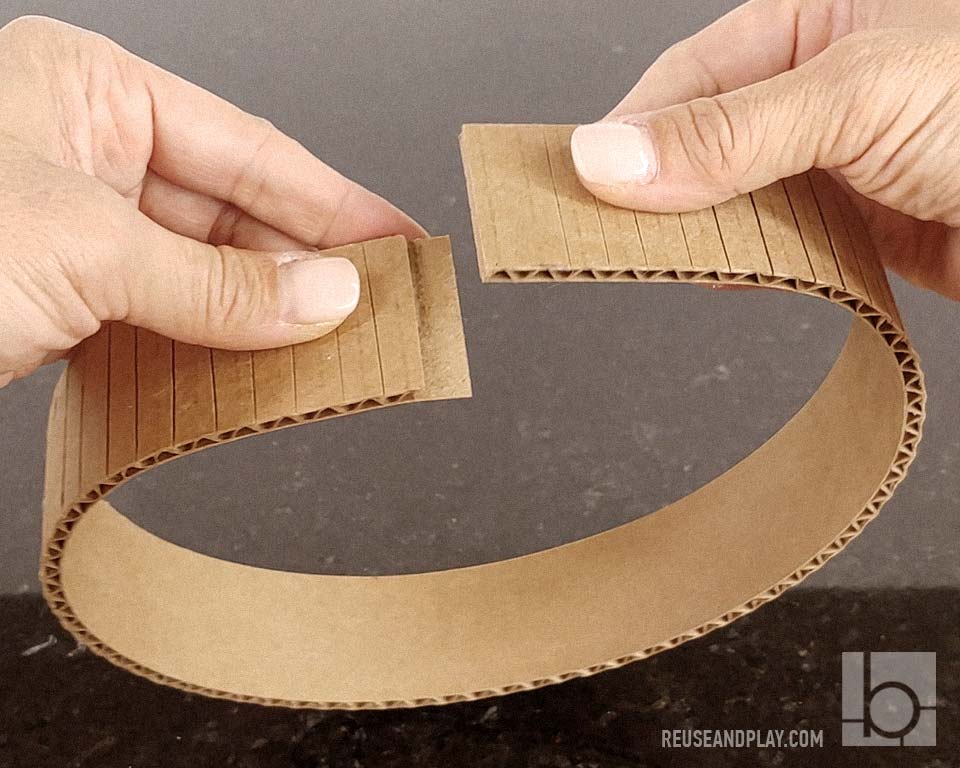
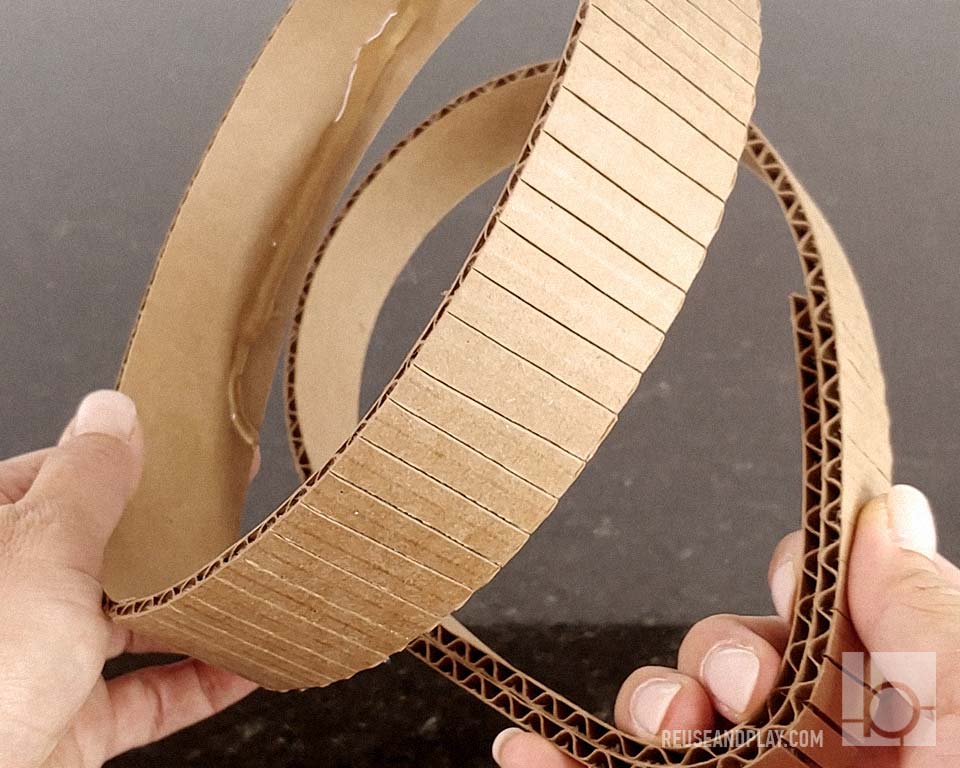
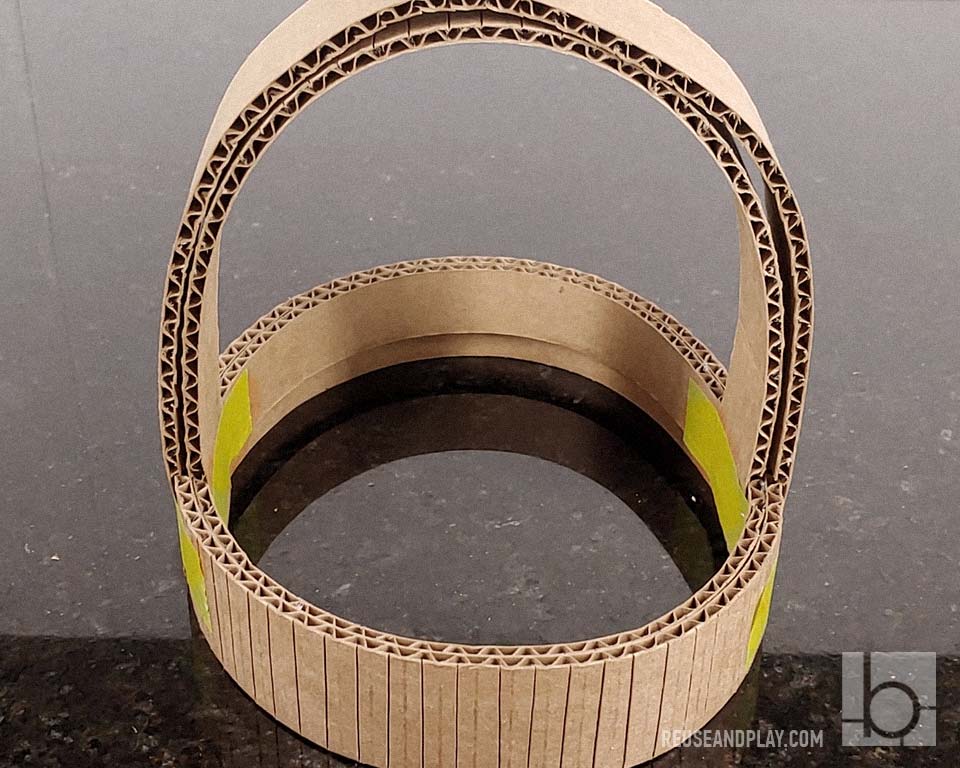
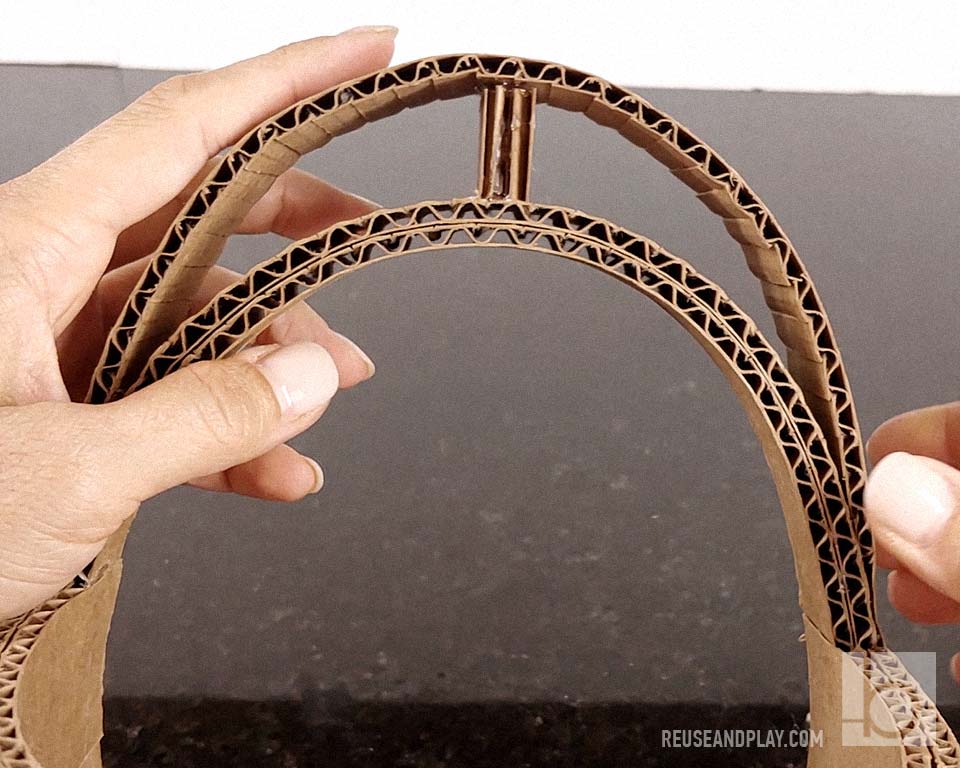
This part – headband is a little tricky, you may want to watch video at the end of the post. In order to have a perfect fit on the head you will need to make a headband. It is easy to start by making a loop that fits your head easily. Then you need to make a second loop from the inside, shorter. It will create a step that will allow the band to sit well on a head. Shape the band with your hands to fit your head perfectly while glue is hot.
Mask headset
Make a headband loop
Double headloop and shape it
Ready headband
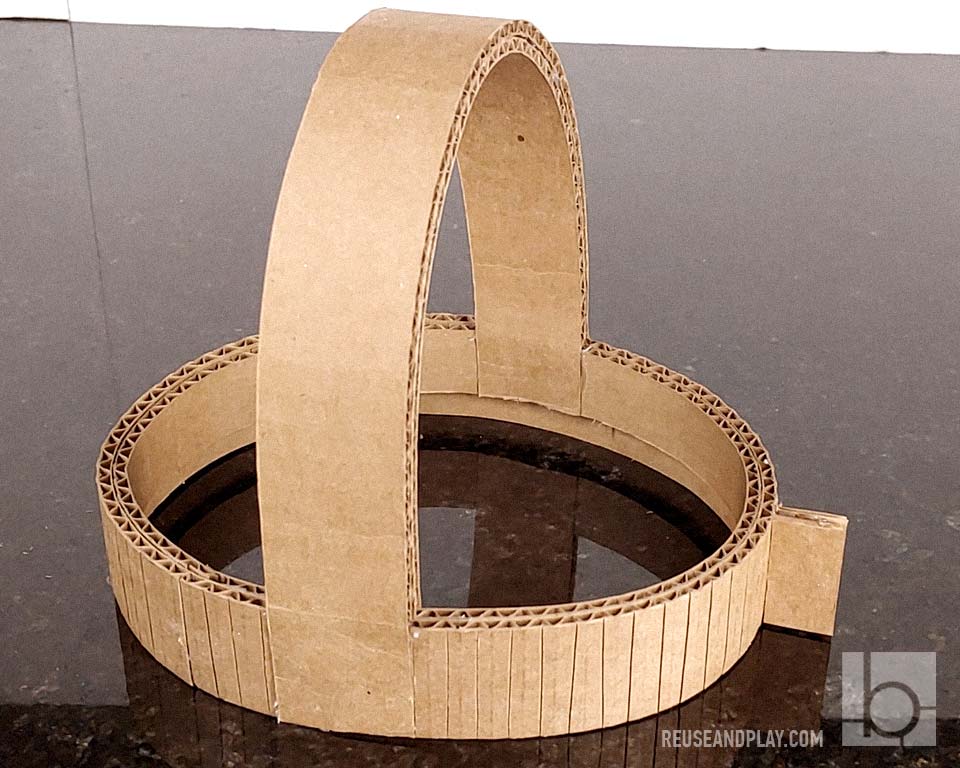
To create a supporting loop you need to try on it first to be sure that it’s height is enough to match Skull eye openings with actual eyes. Fix it with tape first, give it a try, adjust if needed, and glue when you are sure it works well. See how much close to the face you want Skull front and add a front loop to secure that position. Put some glue in the middle of the top supporting loop and front loop – glue them to the mask. READY!