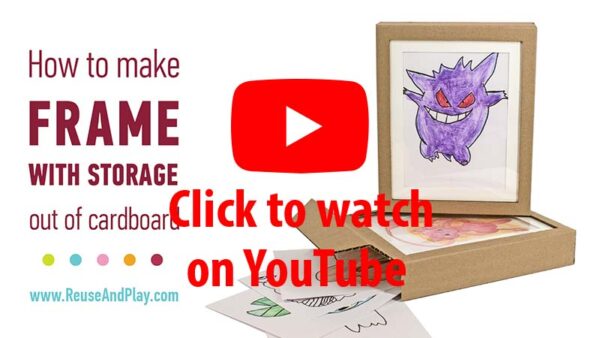
This Easy Change Cardboard Art Frame DIY Tutorial will walk you through a straightforward process to craft a minimalist frame from cardboard. It’s the ideal solution for displaying the ever-growing collection of your child’s art. With its simple and swift picture-changing pocket and a cleverly concealed compartment for storage, this frame is not just about aesthetics but also functionality. Plus, it’s an eco-friendly project that breathes new life into leftover cardboard boxes. So, let’s start crafting and create the perfect showcase for your cherished art memories!
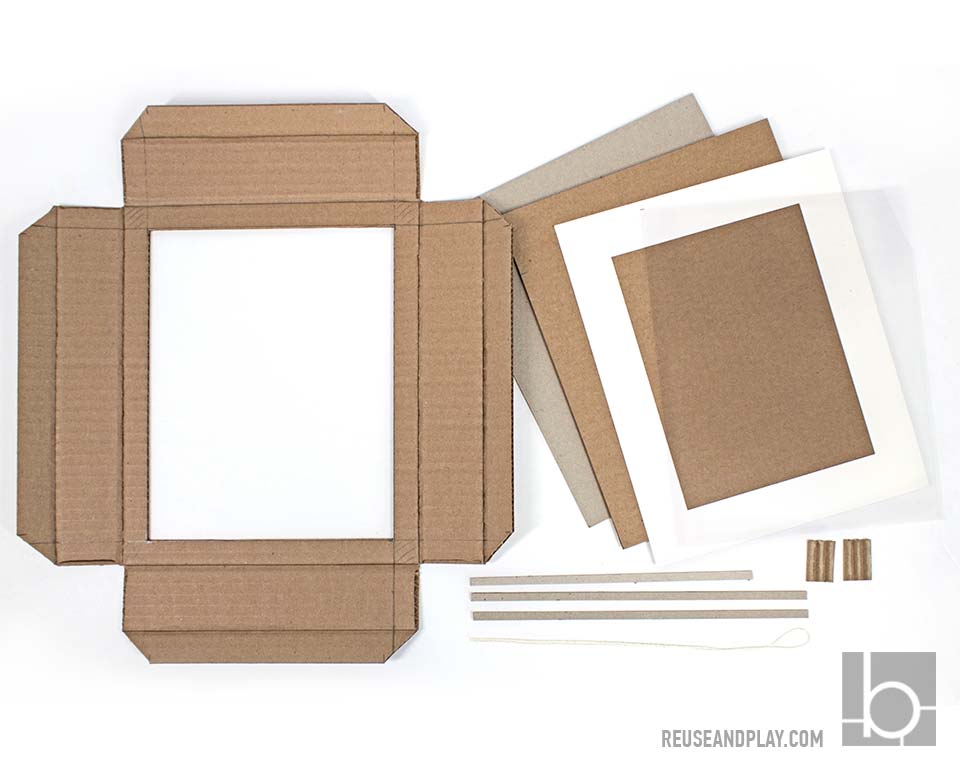
This picture frame can easily be crafted from any type of cardboard. Nearly any delivery or packaging box you have can be repurposed for this project. Gather your materials and you’re ready to start.
If you don’t have a big enough piece of cardboard you can glue several pieces together. You’ll find tips on effectively gluing cardboard in the craft tips section.
Part 1.
Draw a frame template
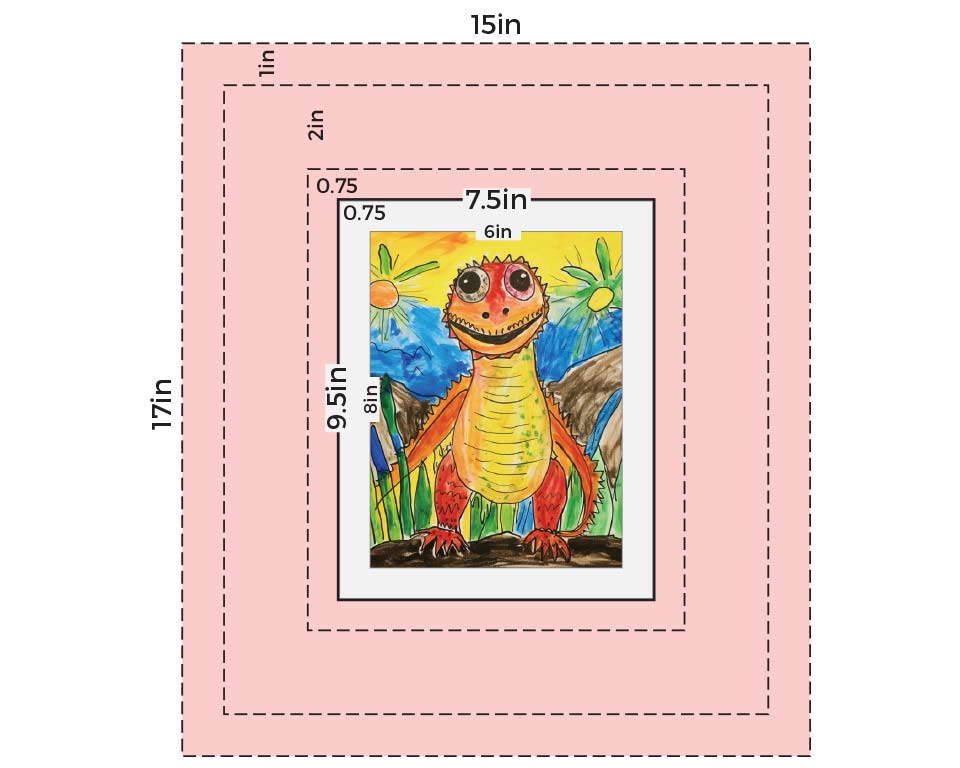
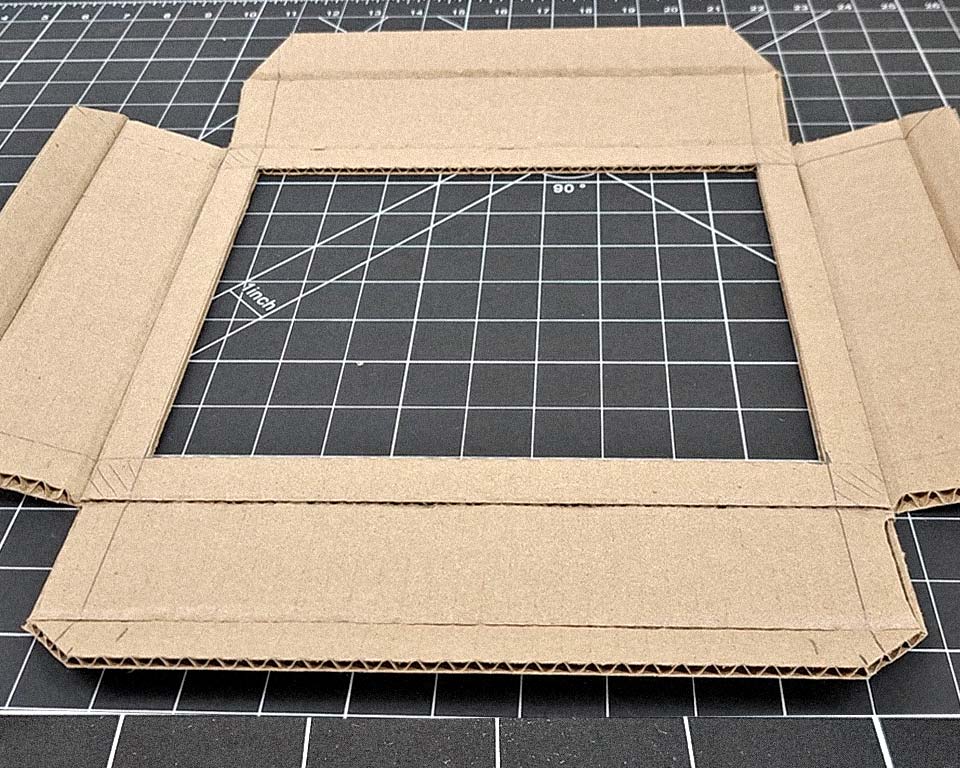
Start with a piece of cardboard measuring 17×15 inches (43.2×38.1 cm). Measure and mark: a) Back flap – 1in (2.54cm). b) Thickness of your frame. This part of the cardboard frame will be 2 inches (5.1 cm) wide. c) Front frame width – 0.75 in (1.9cm). d) Frame opening in the center is 9.5×7.5in (24.1x19cm).
Materials you need
Frame dimensions Vertical view
Frame dimensions Horizontal view
Part 2.
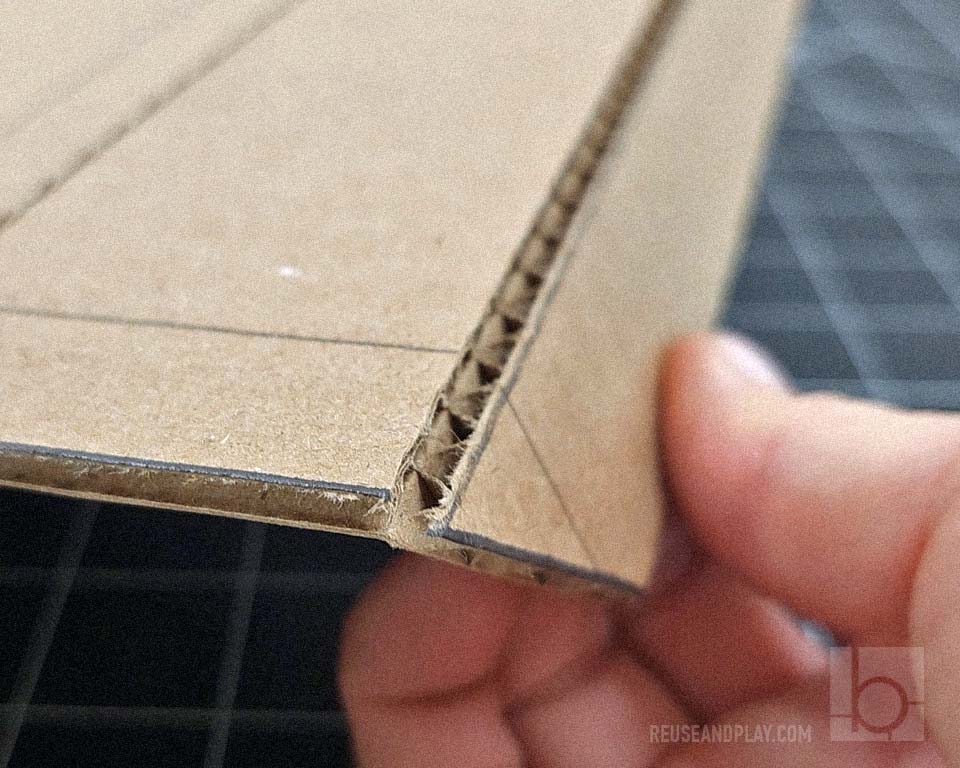
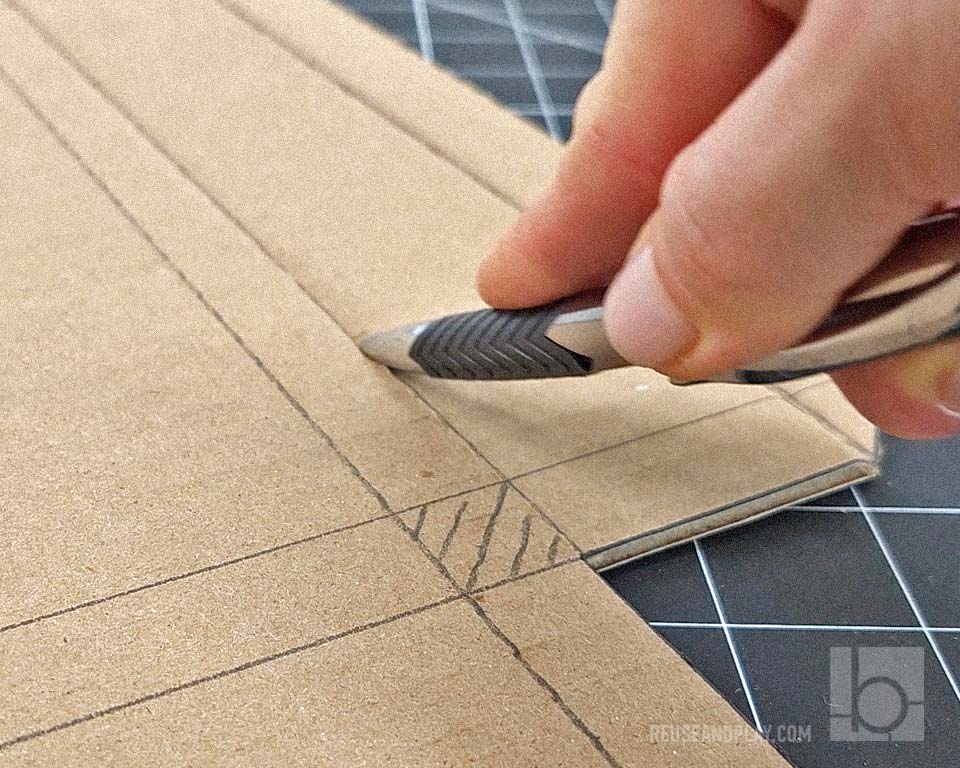
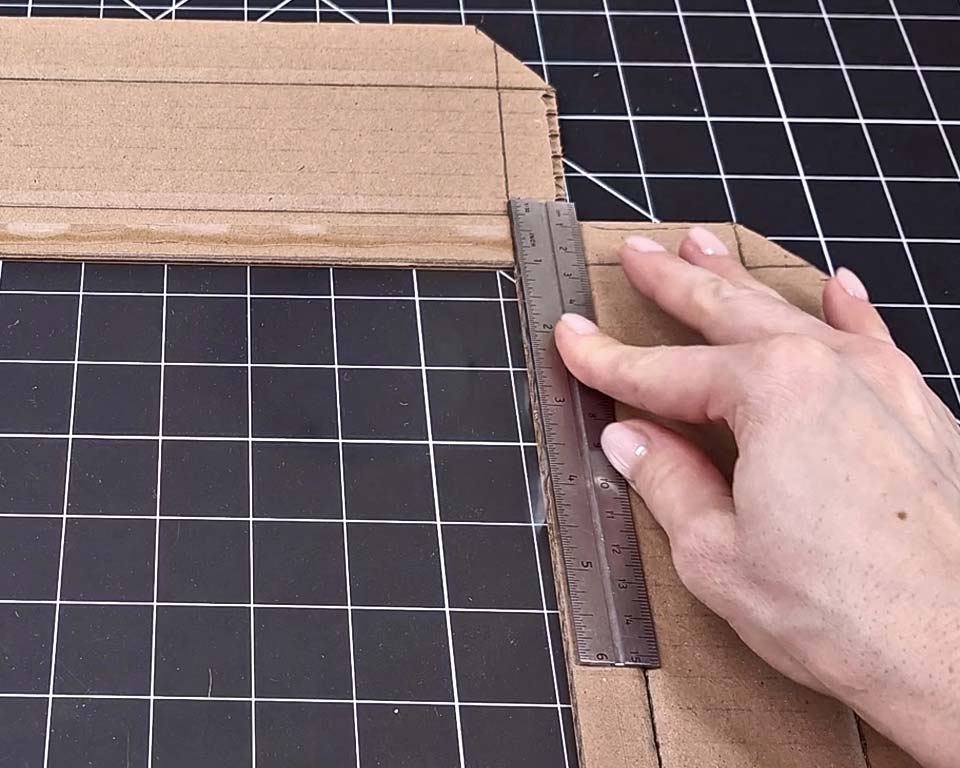
Corner cut
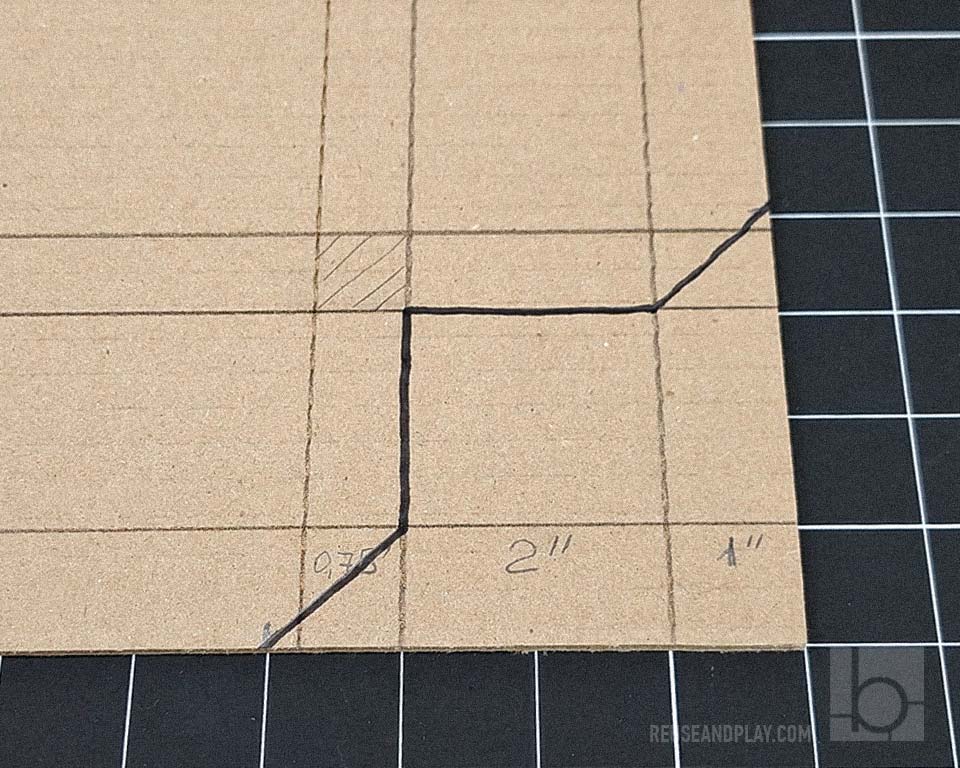
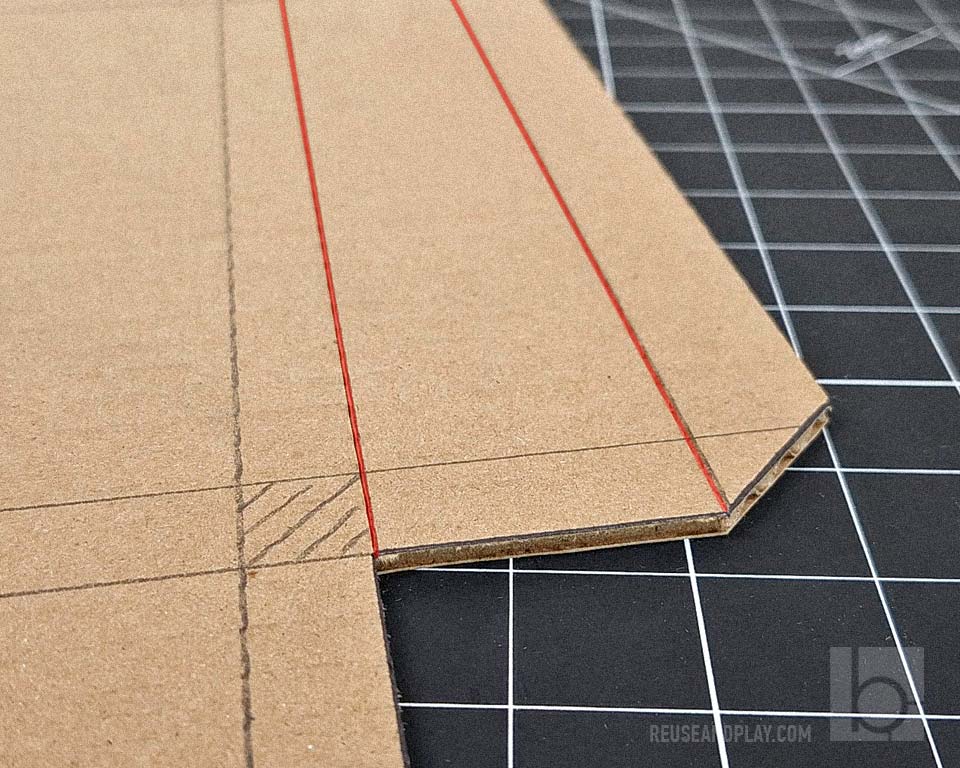
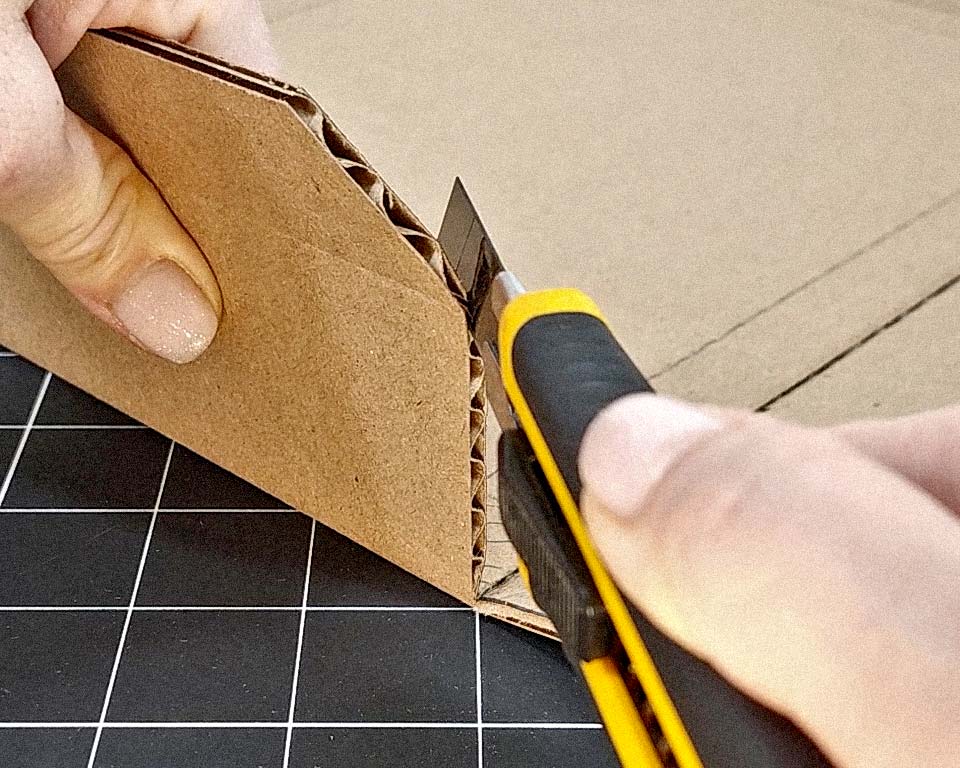
Mark the diagonal corner cut lines, ensuring they’re slightly longer than the frame’s front width of 0.75 inches. These lines should be about 1 inch long to match the back flap’s width, allowing for proper corner alignment.
Frame Corner Cut line
Frame Corner Cut
Part 3.
Frame Sides
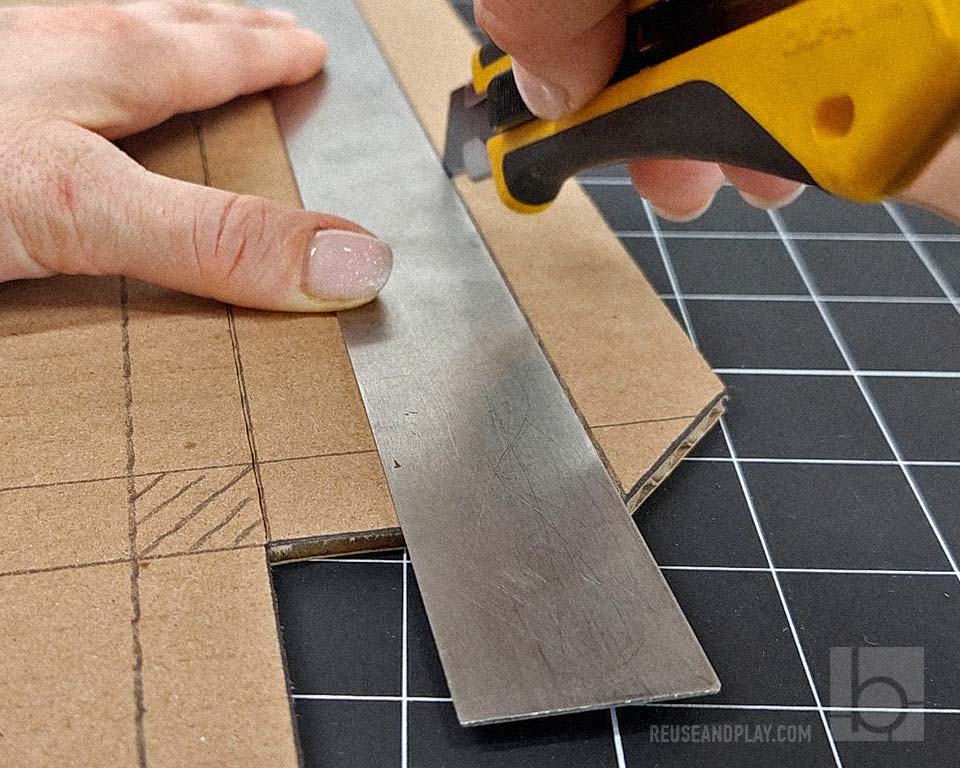
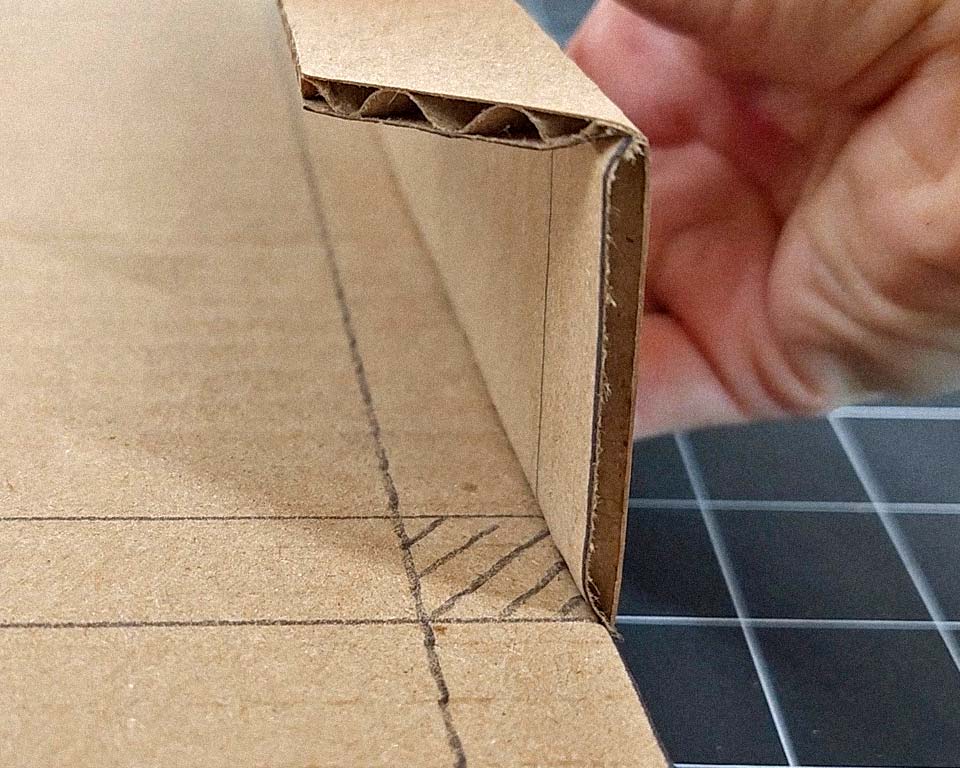
Cut half-depth slits along the sides of your cardboard. Test these slits to ensure they can open outward smoothly. Then, use a blunt tool to gently crease along these slits. This will make it easier to fold them inwards when assembling your frame.
Side half slits
Cut half through
Check how easy it bends
Crease slits with a blunt tool
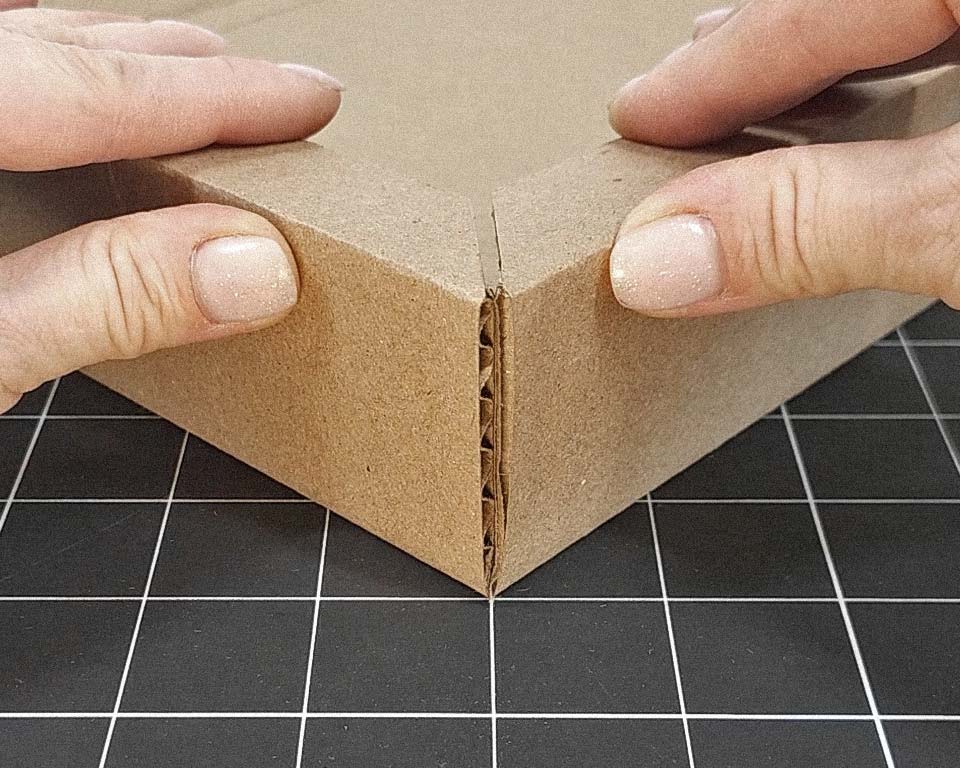
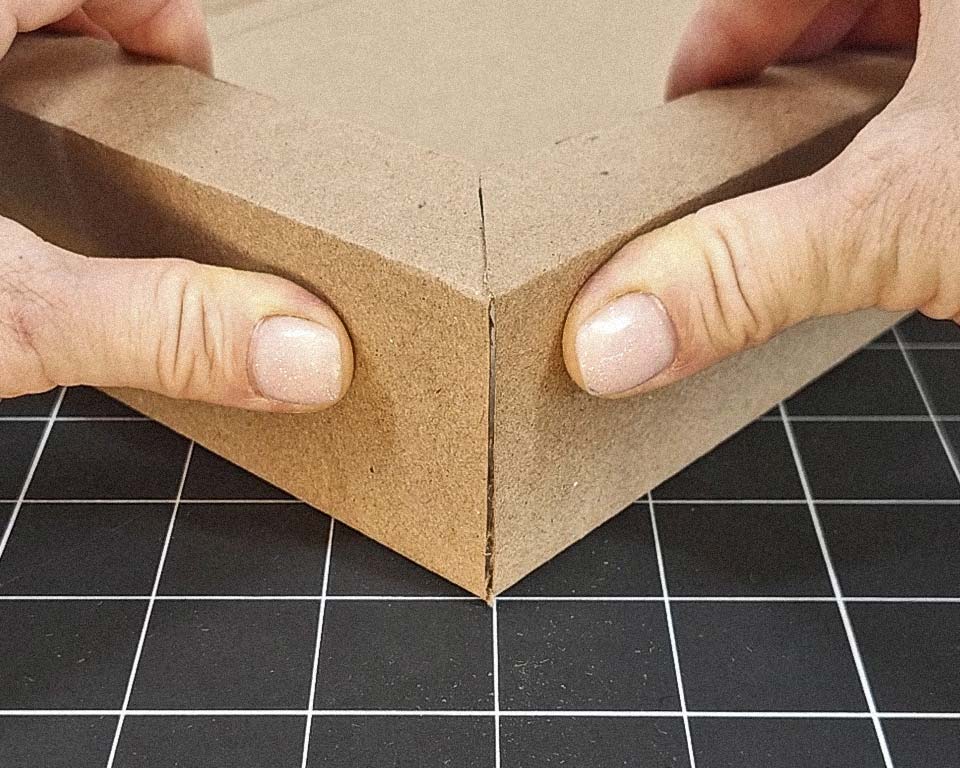
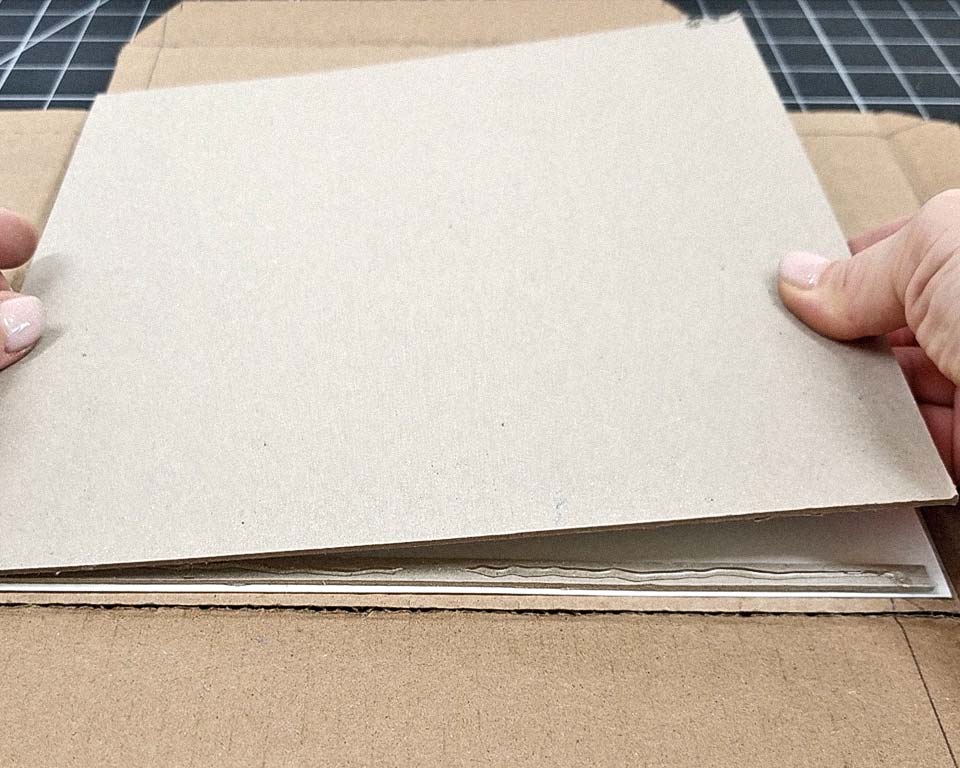
Once you fold the sides inwards, inspect the corners. The cardboard’s thickness may hinder a tight closure. Carefully trim any excess cardboard at the corners for a better fit. Then, check the fit again to ensure a neat and snug corner closure.
Fold the frame sides
Check the corner fit
Cut off extra cardboard
Check again
Part 4.
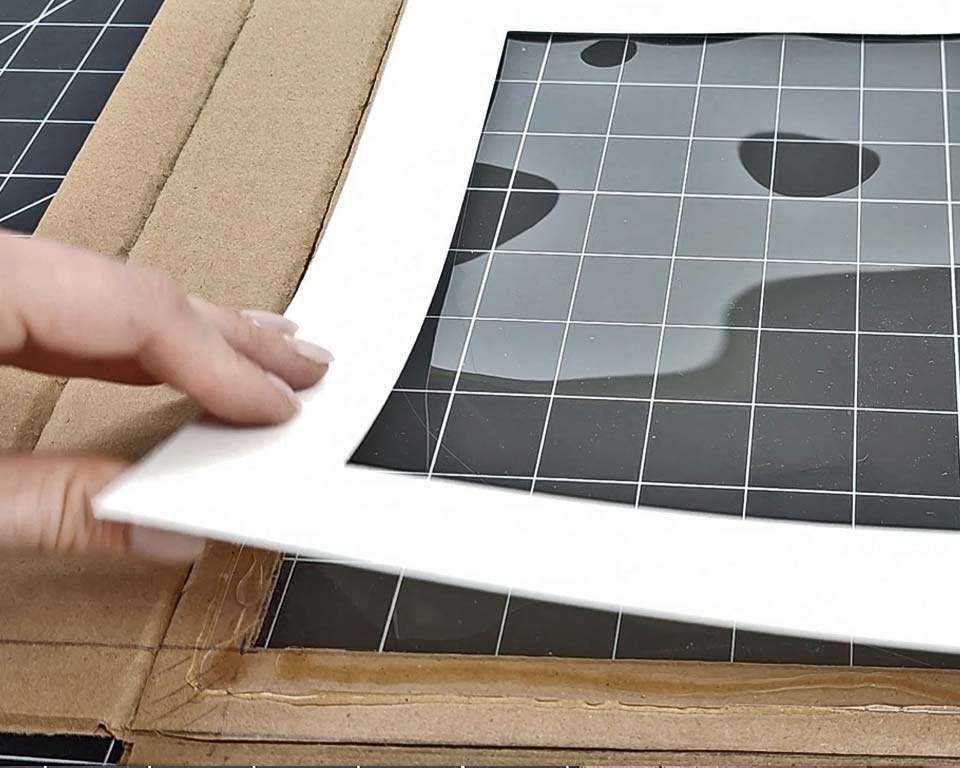
Lining your frame
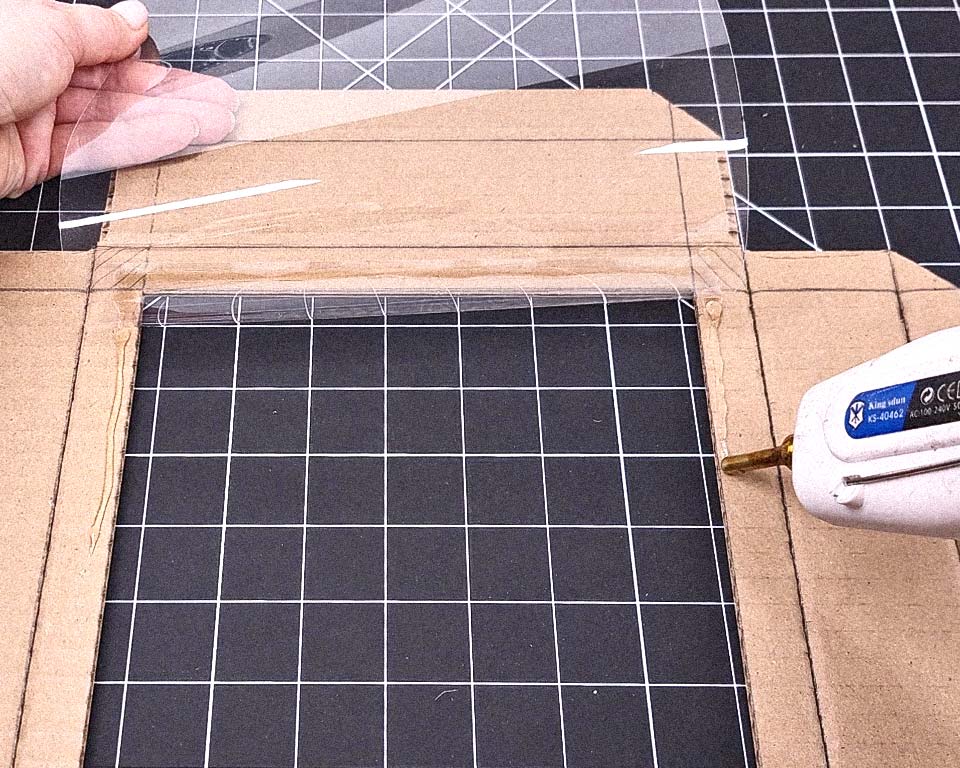
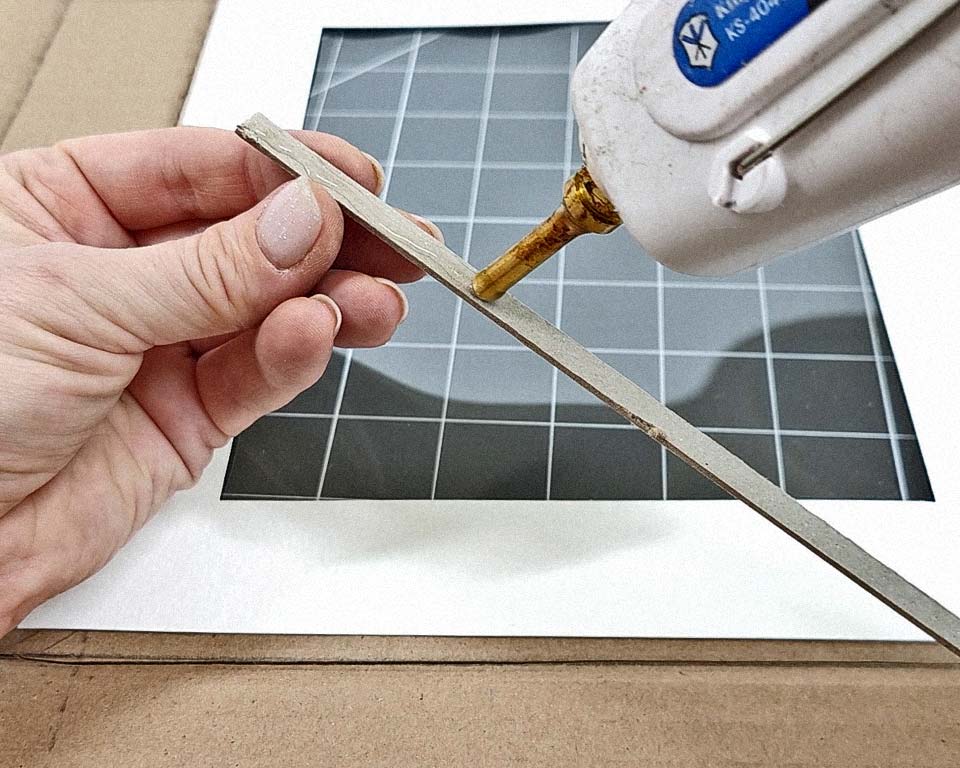
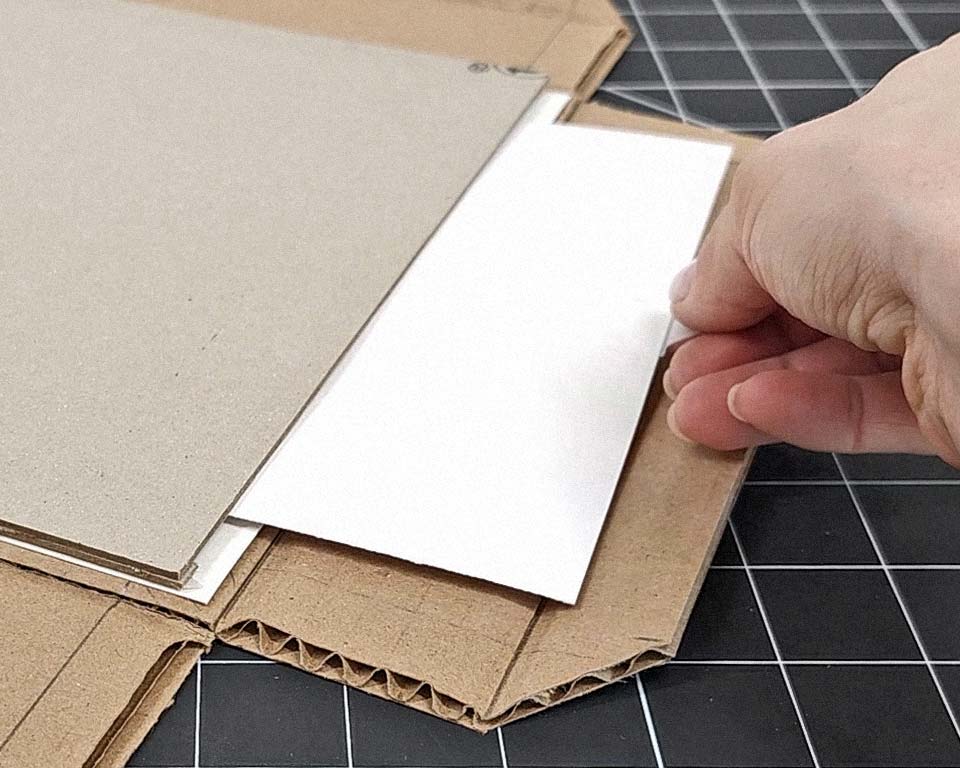
Take a sheet of clear craft plastic and cut it to a size slightly smaller than the frame’s interior dimensions. This will ensure a snug fit when the sides fold. When gluing the plastic to the frame, proceed with caution and in small sections. Be aware that the glue can be very hot, and the plastic is thin. To avoid any accidents, use a heatproof tool to press the plastic onto the cardboard frame securely. Once the plastic is properly set and has cooled down, you can then proceed to glue white paper to the back of the plastic. This step will give a clean, finished look to your frame.
Cut out inside part of the frame
Glue Clear Plastic
HOT! Use tool to press the seam
Glue the white paper
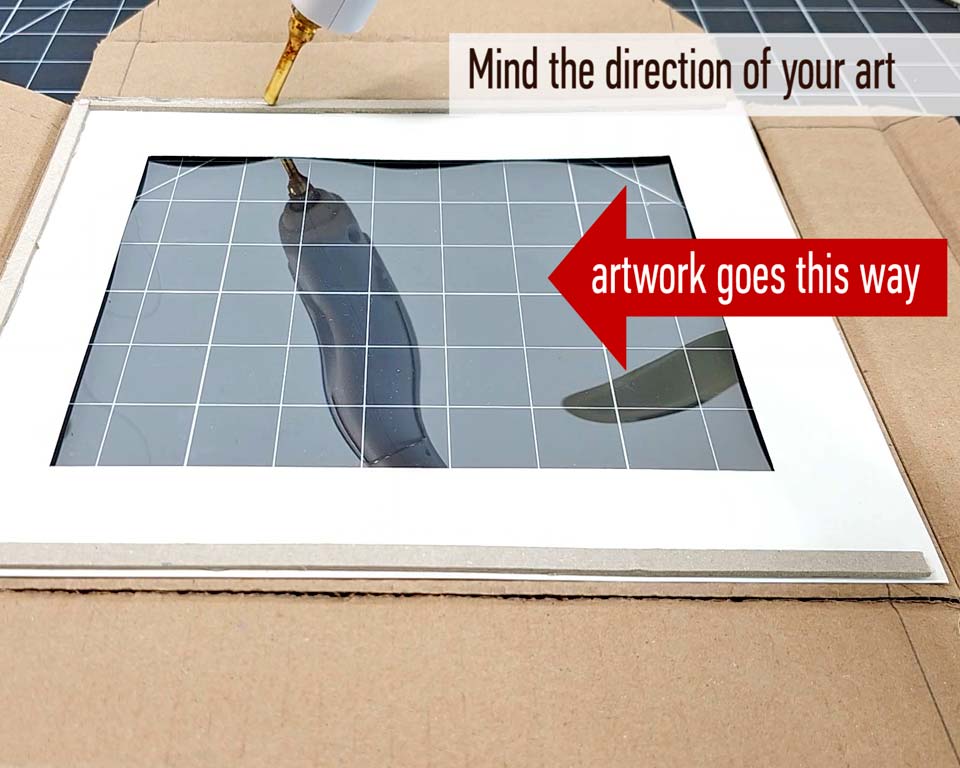
Create depth for your artwork by gluing thick cardstock strips around the art compartment, leaving one side (horizontal or vertical, depending on your art’s orientation) without a bumper. Then, glue a solid cardstock piece on top to form an artwork pocket. Finally, test the fit with your artwork.
Glue cardboard stripes
Mind the art direction
Glue the backing
Place art sample and check
Part 5.
Making storage
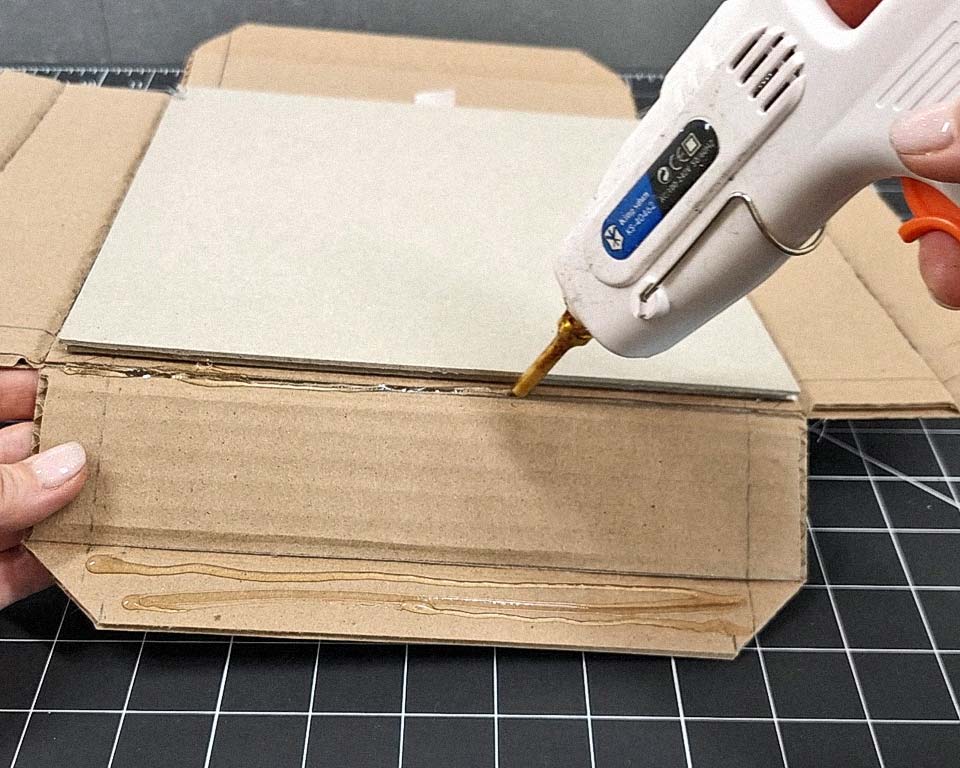
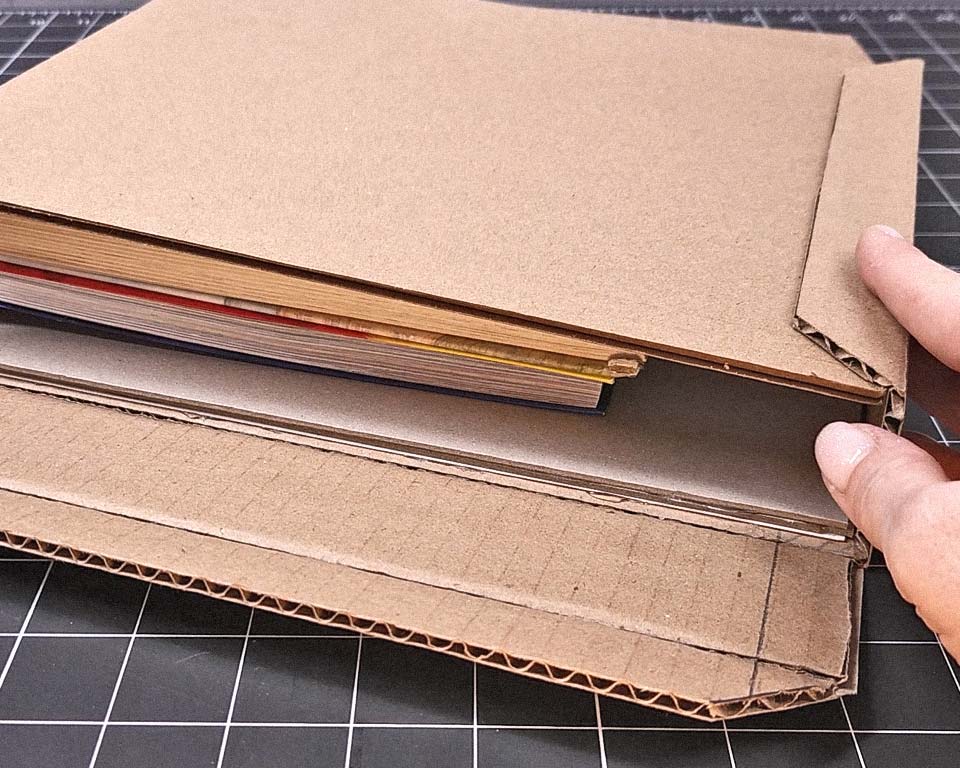
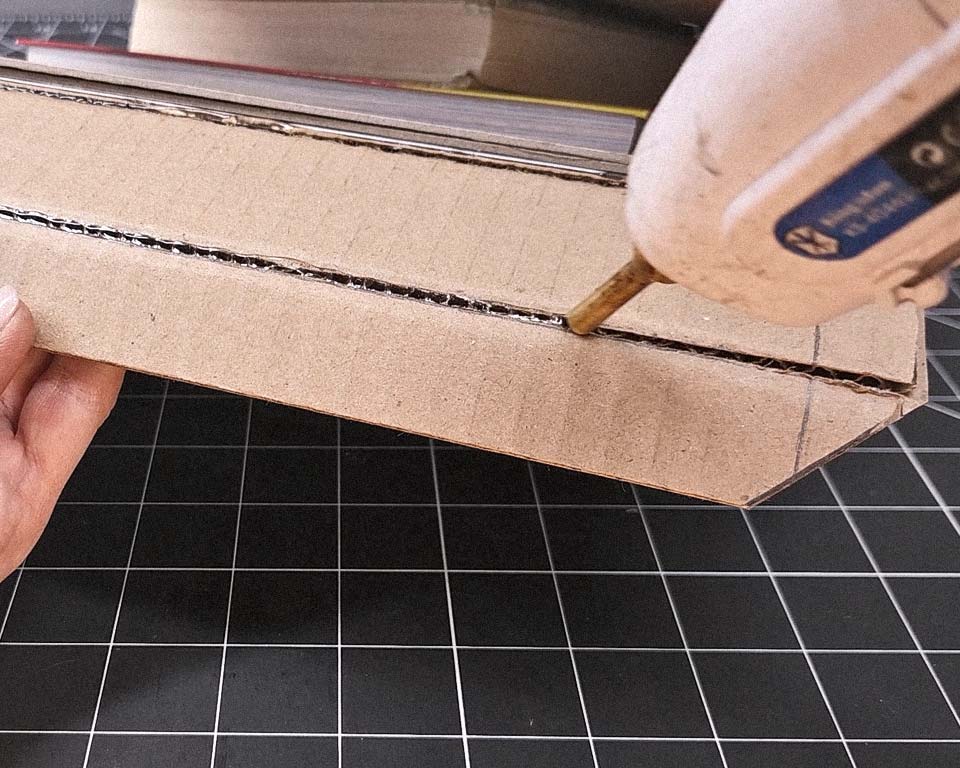
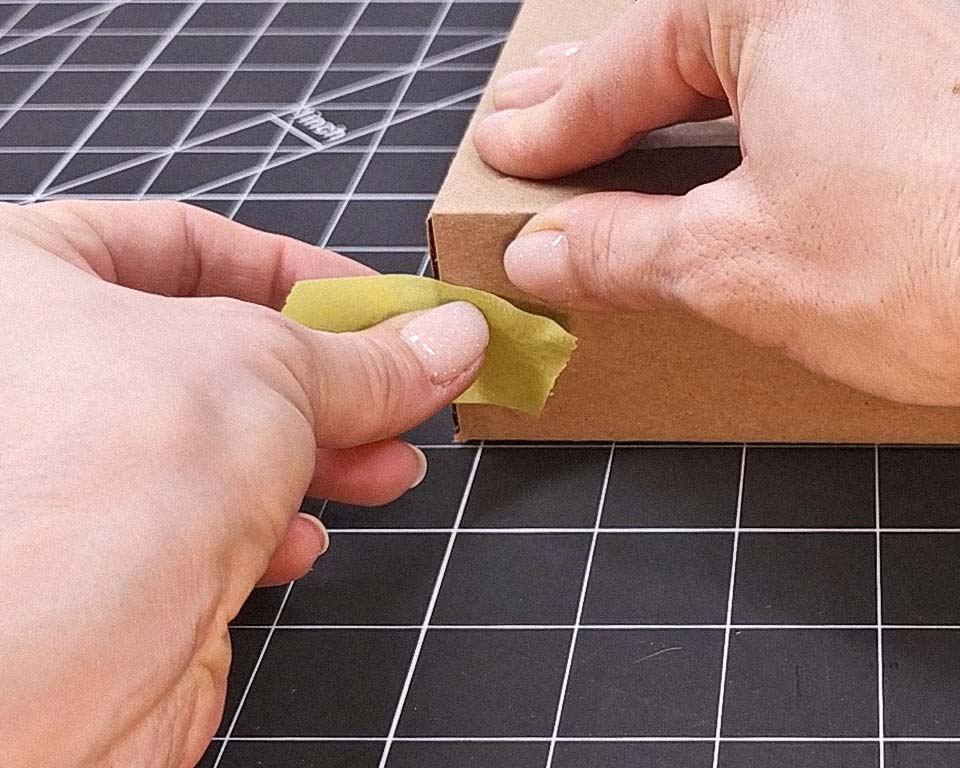
Open the bottom flap and apply hot glue to the slits and its inner side. Then, attach the back panel and fold it to create a storage compartment. Place heavy books inside temporarily for support. Glue the remaining sides, using masking tape on the corners to secure them while the glue cools.
Put the glue in the slits
Put temporary support inside the compartment
Glue other side
Tape corners with masking tape
Part 6.
Finishing
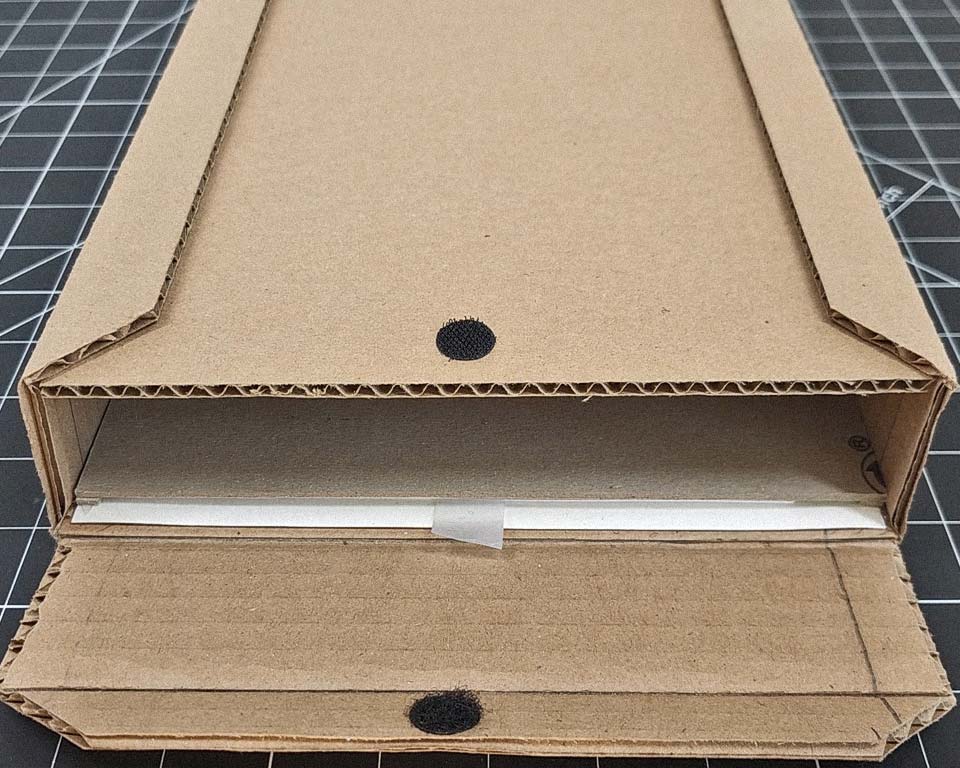
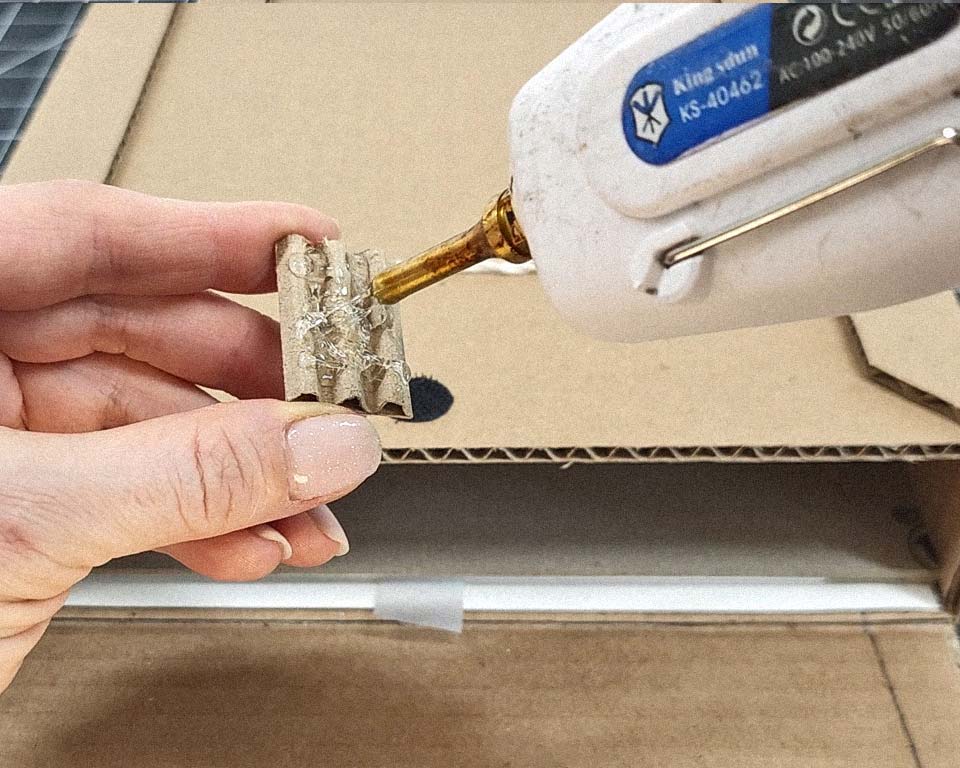
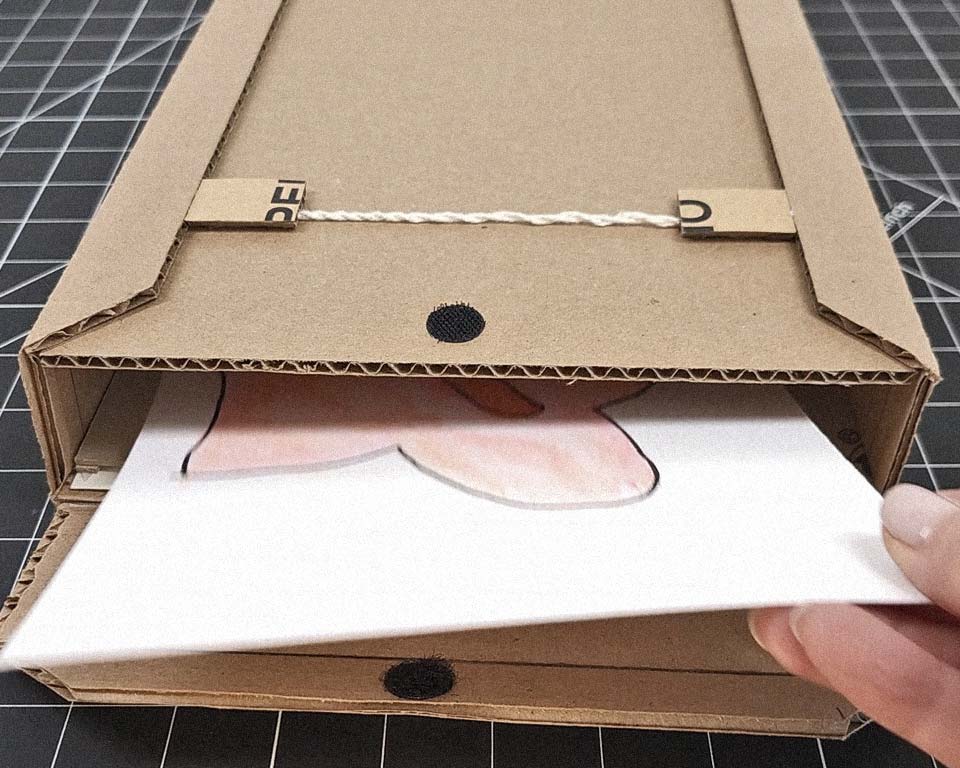
Attach a self-gripping fastener to the top side for closure. Create a hanging string with thick thread and cardboard pieces. Fill the storage with artwork and admire your creation!
Put a self-gripping fastener
Glue thread holders
load with your art
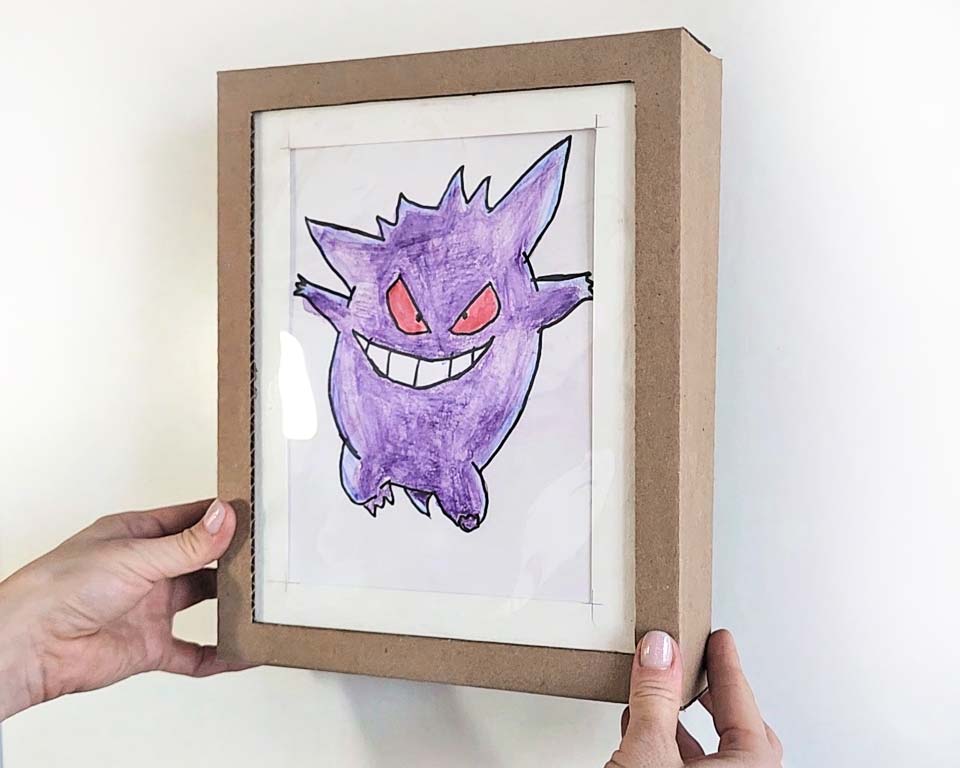
Enjoy!
This Easy Change Cardboard Art Frame DIY project offers a creative and sustainable way to display and store your favorite artworks. With just a few simple materials and steps, you’ve created a versatile and stylish frame that not only showcases your art but also keeps it organized and easily interchangeable. Happy crafting and enjoy your new, custom-made art display!