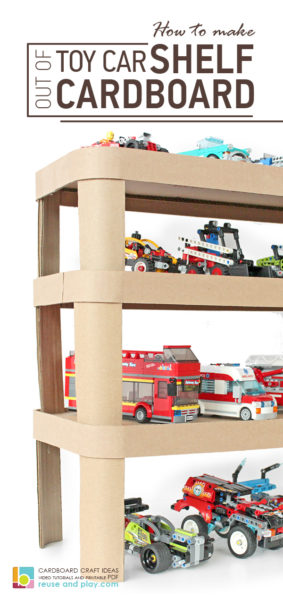
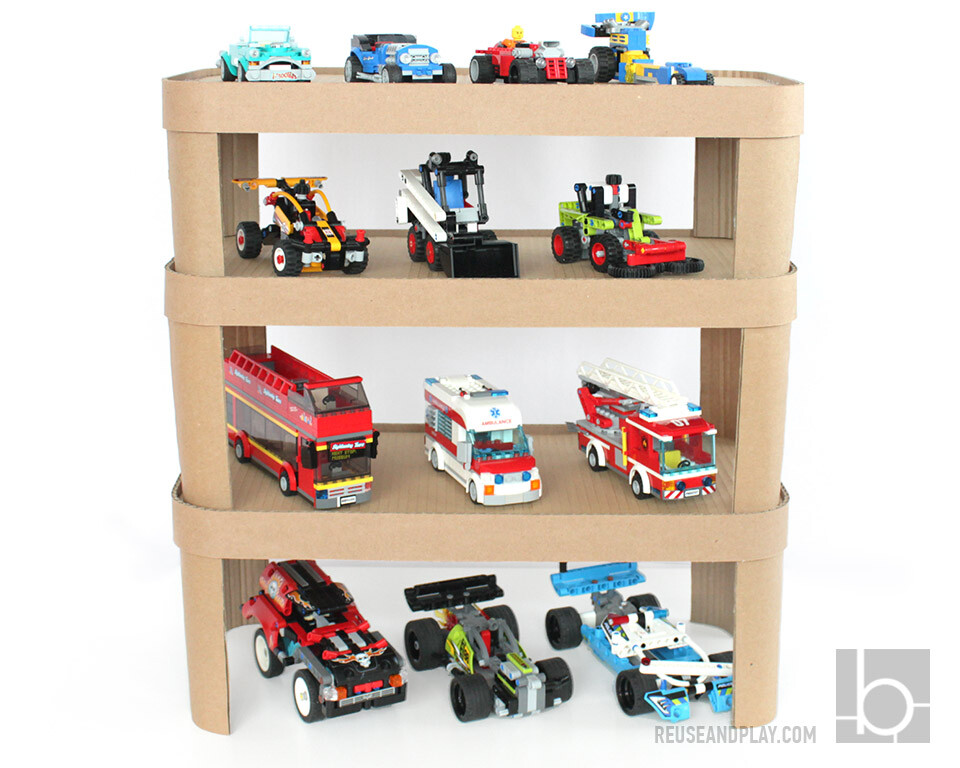
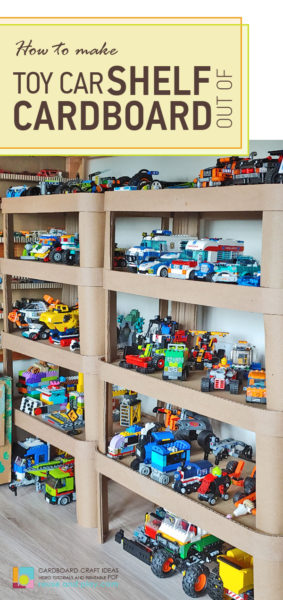
If your kid has a lot of toy cars or other small toys you will find this Toy Car Shelf post pretty useful and easy to make.
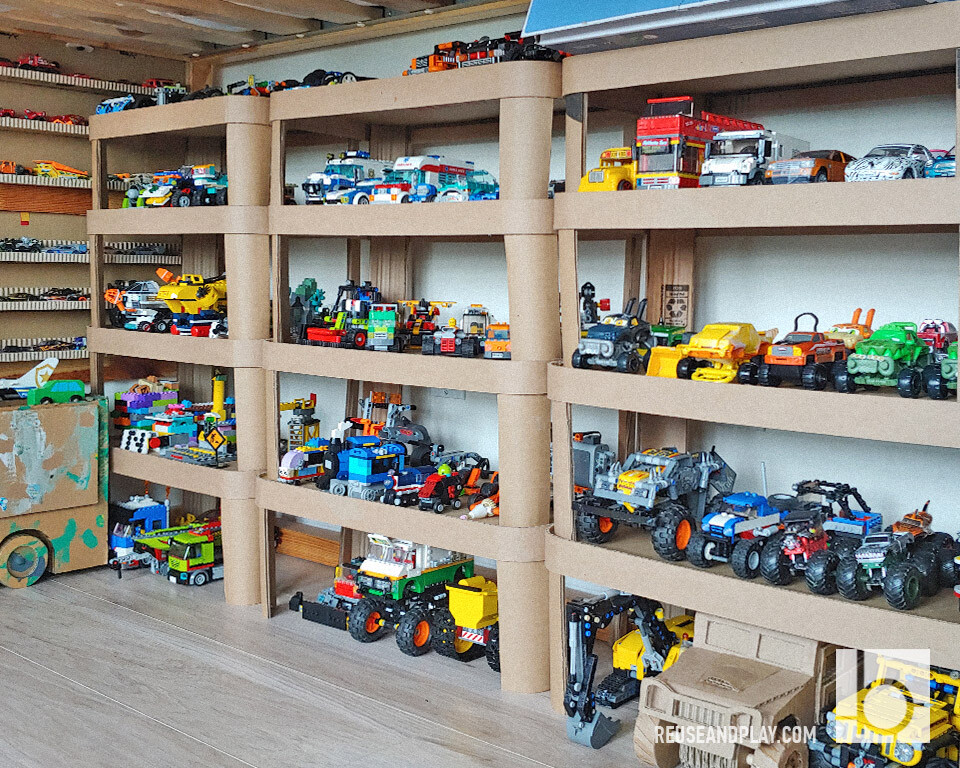
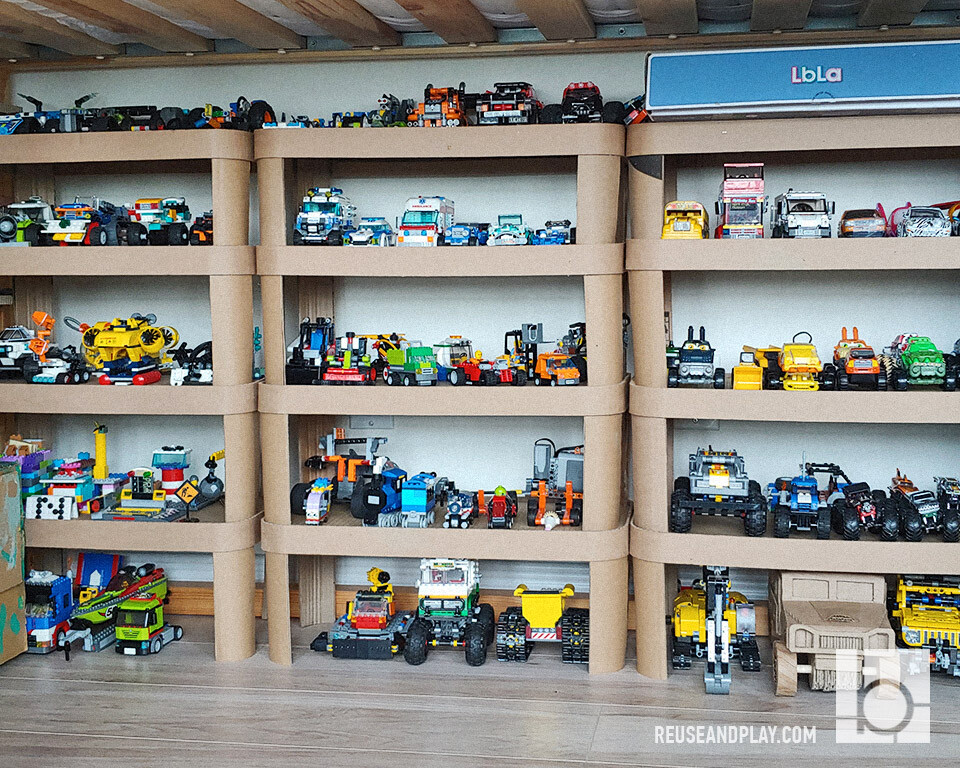
Our kid’s room is filled with cars, mostly they are small like Hot Wheels and Matchboxes. I have already made a small wall toy car shelf for them. A link will take you to YouTube to watch a video tutorial. Those small toy shelves work great, but a great variety of bigger cars needed home as well. They used to be displayed on a big toy car display garage near the wall (visit blog page). As well the great toy storage was another stackable garage with a gas pump and car washer. Eventually, we gave up a lot of cars along with garages. Yes, nothing was recycled, lol. Each toy found a new owner. And now the time has come to make a simple toy car shelf to display a lot of cars. It has to be simple to make and easy to take apart if needed. Here is our new stackable toy car shelf display.
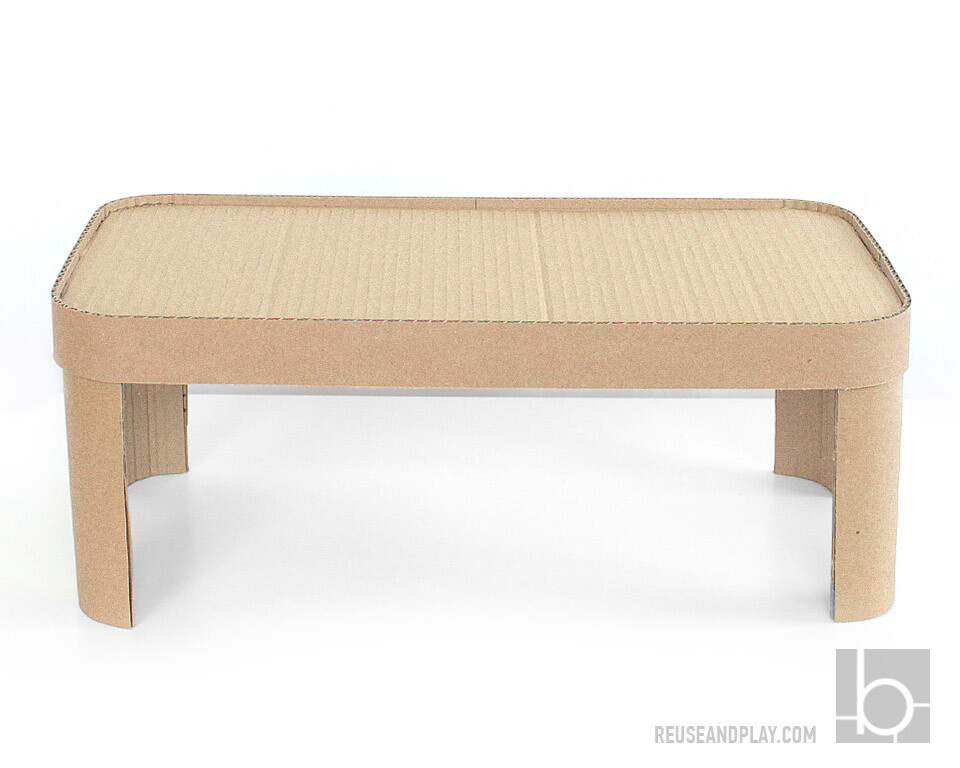
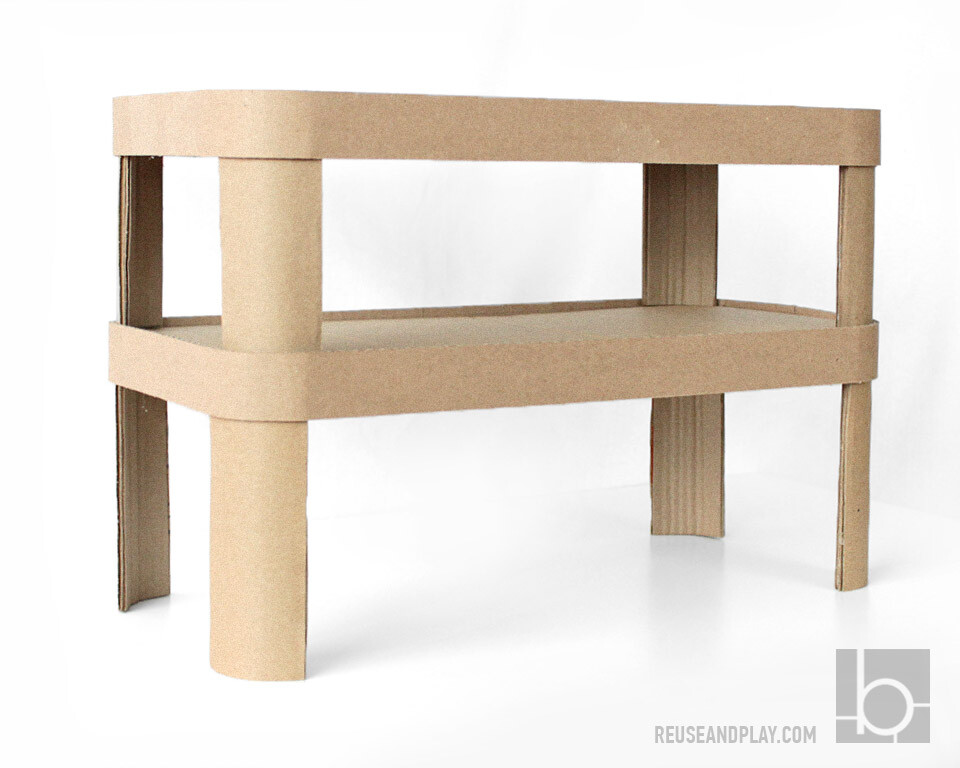
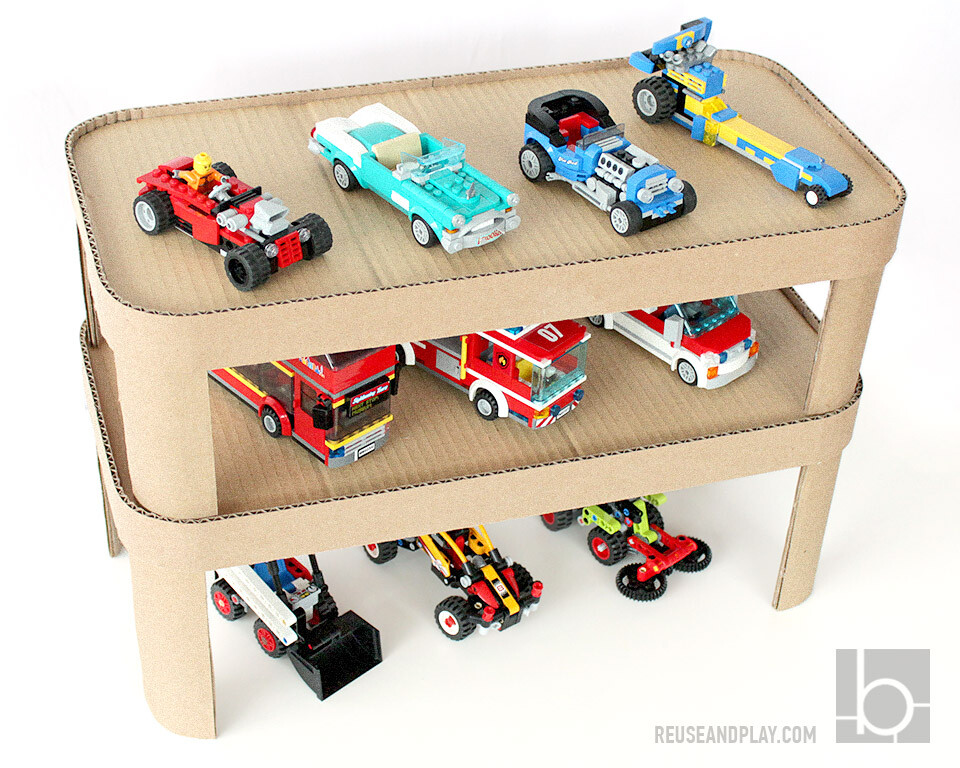
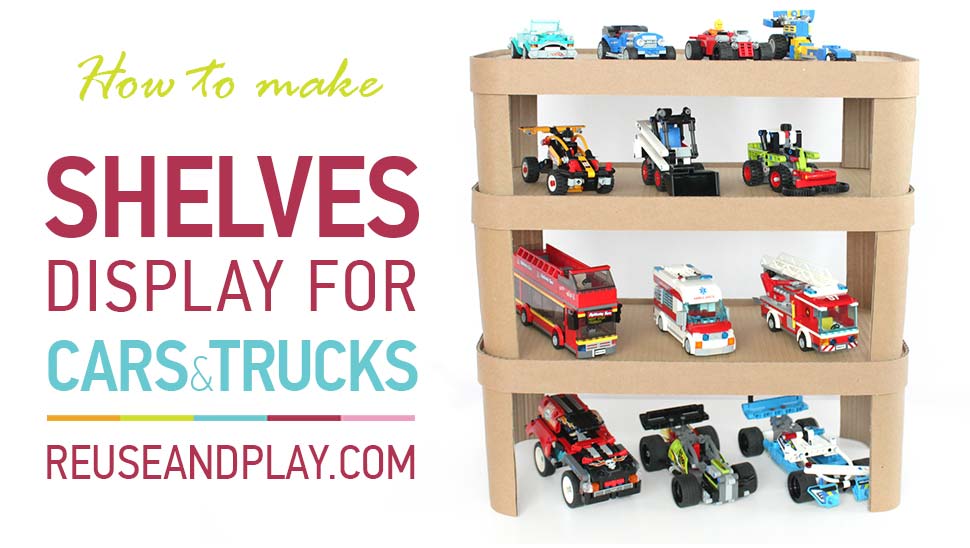
Toy Car Shelf Display stackable table and Garage to organize a lot of toy cars
Toy Car Shelf Display stackable table and Garage to organize a lot of toy cars
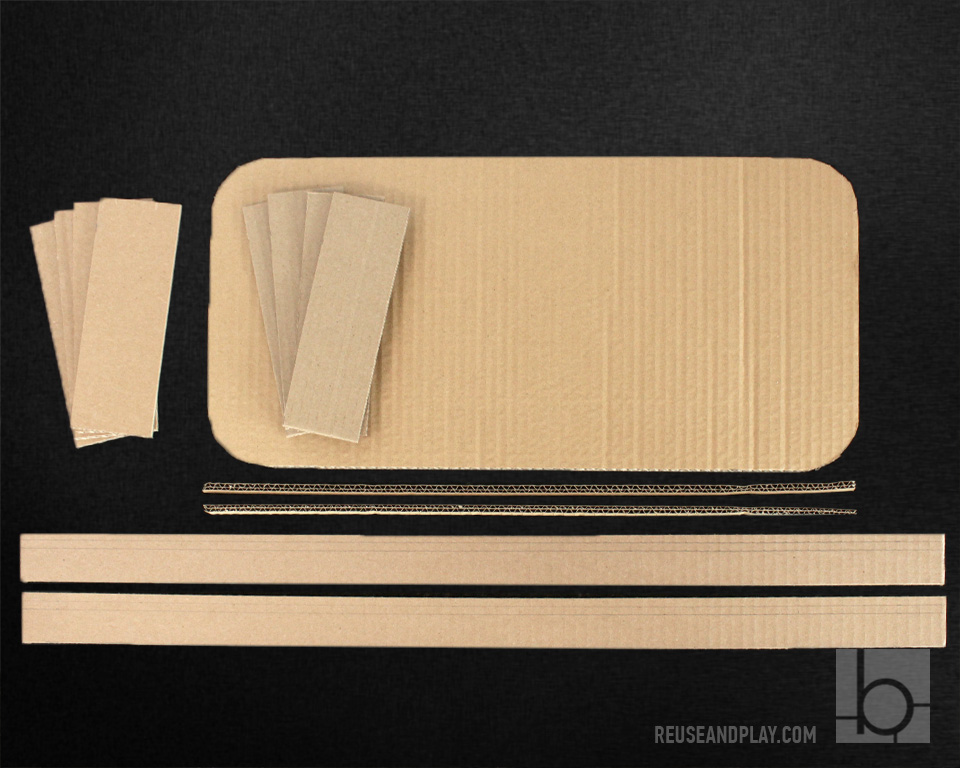
You can make this shelf of any size or adjust given sizes. Base 9.5x19in, corner radius 1.75in. Side stripe width is 1.5in. Parts for legs should be cut with corrugated structure paralleled to the height (5-7in) and 2.5-3in width.
Cut out parts. There are few of them: deck, rectangles for legs, two long stripes (or several shorter ones) for sides and two narrow support bars. Mark centres and corners positions. Glue supports under the marked deck position.
Step 1. Prepare Shelf parts:
deck, legs and side stripes
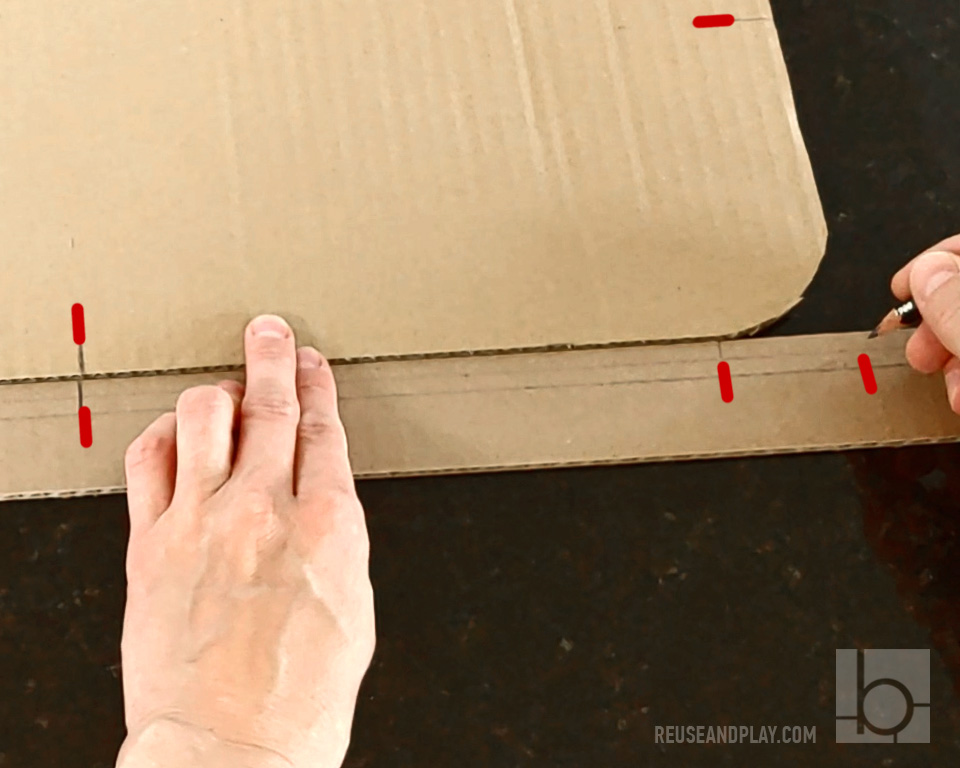
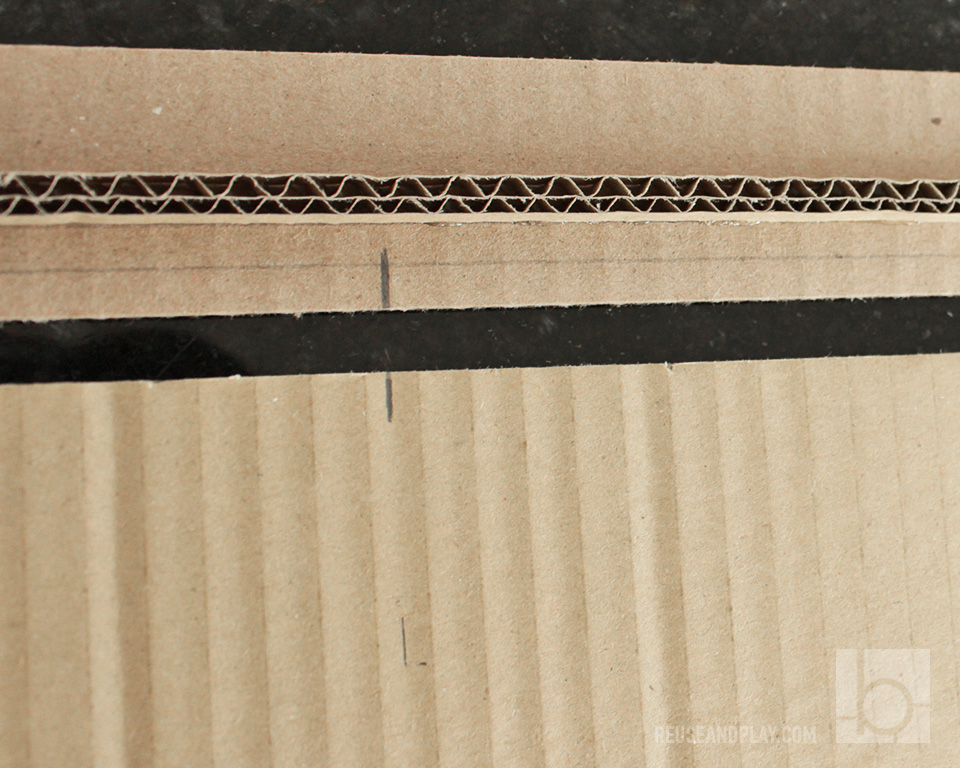
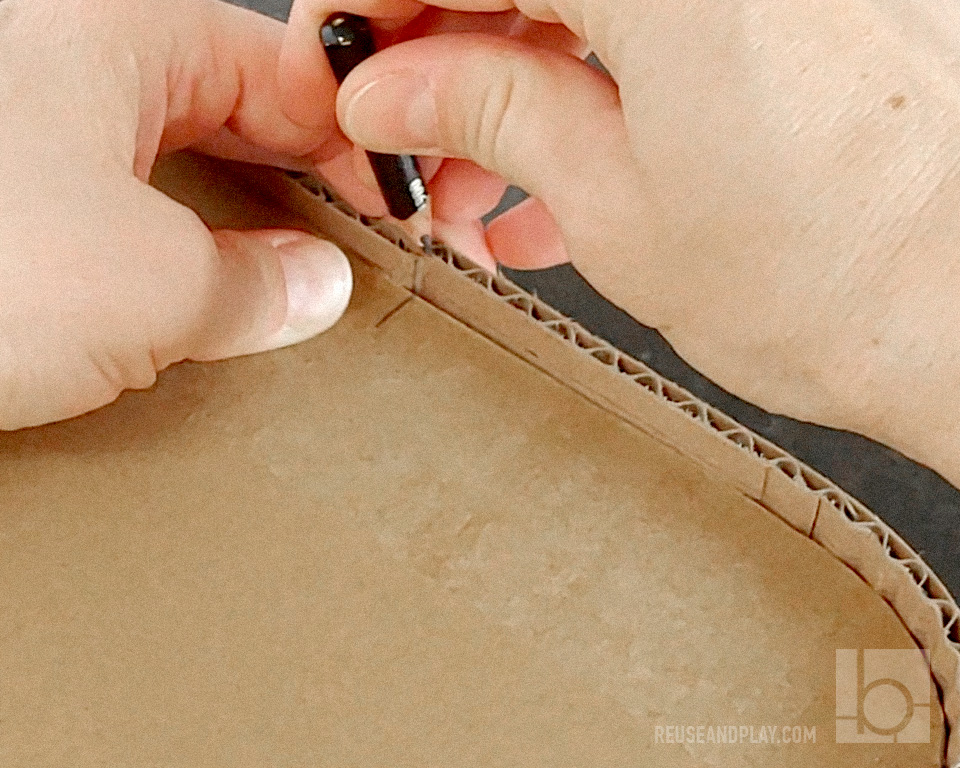
Step 2. Measure and mark on a side stripe small top border, position and thickness of cardboard for the deck.
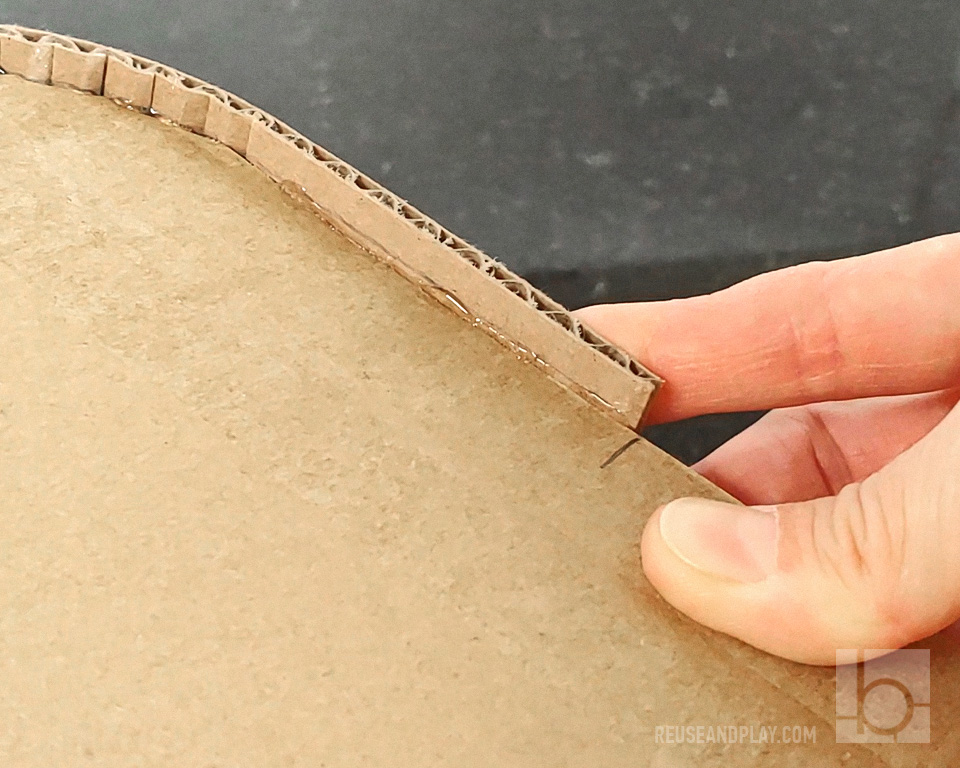
Step 3. Mark centres on a deck and side stripes. And mark corner distance on a side stripe
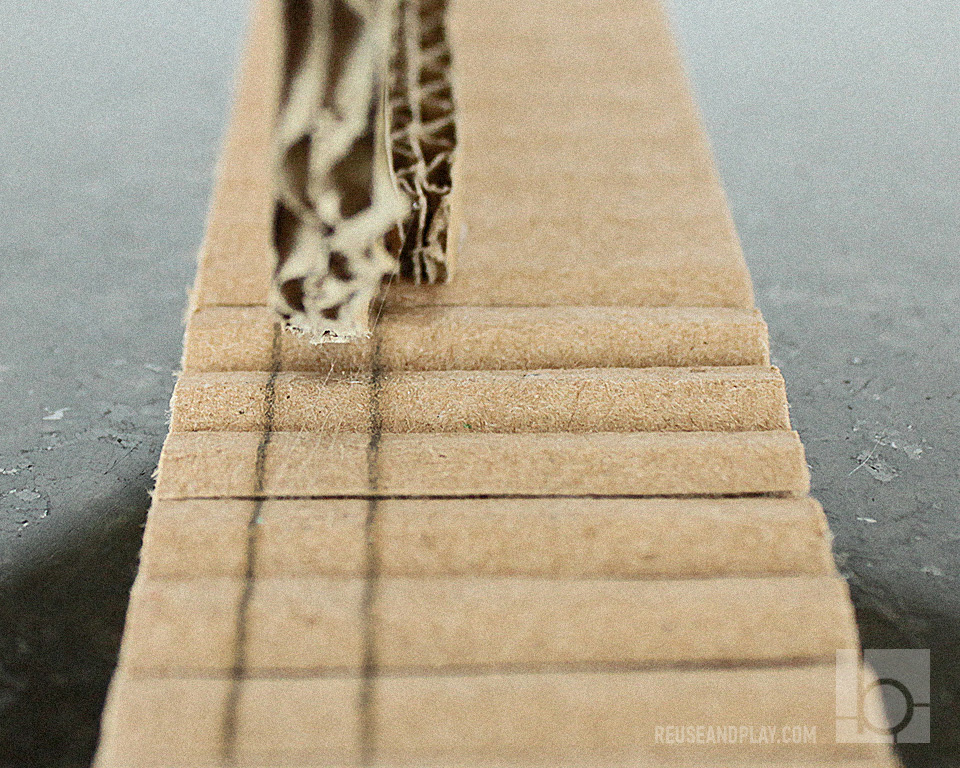
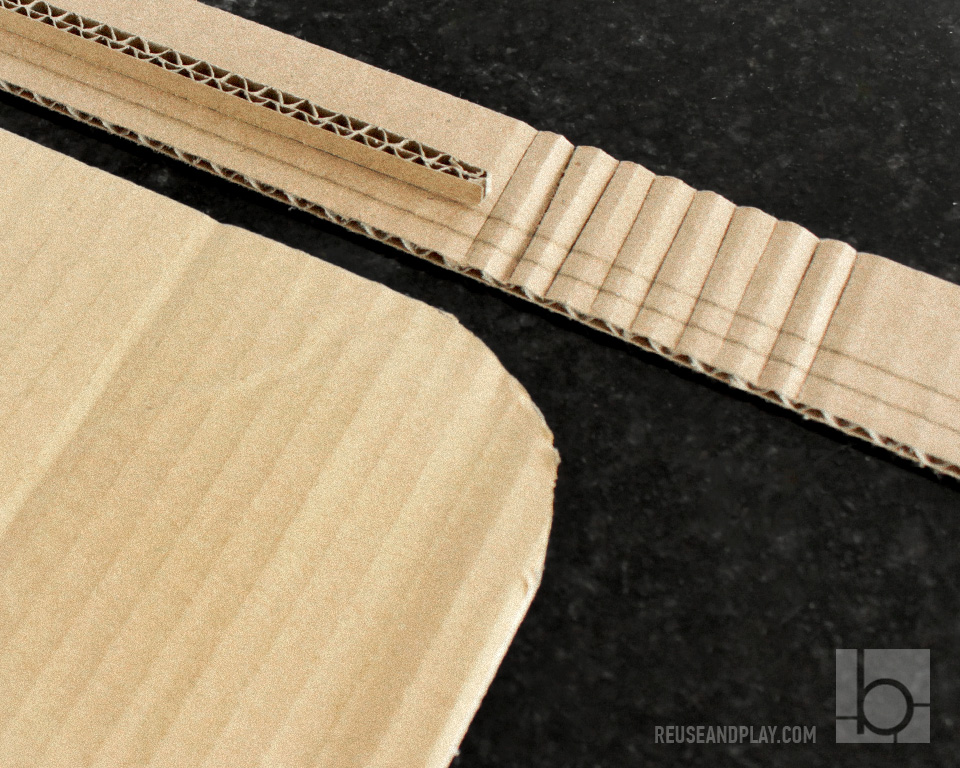
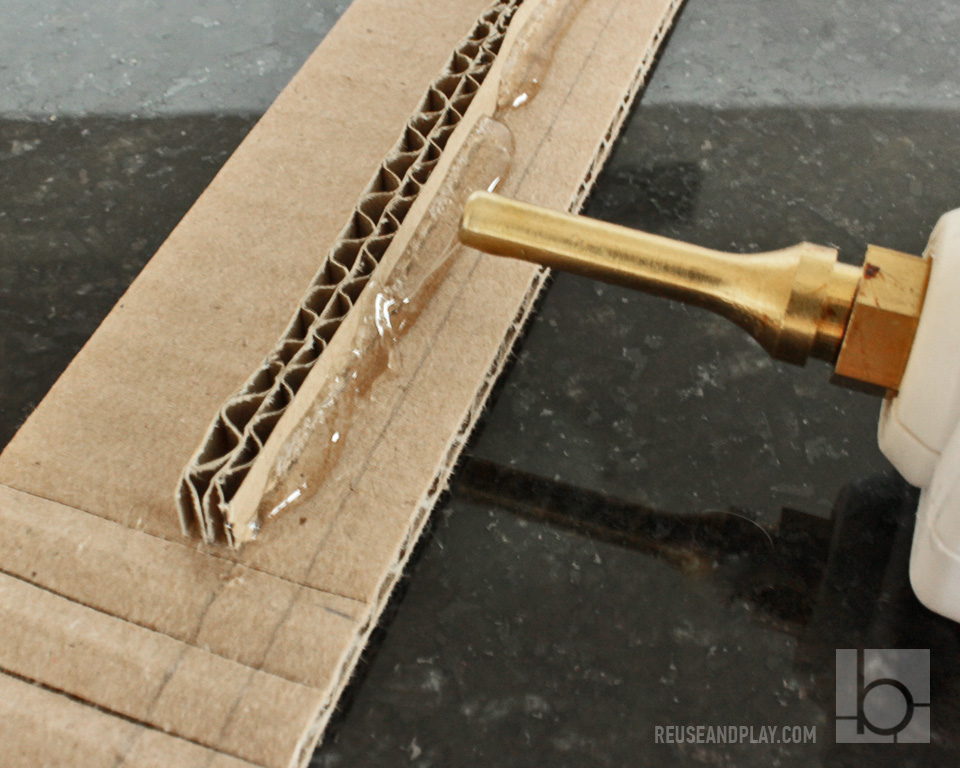
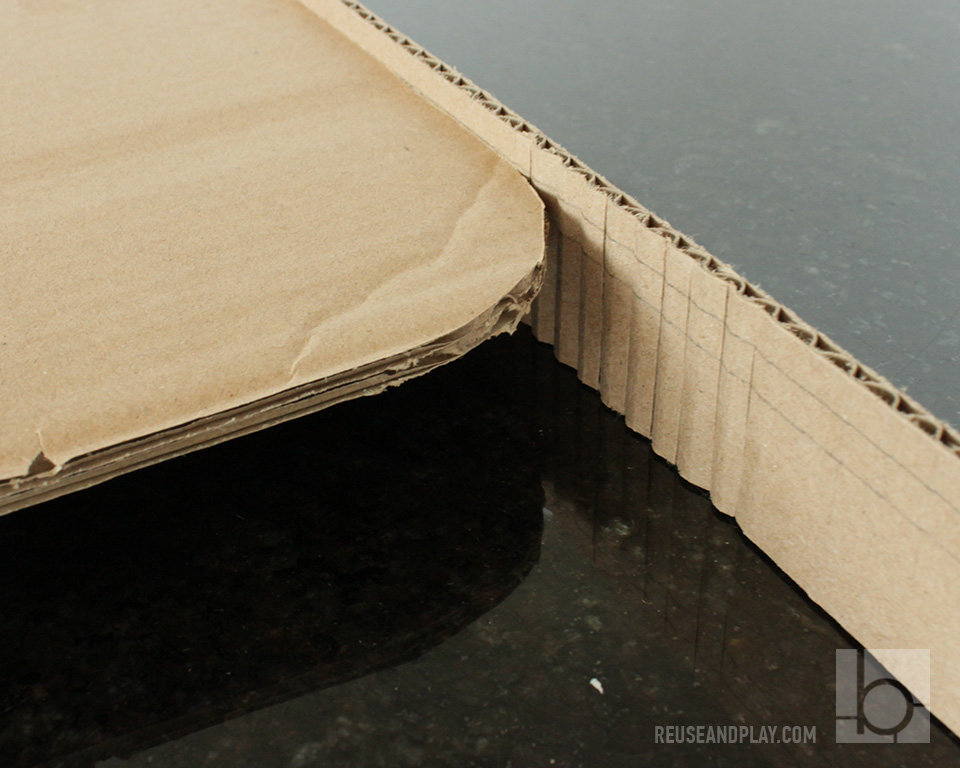
Step 4. Cut half through slits on a side stripe, crease them to make a flexible for corner. Glue Support under the deck position.
How to make a toy car shelf
All templates are ready to print on a regular sizes paper and have to be taped together into one big number or letter template
Cut out Front Template. You can download printable sets of numbers here in my store or you make your own. I used the Prym Toothed Tracing Wheel to trace my template. It’s for sewing, but it worked like a charm for the cardboard too.
Step 6. Align side with a middle of the deck and glue.
Mark the length of the second side.
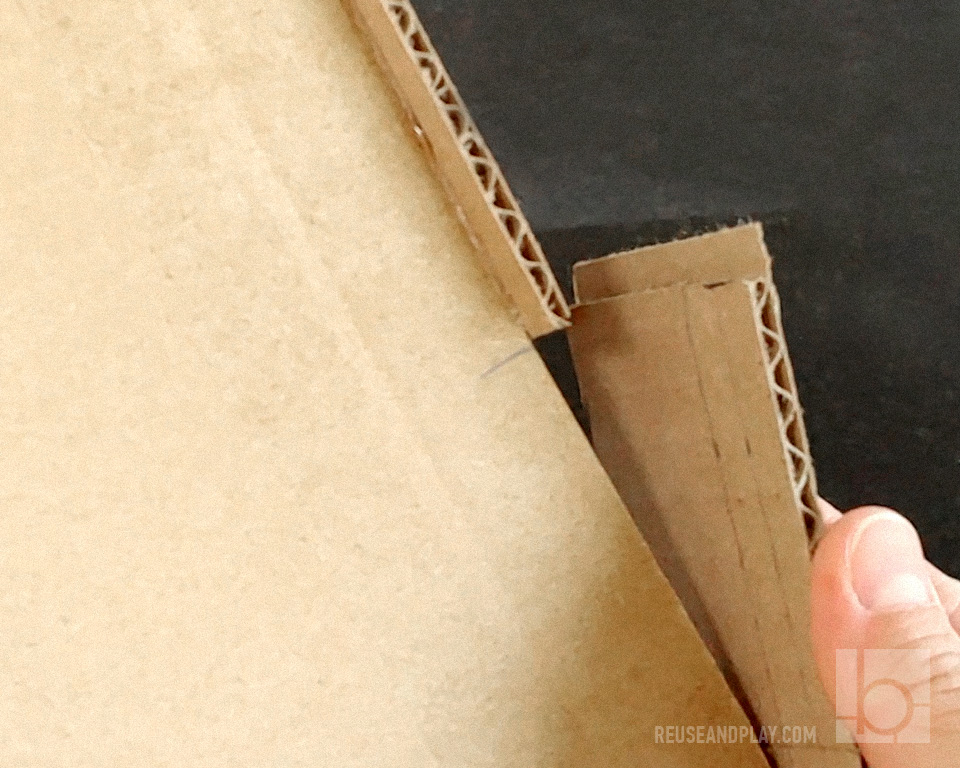
Cut off corrugated structure leaving paper bleed as overlap.
Glue side on place.
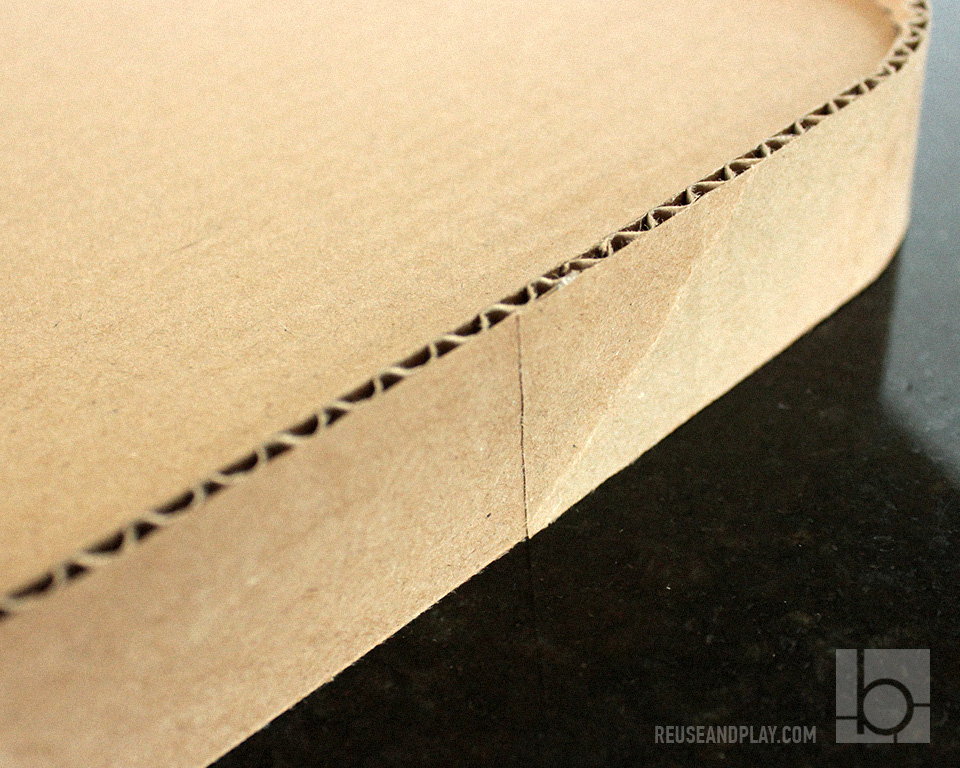
How to use paper bleed
paper bleed could be useful if you need to make seamless connection as mentioned above or when you need to make a 3D shape
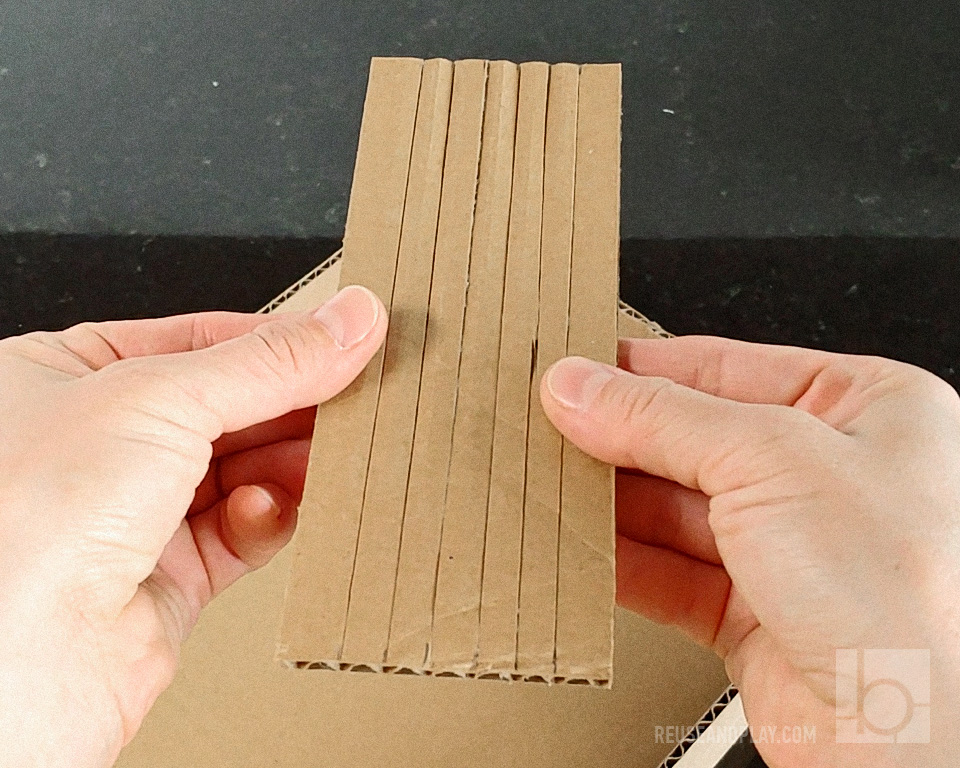
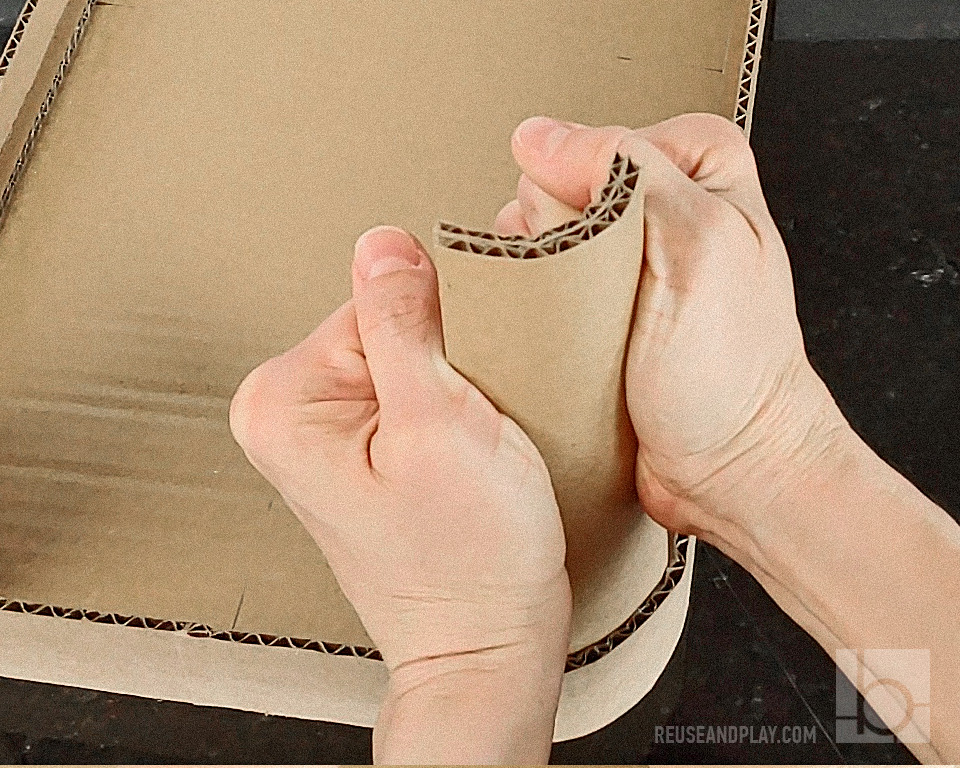
Prepare parts for legs. Make slits half through the corrugated structure for easy bending. Be careful with glue it is Hot and you need to shape legs so they stay curved inside.
Step 7. Prepare leg part. Cut half slits, crease them so it can bend inside.
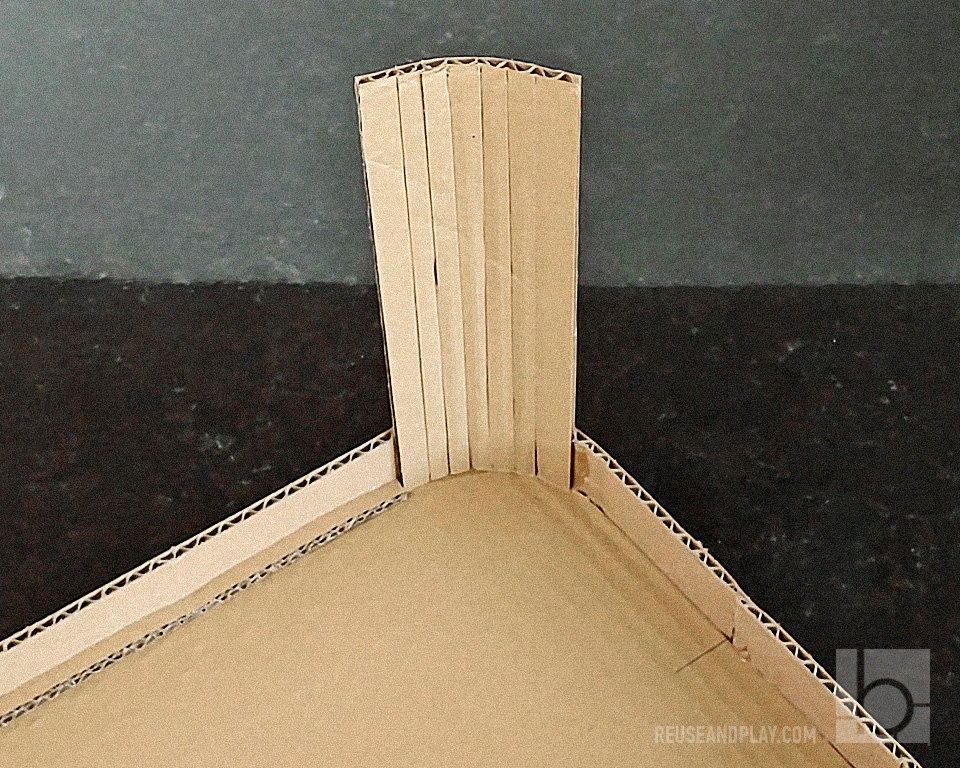
Glue leg from the inside part of the each corner.
Prepare second cardboard layer for the leg. If cardboard is thick – make half slits.
Put good amount of a hot glue and press two legs together, shape them and hold while glue is cooling down to preserve the leg shape.