Do you need to make a gorgeous number for a birthday party or wedding event? A really gigantic 3D display number for your special occasion? Or maybe it’s your kid’s party and the number can match your kid’s height. Do It Yourself!
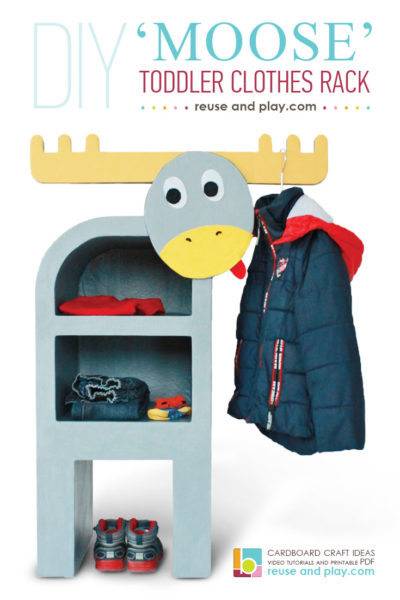
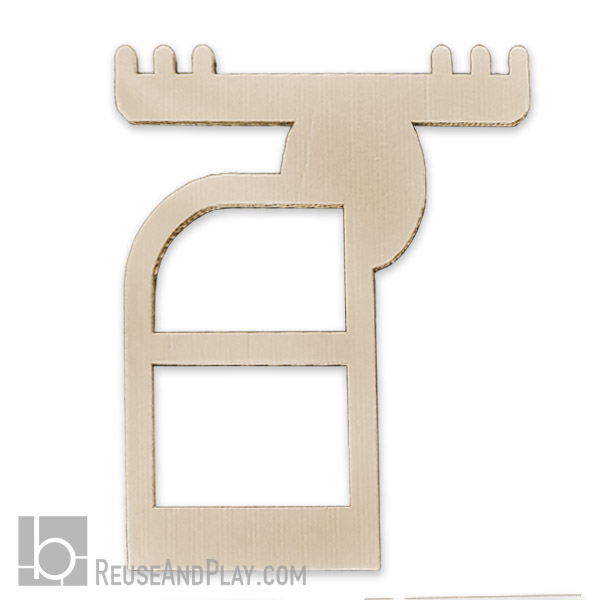
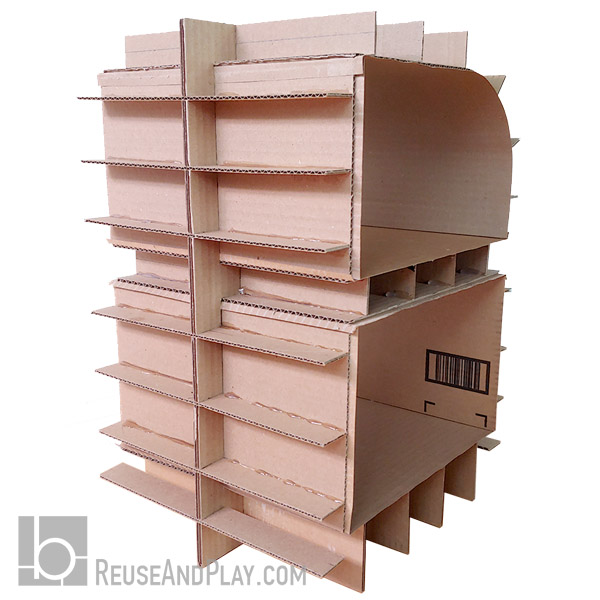
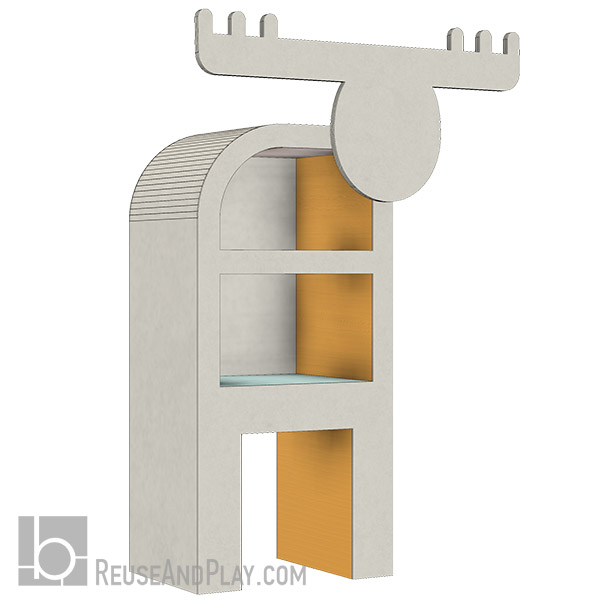
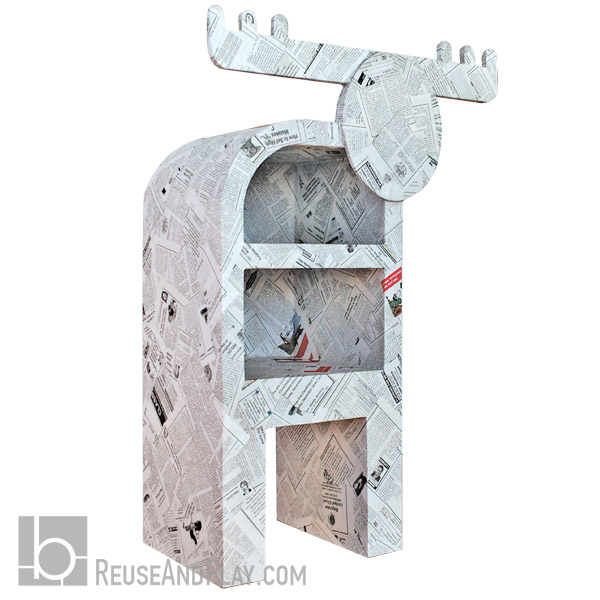
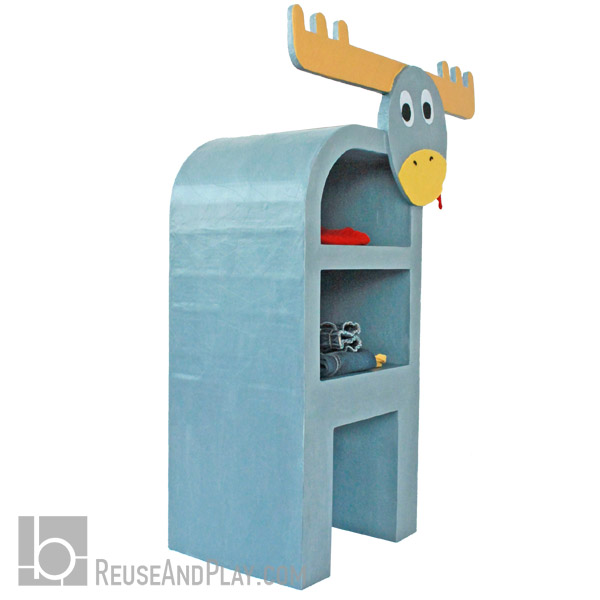
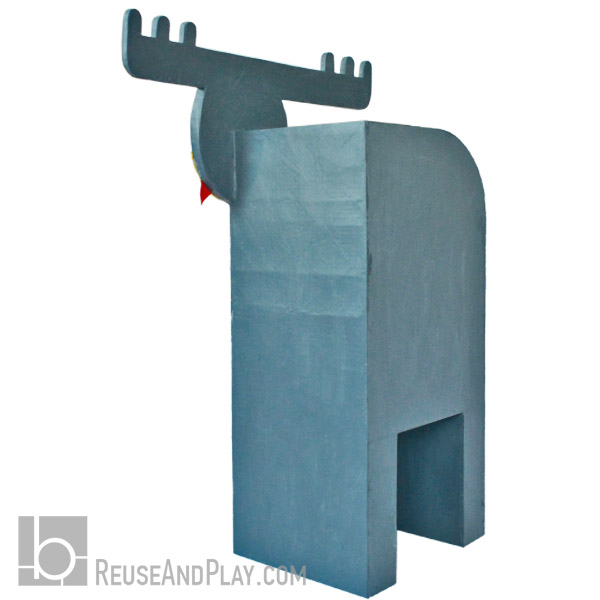
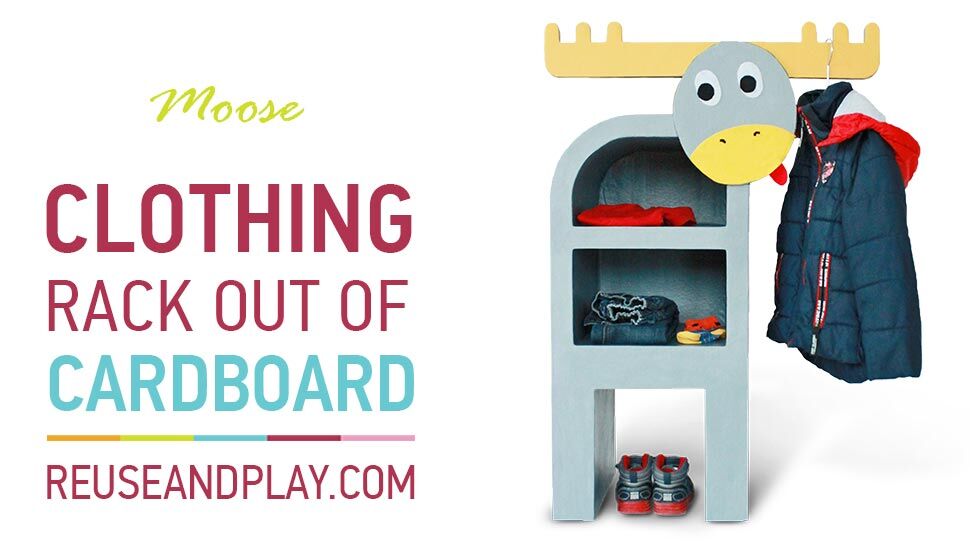
Starting from the age of 2, children really want to do more on their own. For example, picking out their clothes and dressing themselves. A lot of people will think about buying a Montessori clothes rack, but basically, it can be any coat stand or dress up closet that suits your child’s height. Any dress up storage you choose should be simple and allow your kid to reach their own stuff easily. This particular clothing rack is not big and can be placed right near the front door. So far the “Moose” dress up rack keeps minimum clothes that kids need to dress themselves and go outside. There are two shelves for sweaters, extra pants or gloves. The head and Moose horns are perfect kids clothes to hang hats or jackets. Under the clothes stand there is a place for a pair of boots as well.
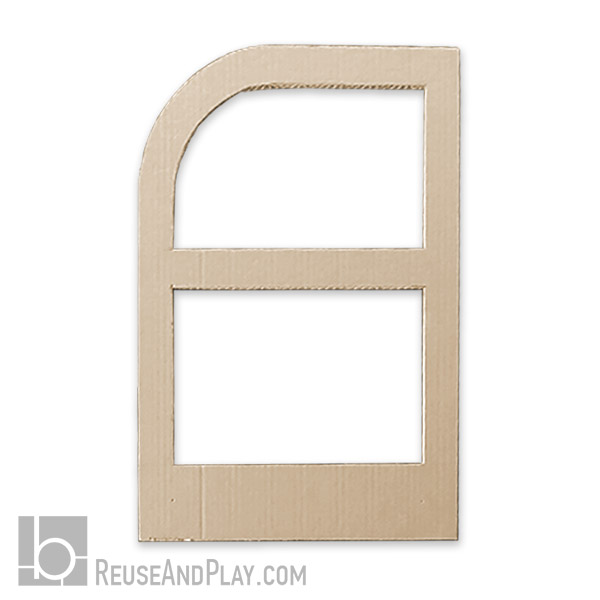
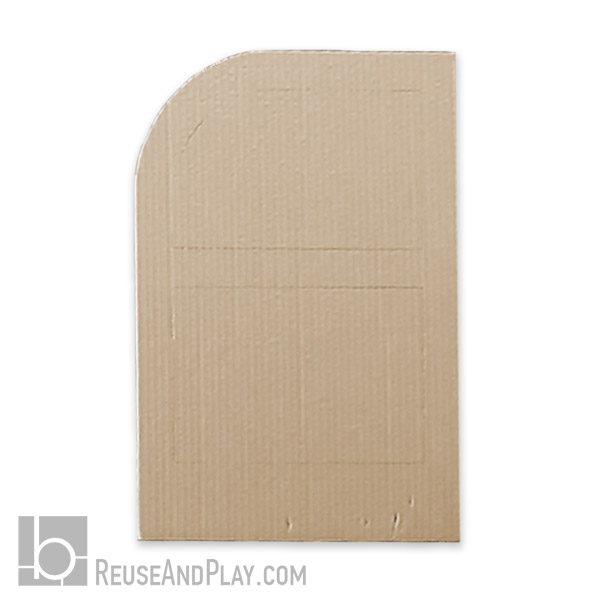
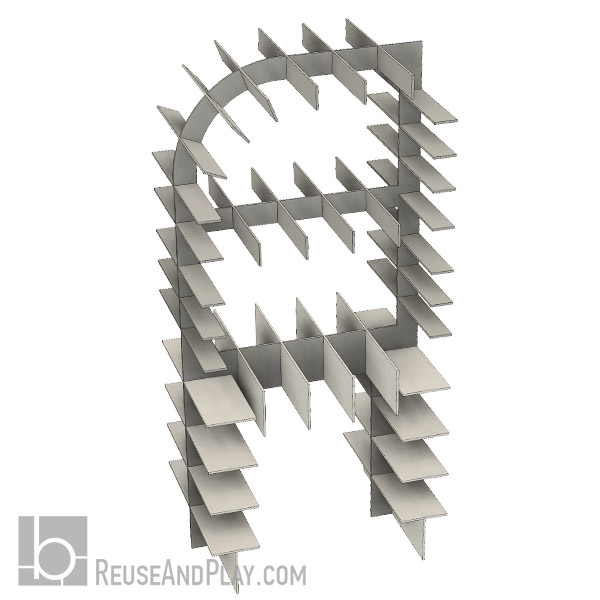
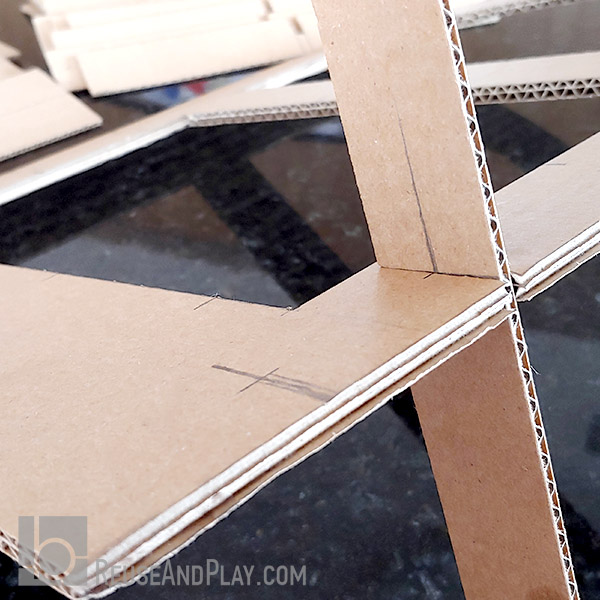
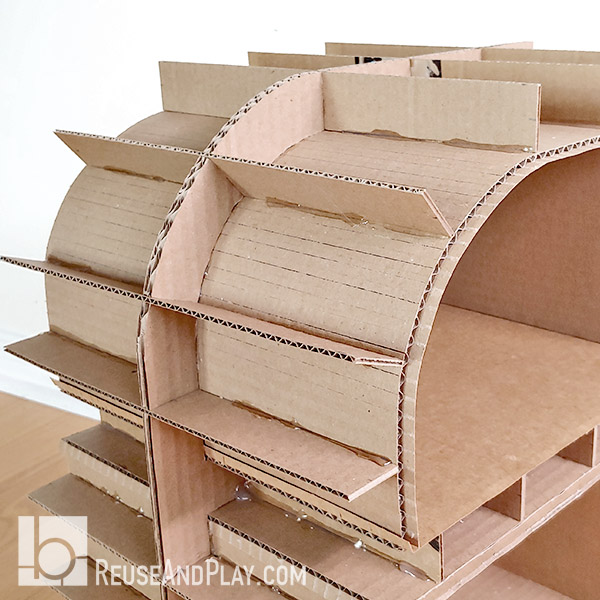
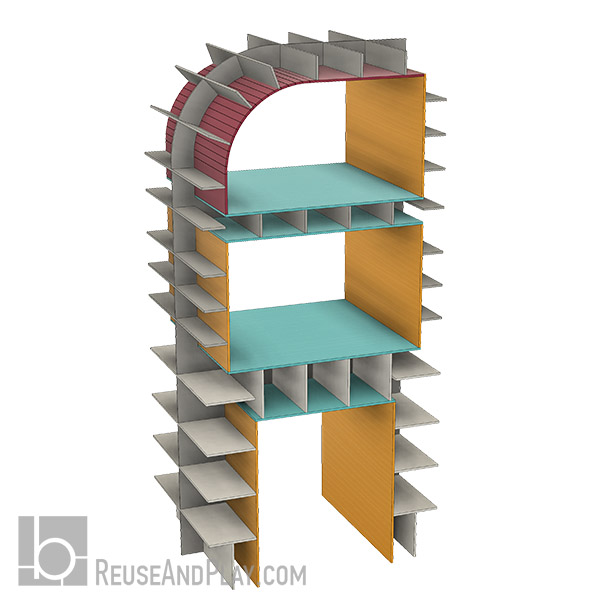
Let’s make a homemade kid’s clothing rack out of cardboard. I didn’t plan to make legs at the beginning and added them later. But this toddler closet is so much better with legs! You should make legs at the beginning by download clothes stand templates with detailed 3D pictures