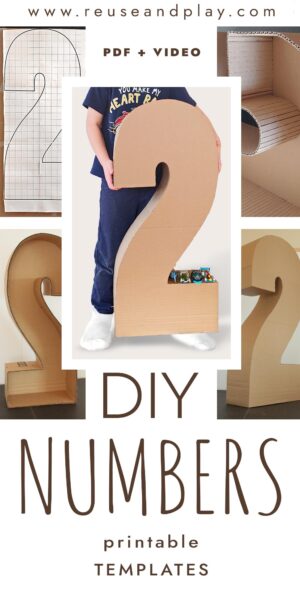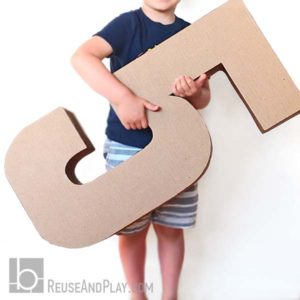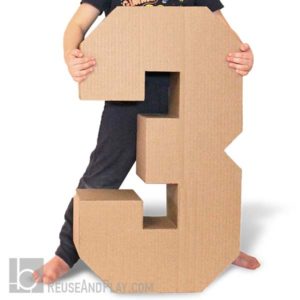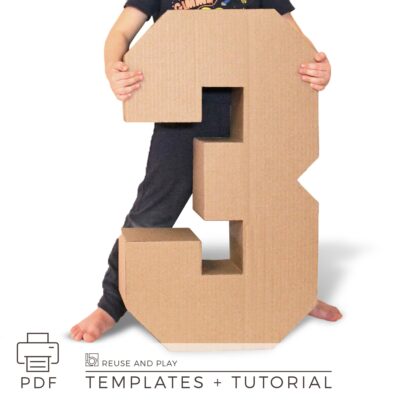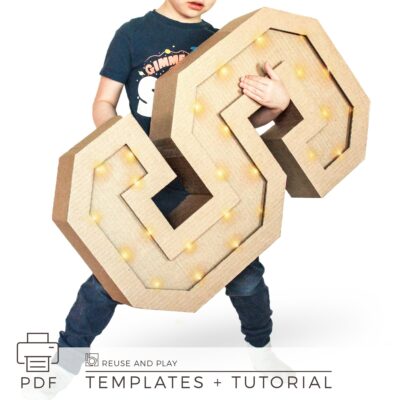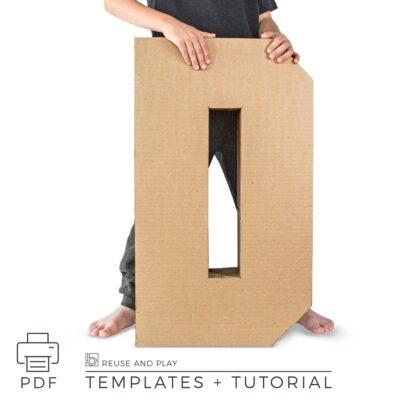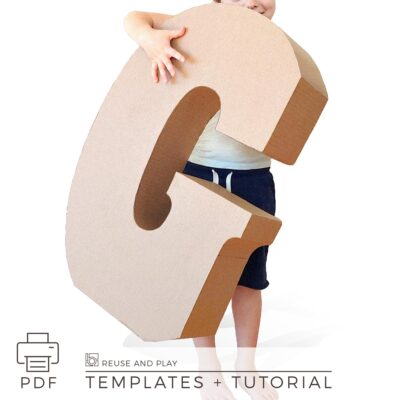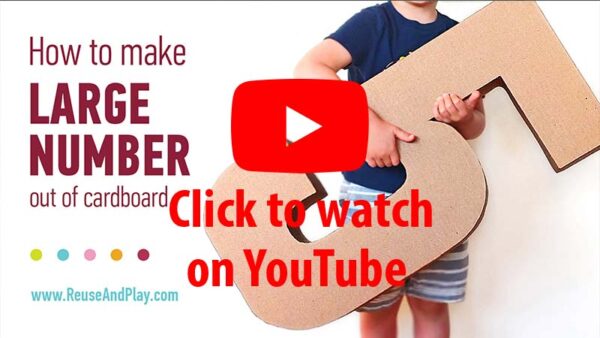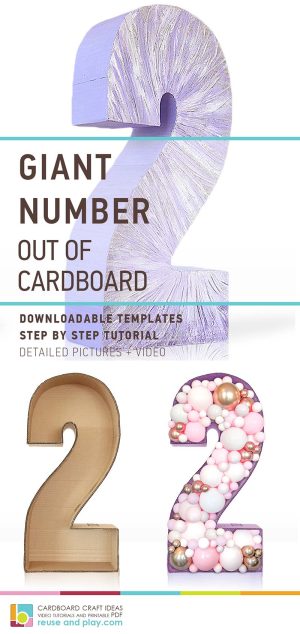
Are you looking to create a stunning and colossal number for a birthday bash or a wedding celebration? Perhaps you want a gigantic 3D standee number that steals the show at your special event. Or maybe, it’s your little one’s birthday, and you want the number to match their height for an extra-special touch. The solution? Do it yourself!
DIY giant birthday numbers can be easily made out of cardboard. Almost any piece of cardboard can be used to make pretty large 3D standee or balloon mosaic number.
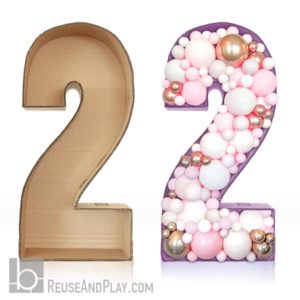
This technique of making a 3D number is easy to follow and allows you to create practically any large number or letter at home. With the same number template, you can easily make a piñata, standee or a balloon mosaic.
Tools
- Pencil
- Ruler
- Glue gun
- Hot glue sticks
- Paper knife
- Toothed Tracing Wheel (optional)
*As an Amazon Associate I earn from qualifying purchases
Giant Cardboard Number
Step-by-step tutorial
If you don’t have a big enough piece of cardboard you can glue several pieces together using the neat overlap seam technique. If you are going to make a piñata you will need the second (back) side to be cut out too. If your giant number is a standee for a photoshoot, like a decoration or a shell for the balloon mosaic, you really do not need the back side. It will be just fine having Front and Sides only. The thickness of your 3D number is totally up to you but with a large display number, I would recommend making its depth at least 4-5 inches and wider as your number is getting higher and larger.
Part 1.
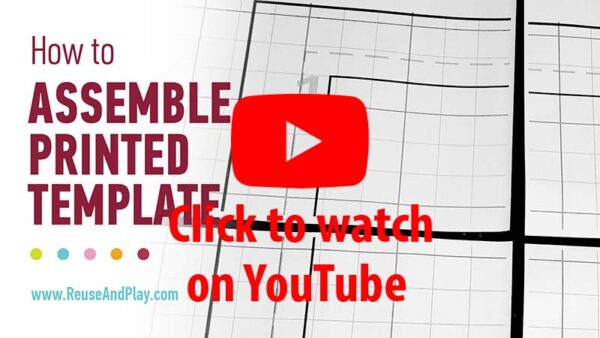
work with the template
Cut out Front Template.
You can buy and download ready to print on a standard pages plans for numbers here in my store or you make them on your own. I used the Prym Toothed Tracing Wheel to trace my template. It’s for sewing, but it worked like a charm for the cardboard too.
Part 2.
Prepare Giant Number Sides
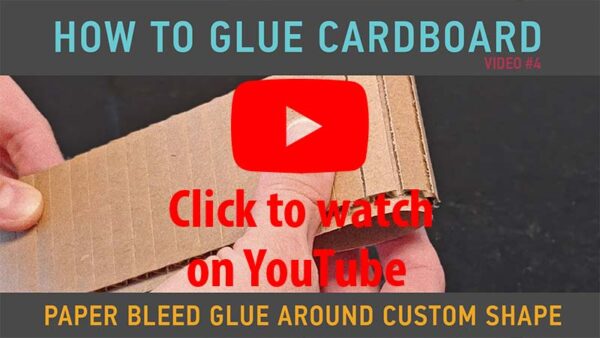
Sides are simple strips of cardboard (4-5 in and up) cut in such a way that the rigid structure of cardboard is perpendicular to the long side. Make several of them and you will glue them together on a go. An important part of these sides is a paper bleed.
To create paper bleed you need to cut off the rigid structure at the edge of your cardboard stripe. It has to have the same width as your cardboard thickness.
Lastly, cut slits half through the cardboard structure which will make side stirpes super flexible and ready to work with
Part 3.
Glue Giant Number Sides
Part 4.
Decorate Your Giant Number
You can paint your number, make mosaic using old pictures or create a beautiful texture all over your giant cardboard number or letter using paper towels.
Fabric like texture
Paper towels or tissues can help you to make a beautiful textures
