Skip to content

Toy Car Display Garage

  • by
Toy Car Display Garage with Lift
Toy Car Garage Display Free tutorial
Hey! Does your son have a lot of cars? Yes? Do you have a nice toy car storage idea?
Let’s make an amazing Toy Car Display Garage to shelter all of them! Plus I have added silicone brick tape to place and display all Lego mini-figures on a balcony!

Tools

*As an Amazon Associate I earn from qualifying purchases

Toy car display garage

Step-by-step tutorial

Start with measuring your space against the wall and take a big flat piece of cardboard (43.25″x48″ in my case) plus a lot of small ones. It is better to use double-wall cardboard.
I didn’t have double-wall cardboard this time so I glued each shelf from two single-wall pieces. Cardboard thickness can vary so to simplify calculations I set all thickness of my cardboard as 1/4″ (0.25″).
Make your own blueprint or feel free to download mine.

Toy Car Display Garage with car shelves

Templates

FREE DOWNLOAD

Step 1.

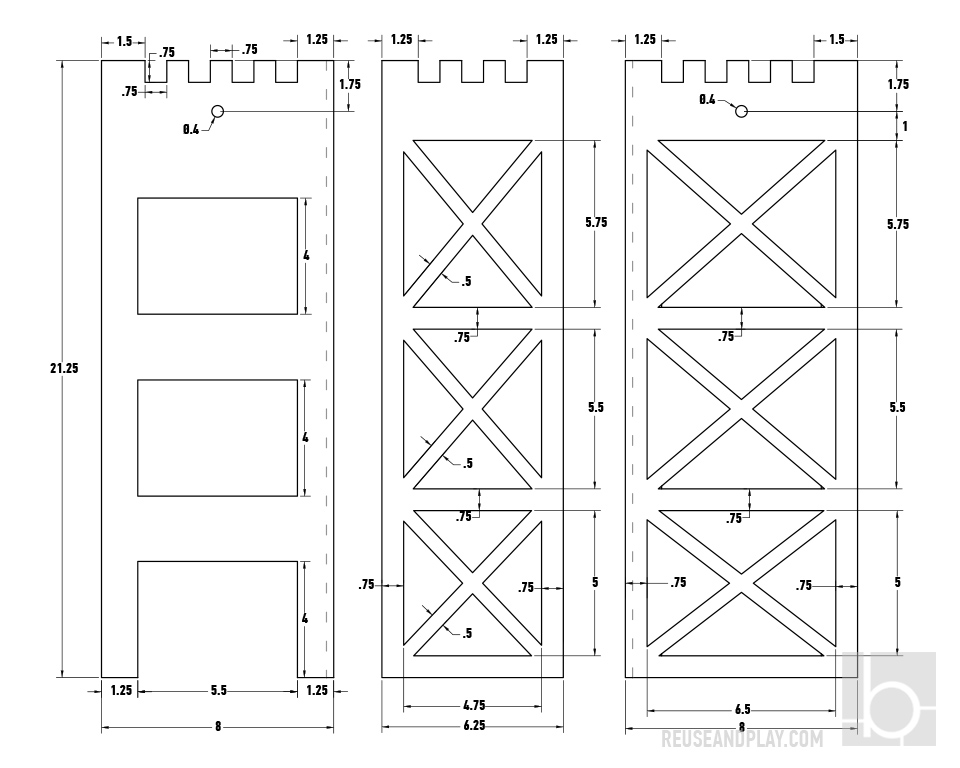
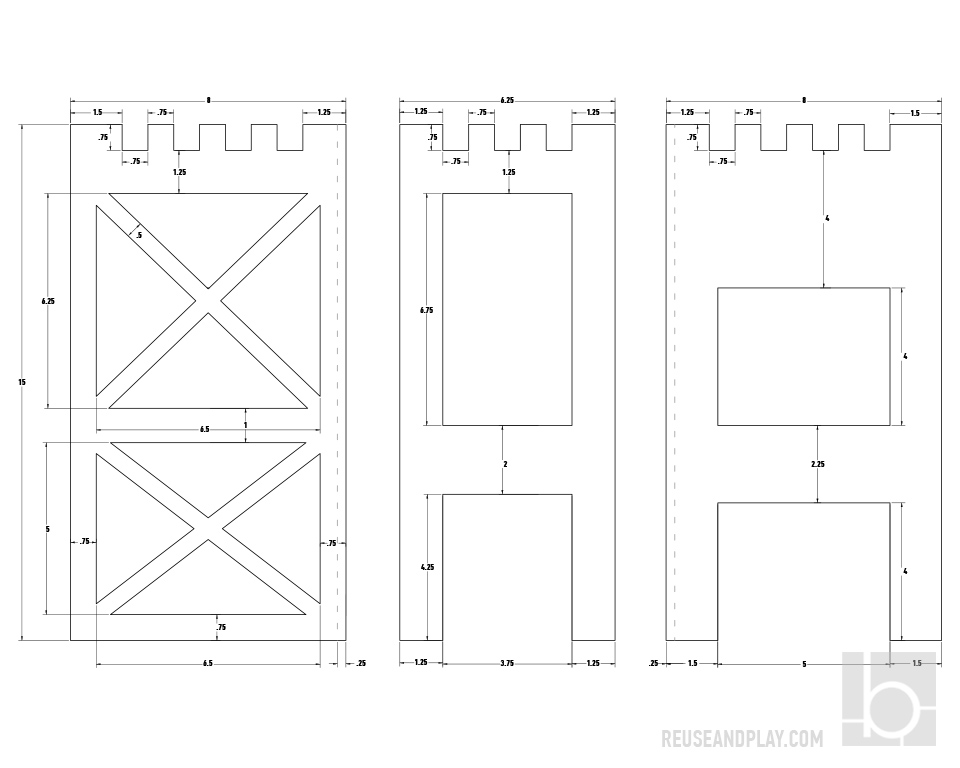
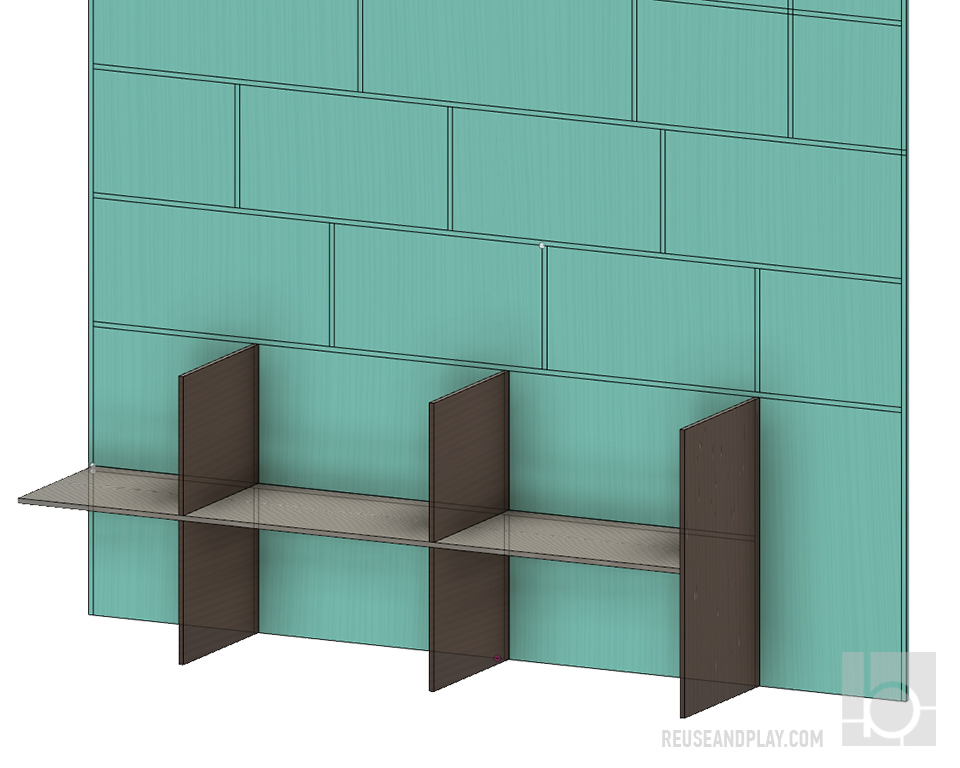
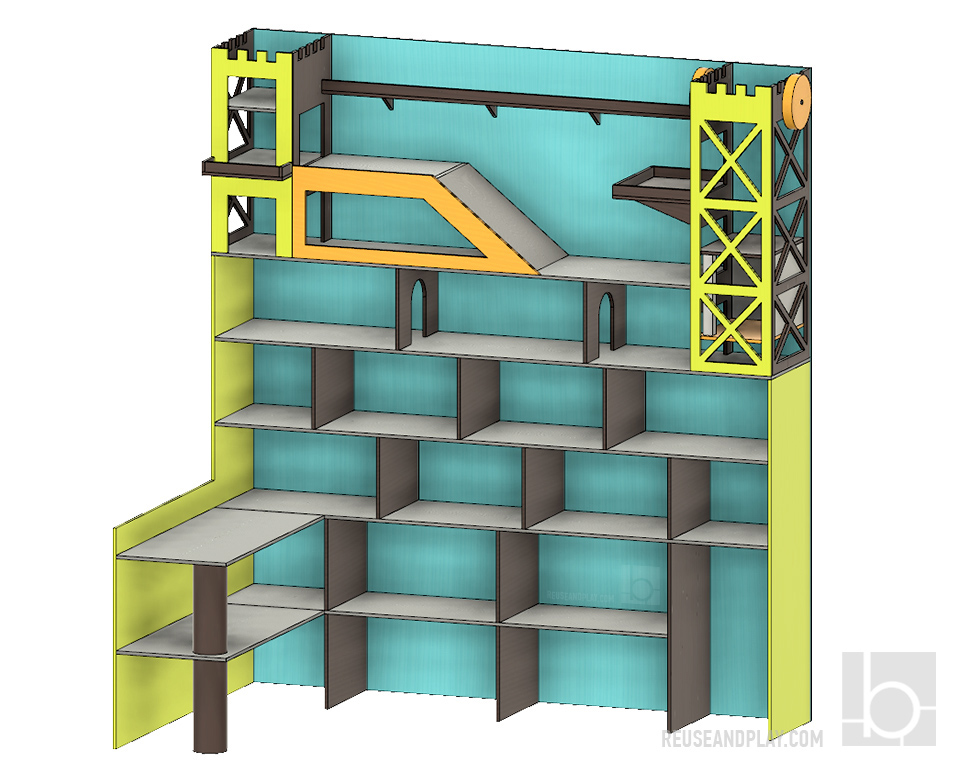
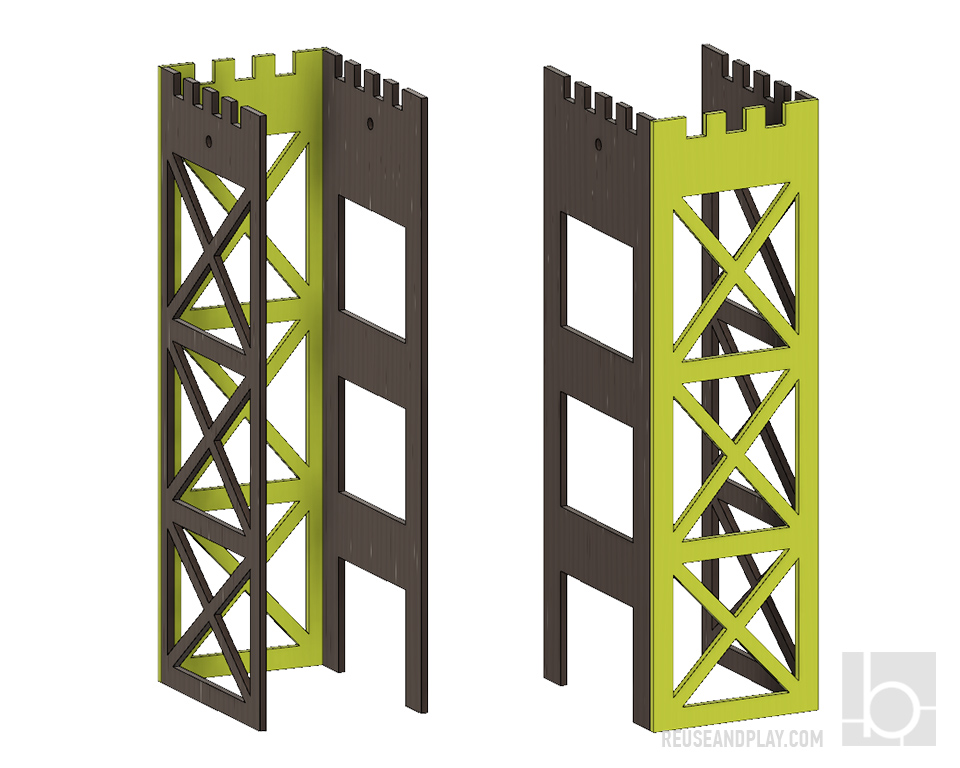
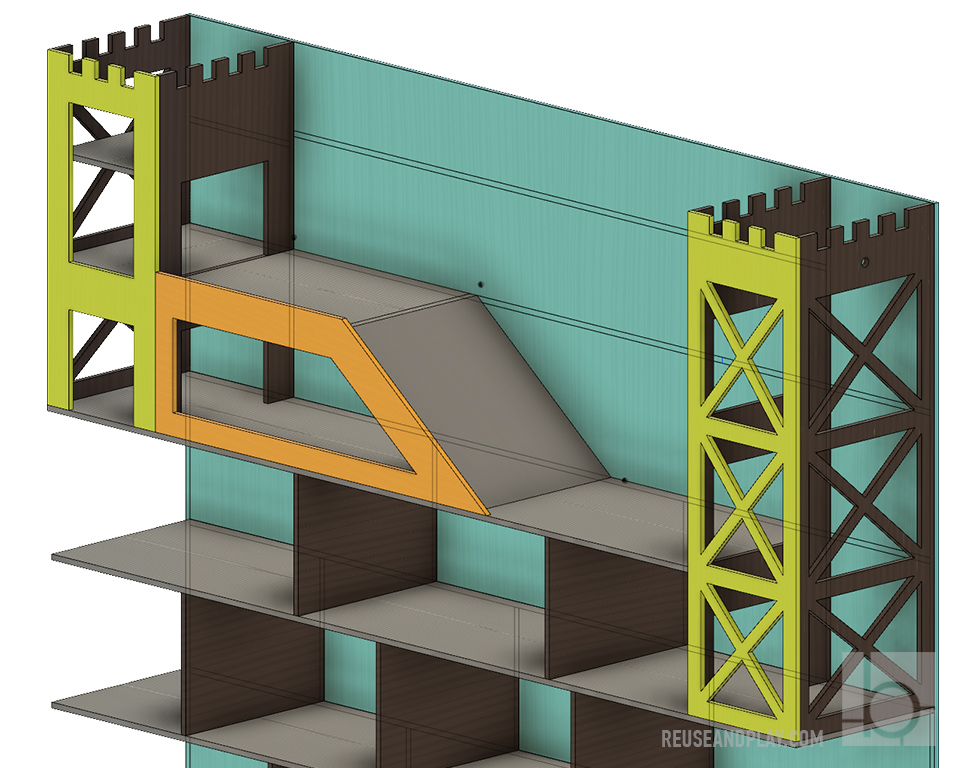
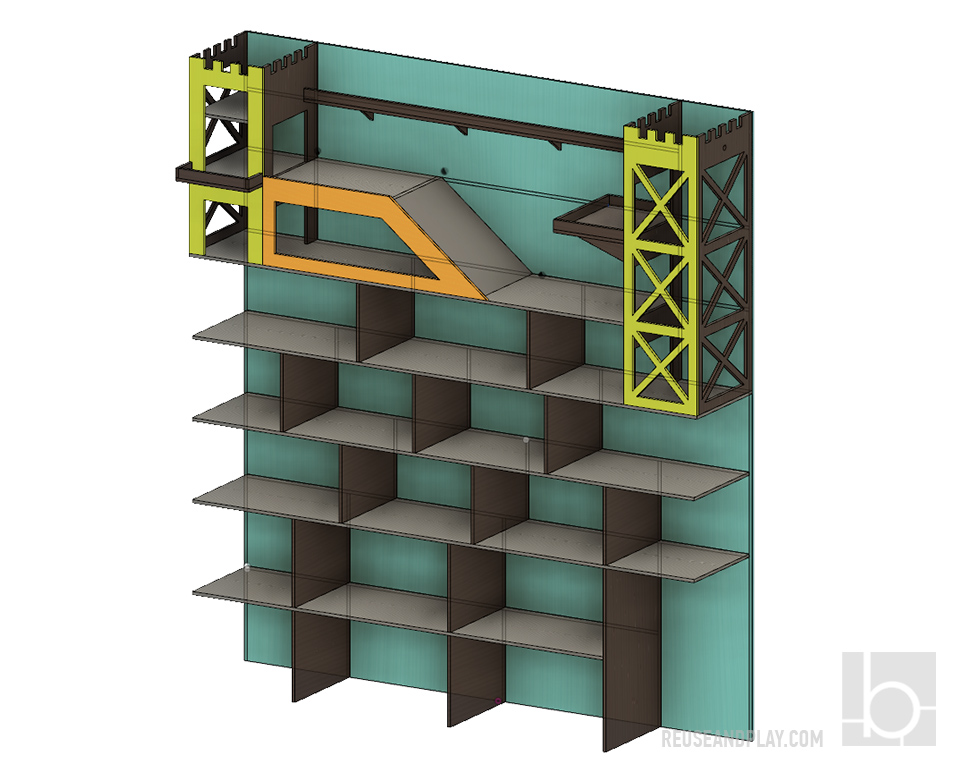
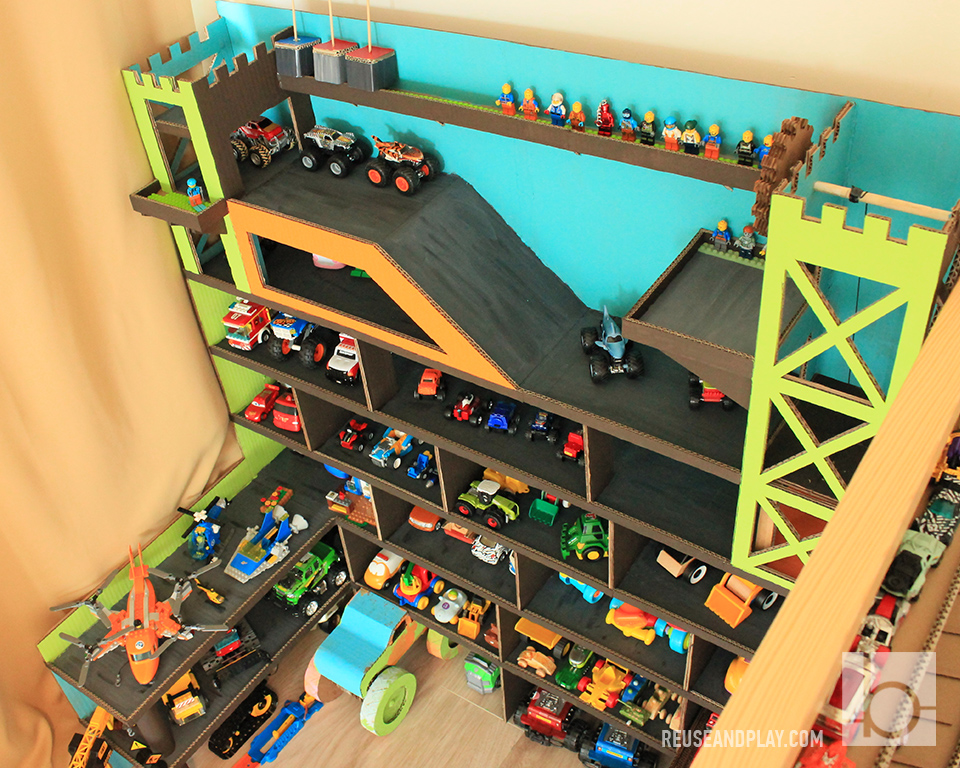
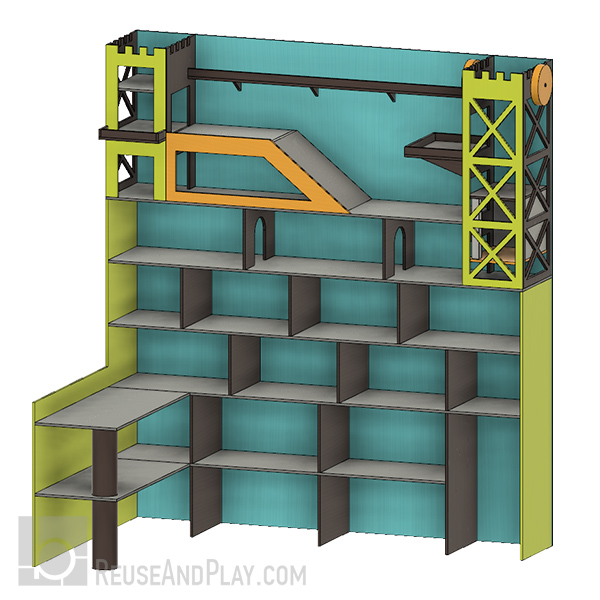
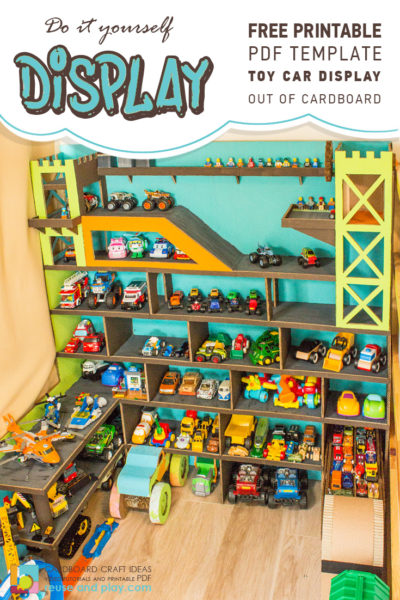
First make a grid according to your toy garage plan and Base Draft. 
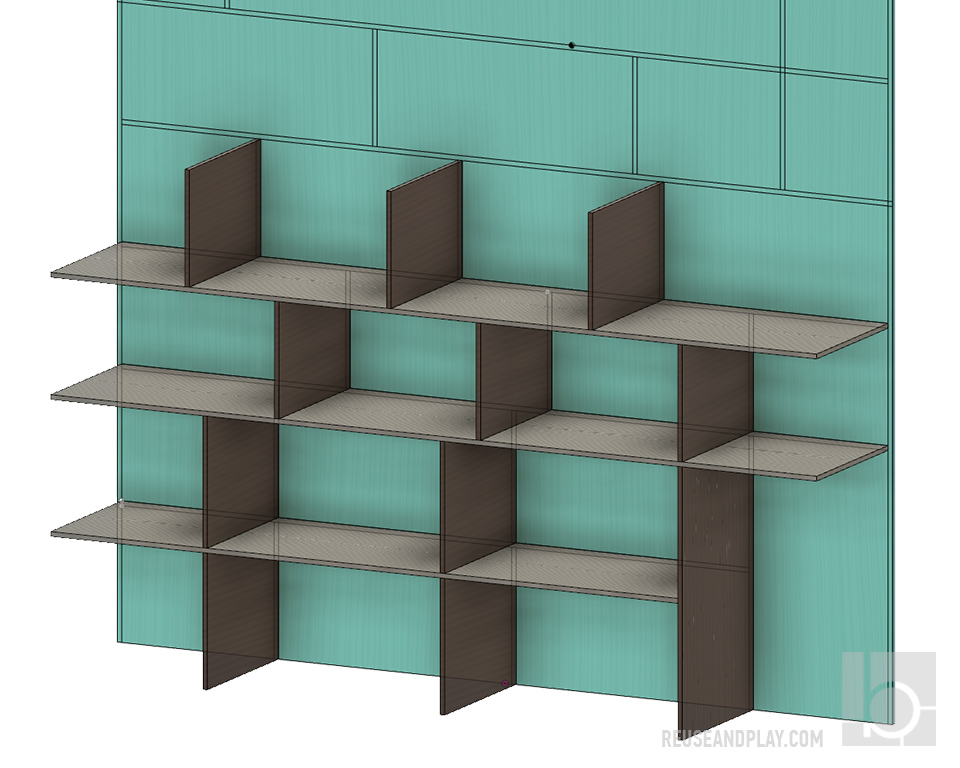
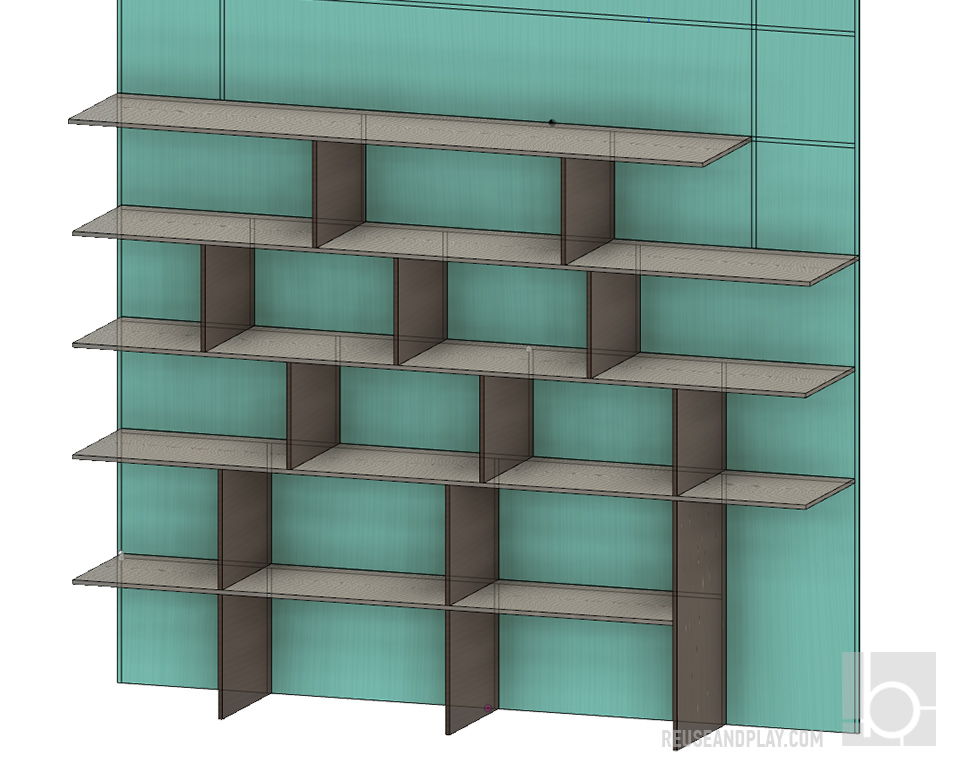
If you need other size that mine you can adjust shelves width and number of levels. 
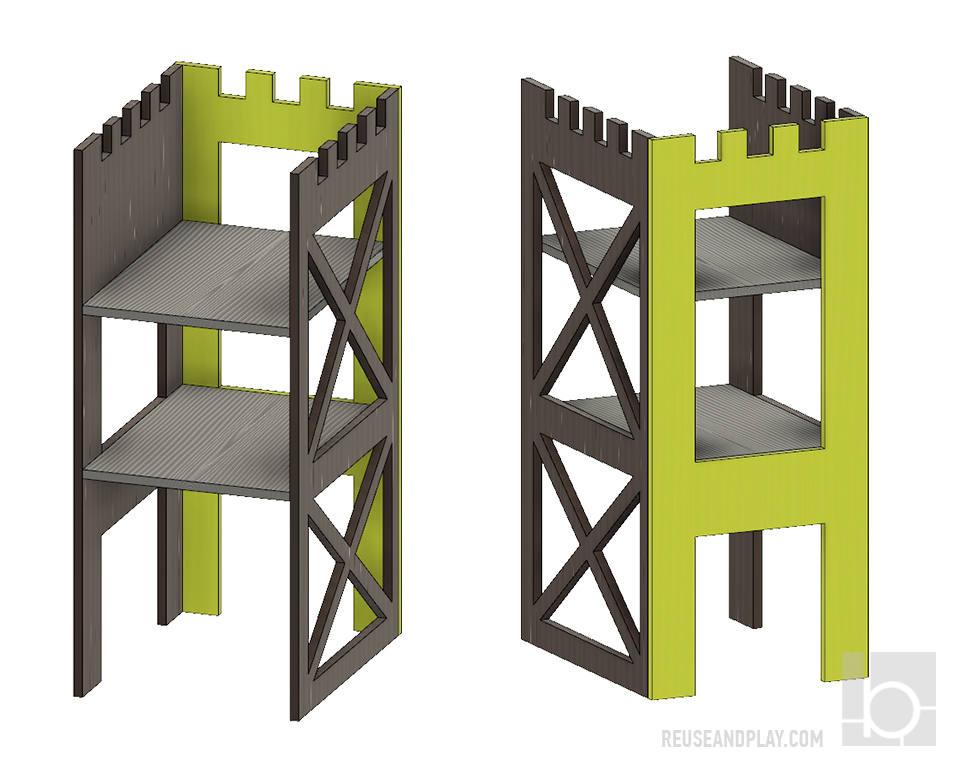
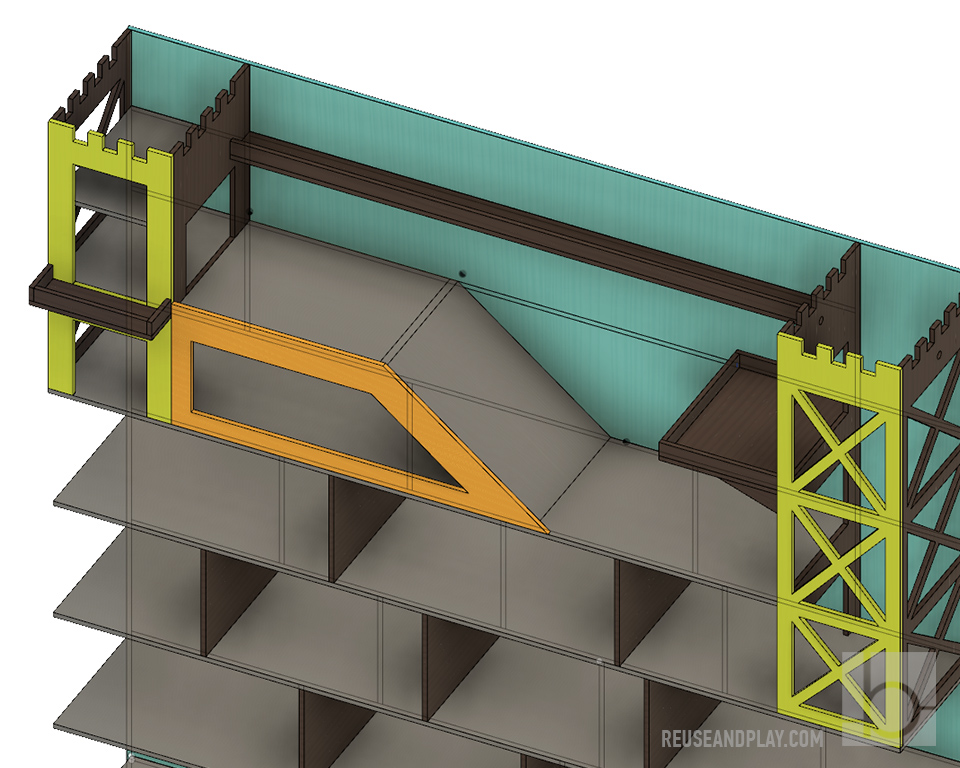
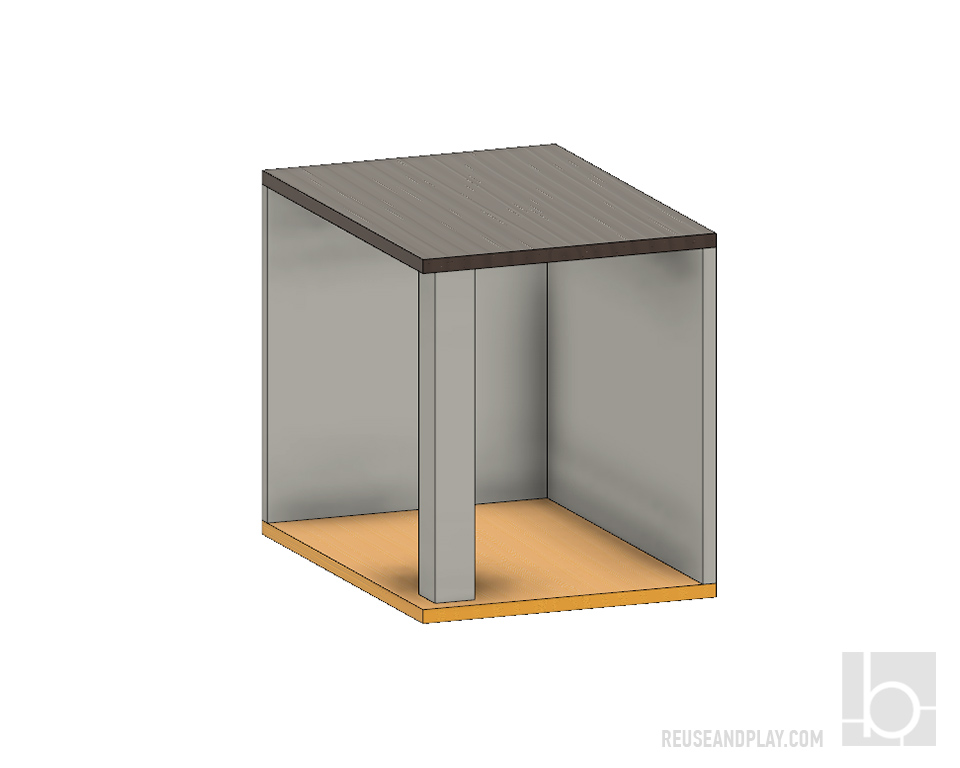
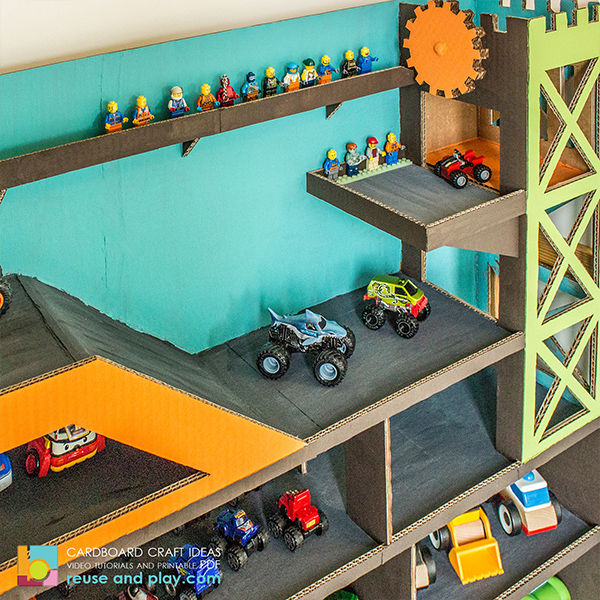
Put the base on the floor and using hot glue gun start to build levels from the bottom. 
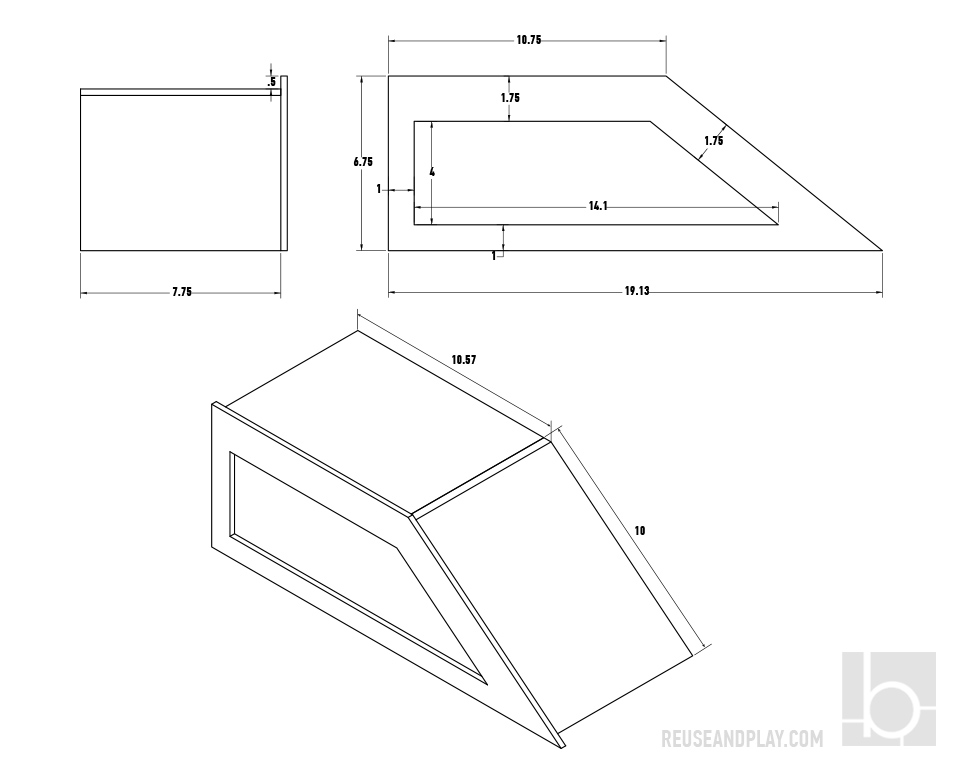
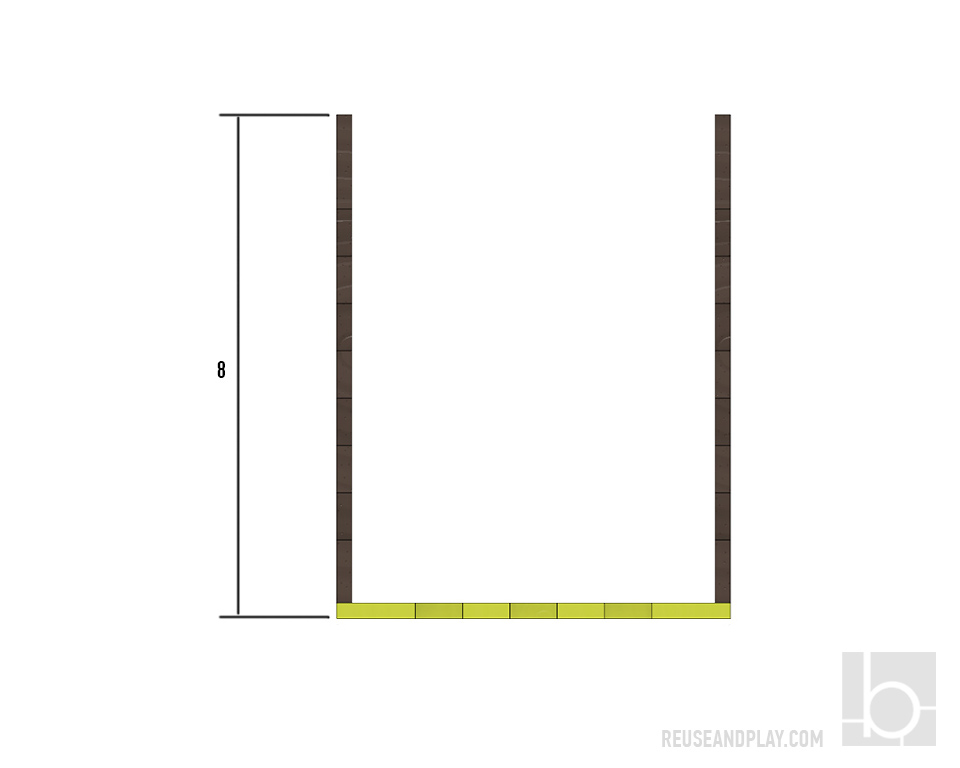
Depth of shelves 8″.
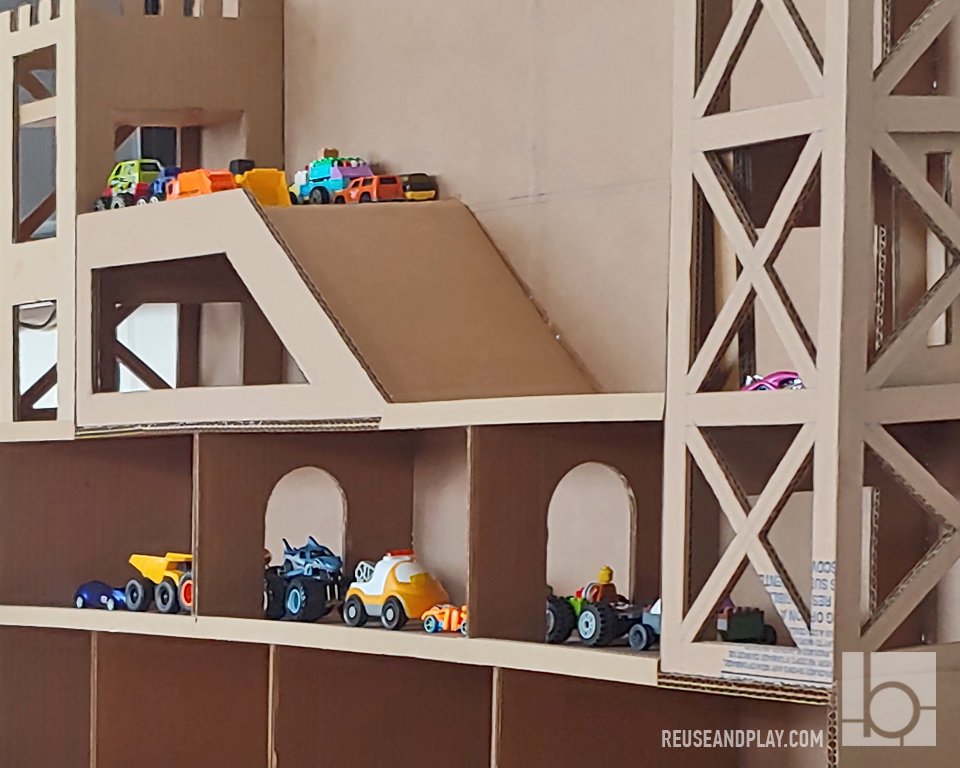
Make Tower and Lift with the depth of 8″ as shelves. 

Measure and cut out patterns and doors on sides.
Glue in that way that sides are hidden with paper bleeds (1/4″ (0.25″)) and corners are smooth.

Add 2nd and 3d floors inside the Tower. Paint everything from the inside and glue to the base of your garage

Cut out and glue garage Slide. Add Balconies. 

Make the Elevator carriage and glue axle and wheels.

Finish your toy car display garage and glue car stoppers.

Choose your colours and paint.

* As an Amazon Associate I earn from qualifying purchases

Toy Car Garage Display Free Printable PDF

1 thought on “Toy Car Display Garage”

Comments are closed.